Paul for the engine mounts, Solid bro for the coolant fittings, and Mik for the jig.
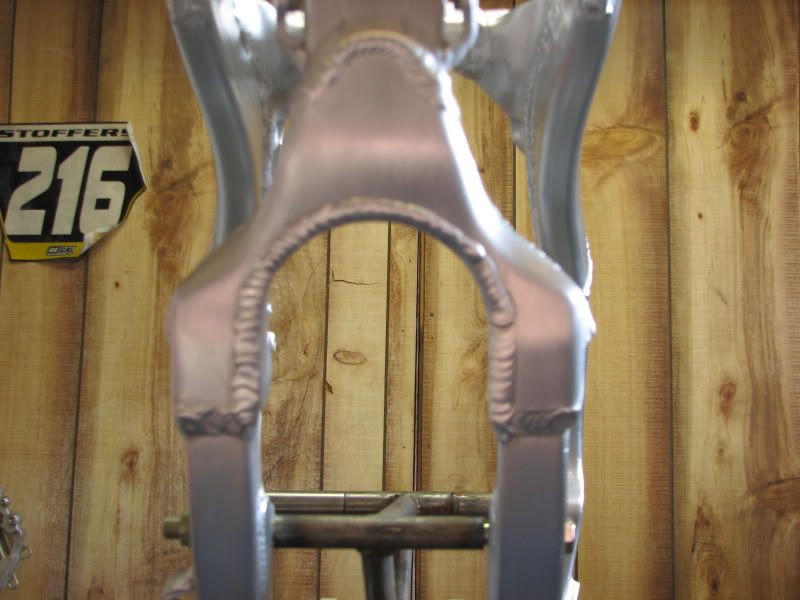
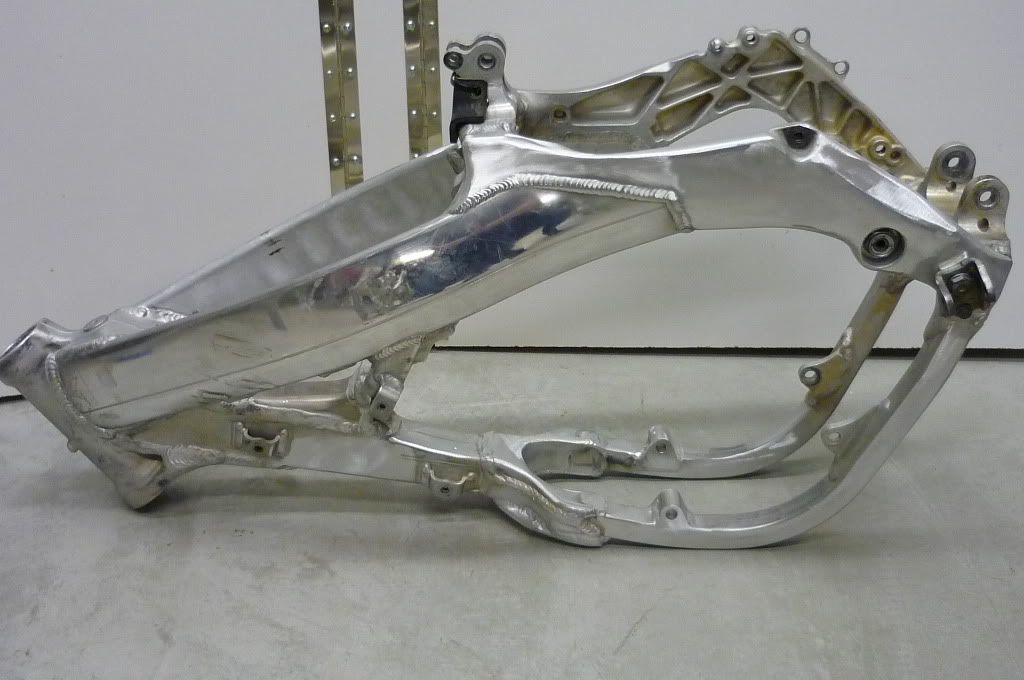
here goes nothing... this was an easy frame mod... I really like the 250 2ST chasis for the mods.
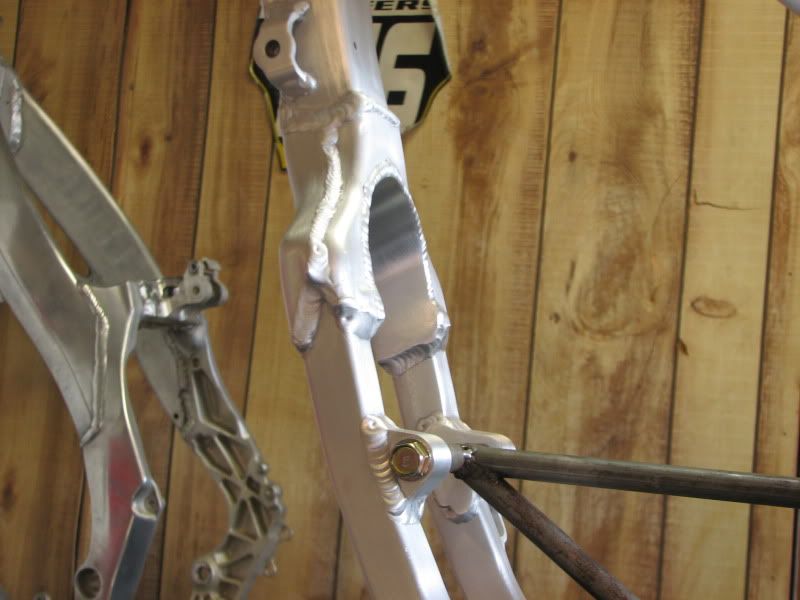
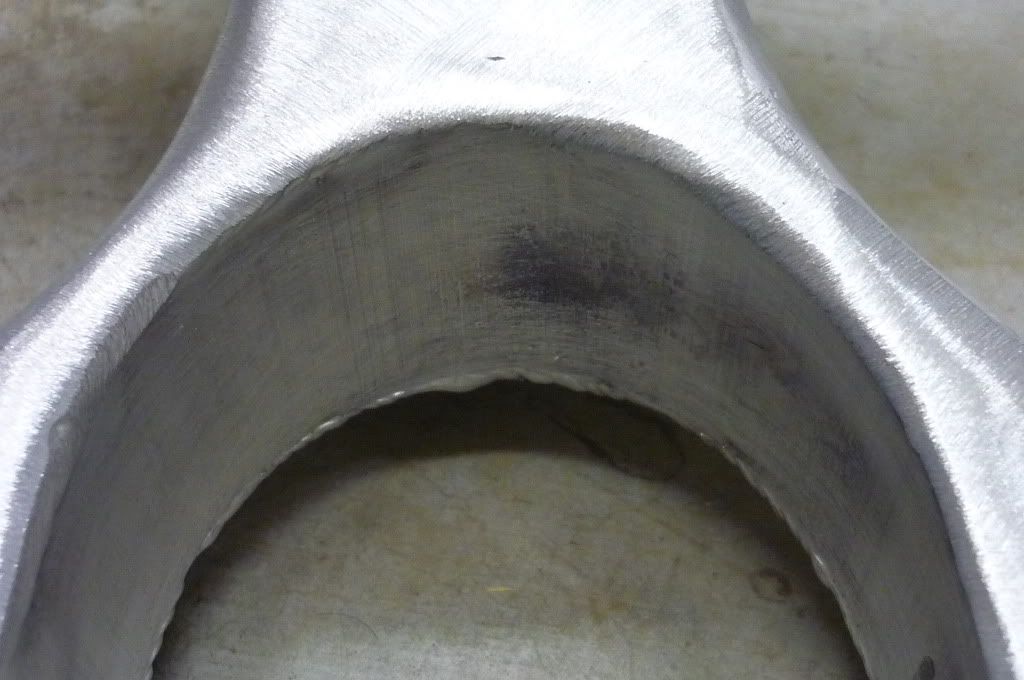
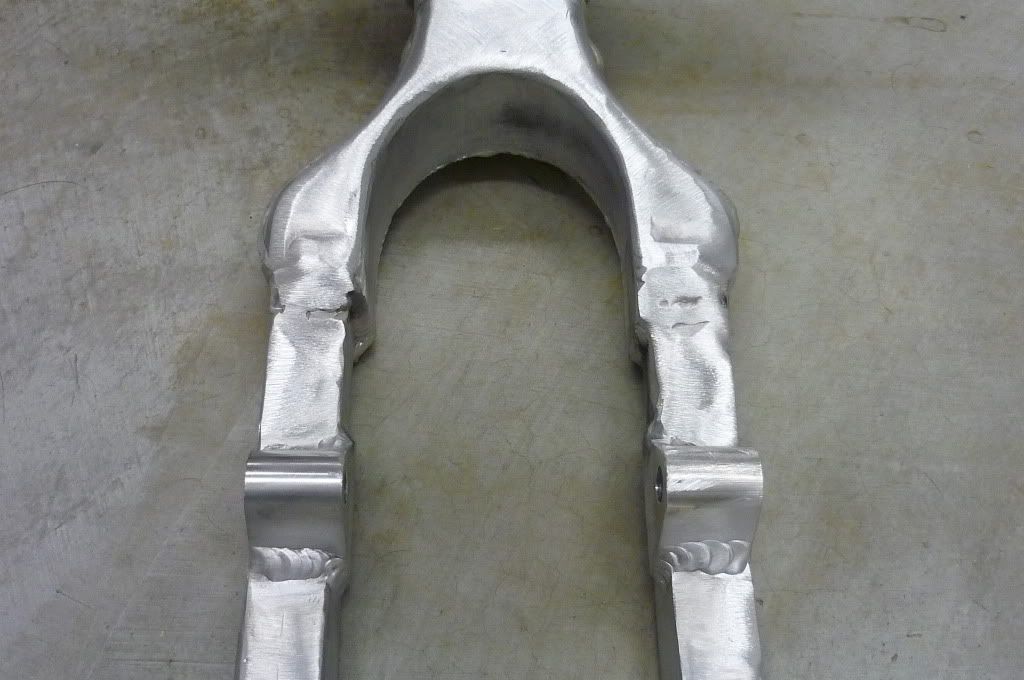
Frame was cut out at the Y, then jacked.
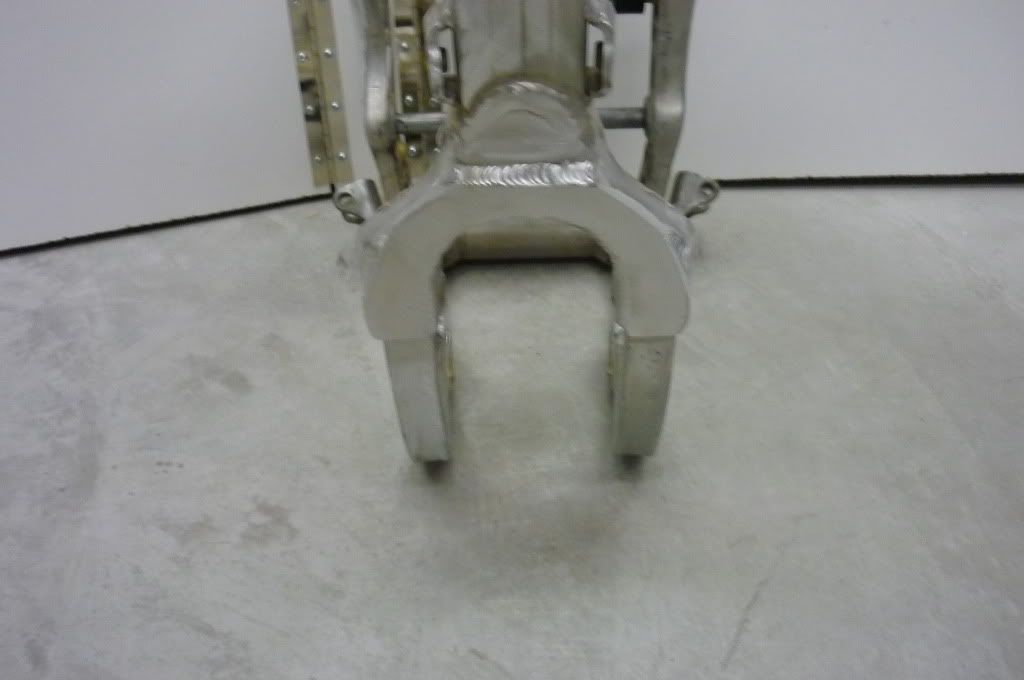
3" pipe was cut open, and used as fill in the crotch of the Y, and a 1/4" 6061 T6 plate cut for the front face of the Y, as it was hogged out a fair bit
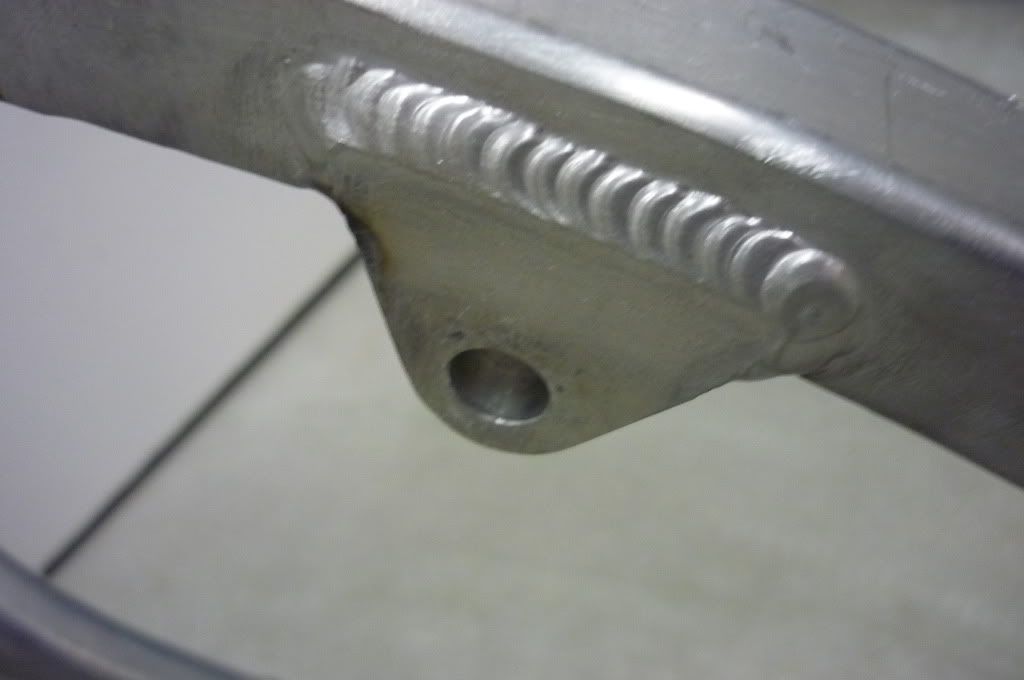
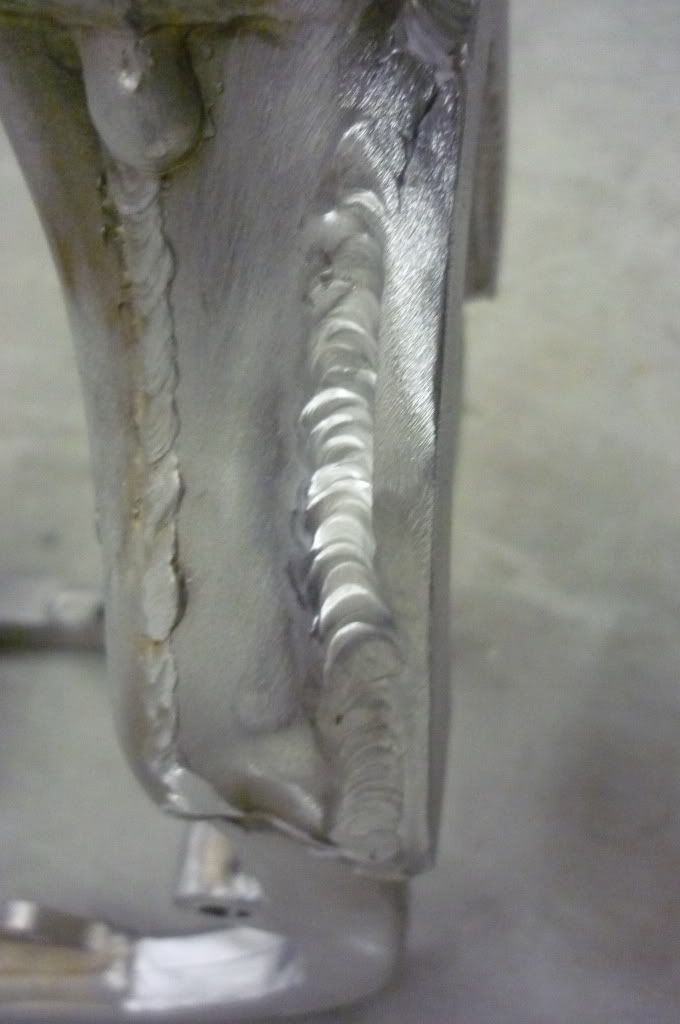
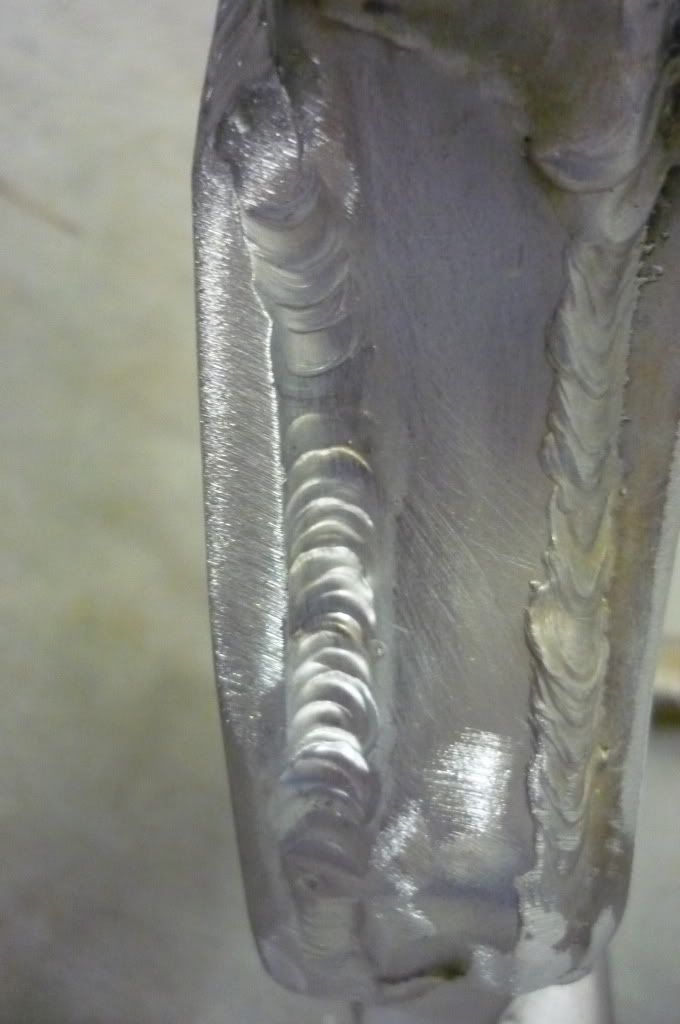
My welder layed some beads far superior to the stock Honda robots.
At first I was only had sections of the front plate stitched so as not to put too much heat into the stock Y, but it looked odd and unfinnished.
I had him complete the stitching a day later. I think this worked out in my favour, so that the Y did not see as much heat at once.
I have considered temper, and the heat treating process, but I have spoken with many structural and metalurgical people, who think we are being anal in those regards.
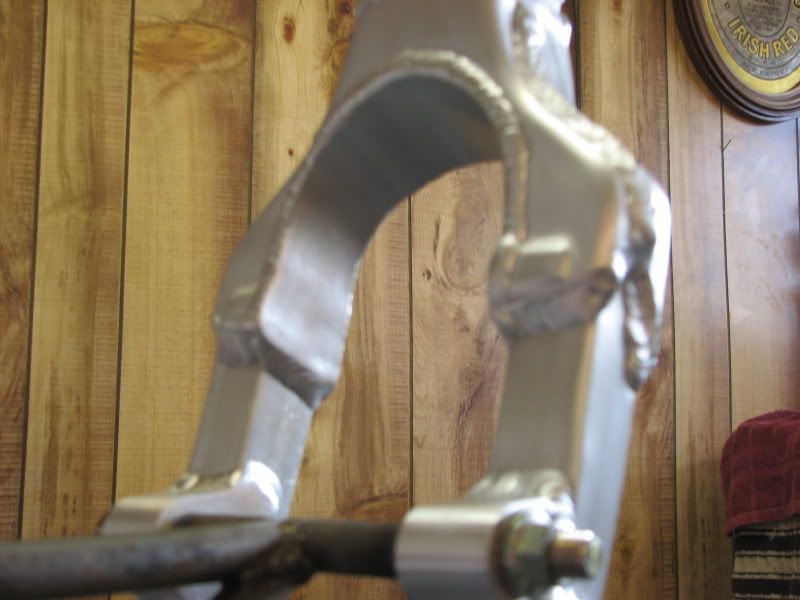
The frame see's extension forces at the Y, not compressive, thats why the frame opened up on the ones that broke, in addition to poor penetration into billet chunks


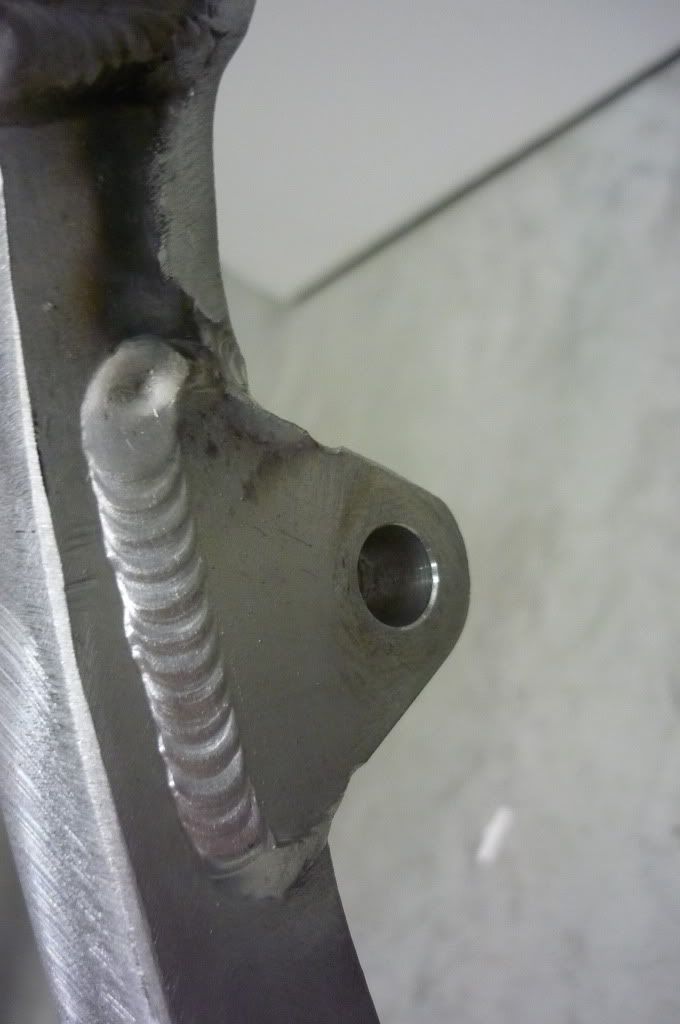
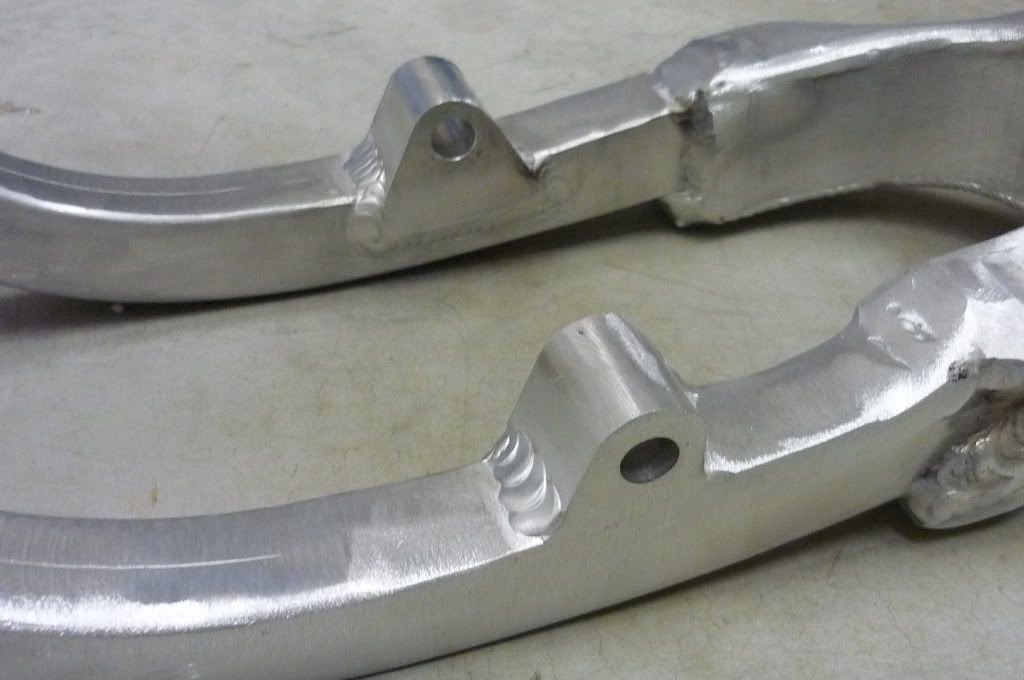
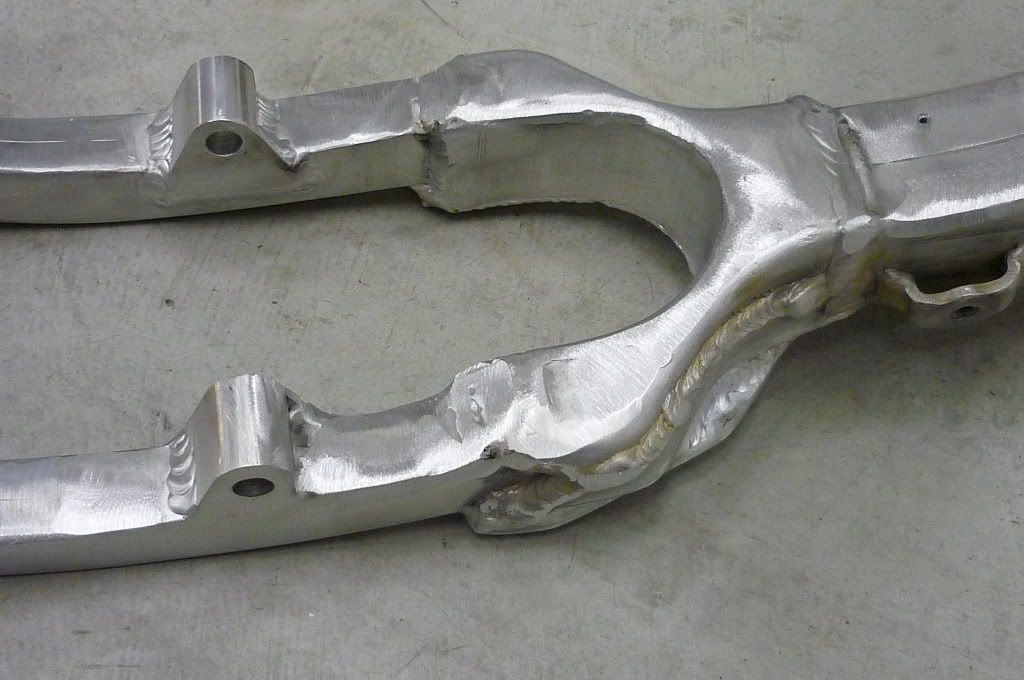
In this pic you can see the small wings I left there for additional strength. Since they are part of a big face plate, they don't need to bee so obtrusive.
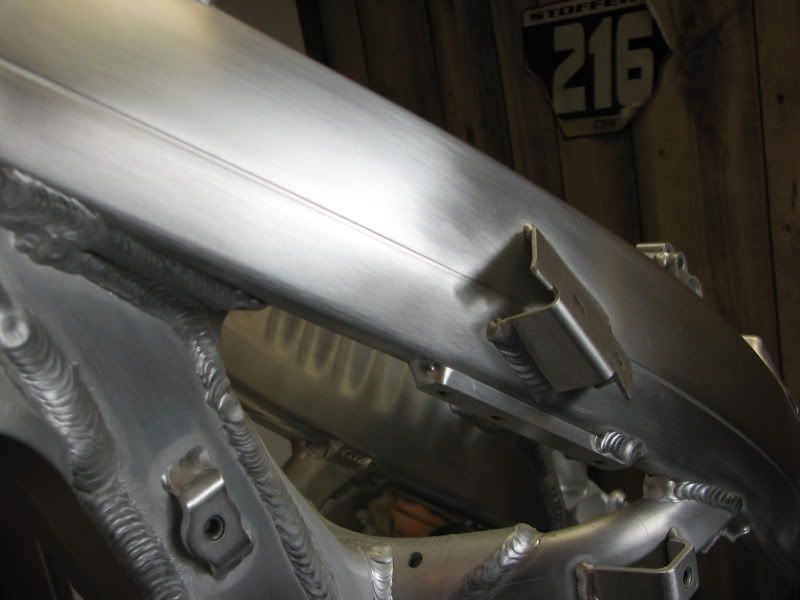
Got carried away with the abraisive wheel, took too much off a few welds that I wanted to leave exposed, but had to finnish them for conformity, and asthetics.
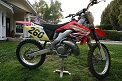
I'm pretty happy with the results on my first Gen3 frame.
This bike is being built for a friend and coworker.