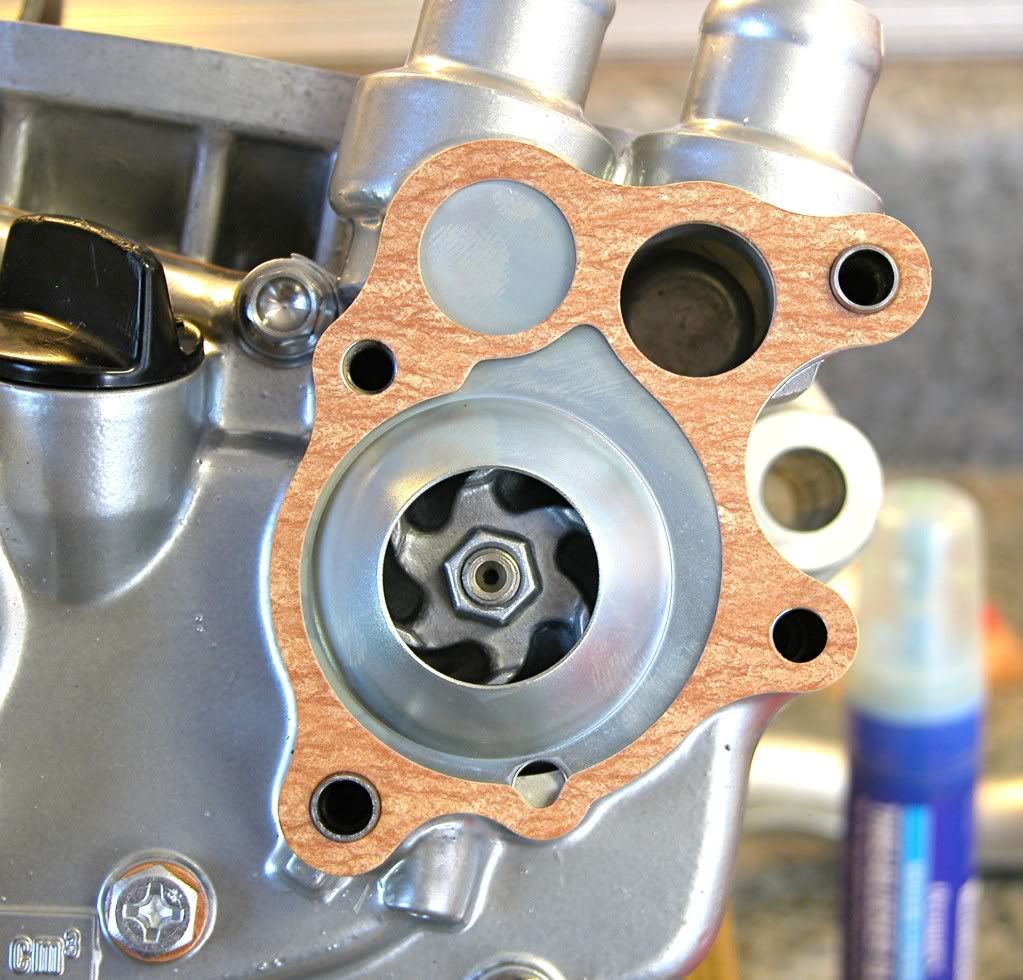
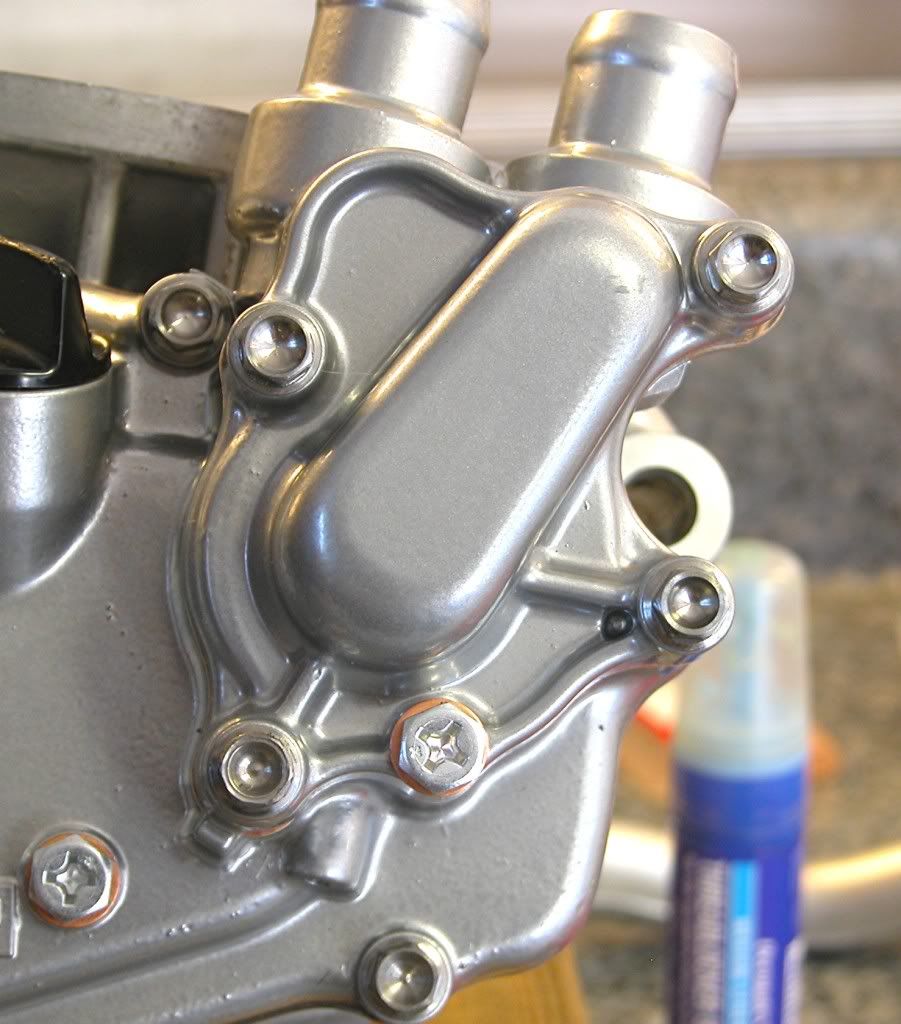
The series is aimed at the novice mechanic and may seem overly simple to
the old hands out there so please keep that in mind
In addition to the build, I will detail all the modifications made to
race prep this engine for MX.
This is a scratch build from mostly new 2001 parts except for the tranny
which is a close ratio. I had some used parts around the shop and
utilized a 2001 cylinder head, hose joint, exhaust manifold and right
side case cover from that stash. Those parts were restored to new
condition.
Before starting the assembly, the race prep started by sending the
crankshaft and piston assembly to Crankworks for balance from 4500
to 7500 rpm. All the rest of the rotating components were sent to
Evans Performance for Cryo-REM treatment. This isotropic finish
greatly reduces friction while the cryo treatment increases the strength
of the components. This in turn improves shifting action, lessens gear
wear and allows the engine to run cooler.
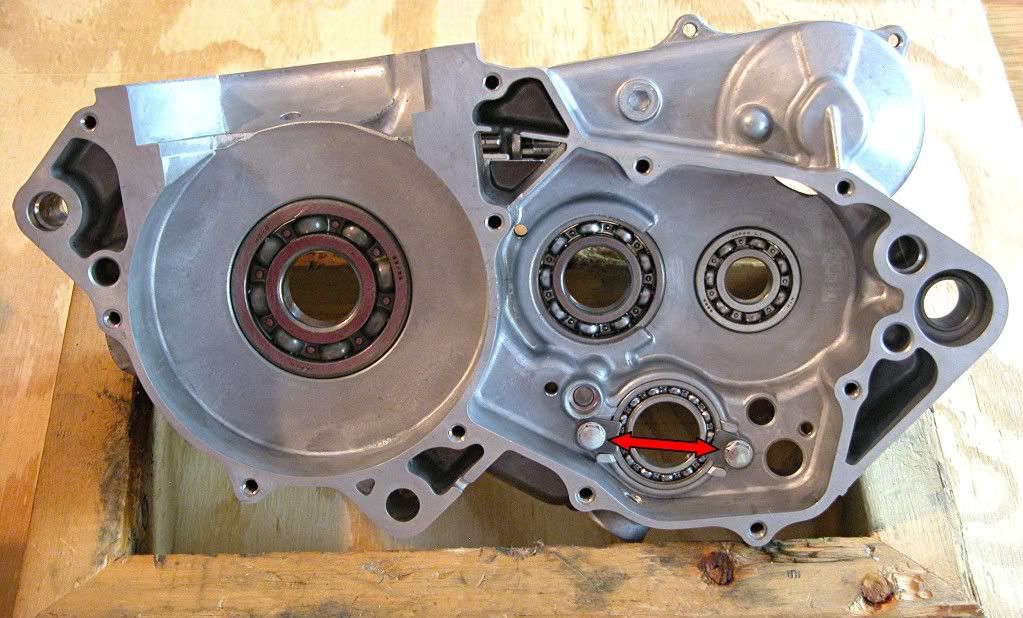
Starting with the right side case, install the bearing retainers
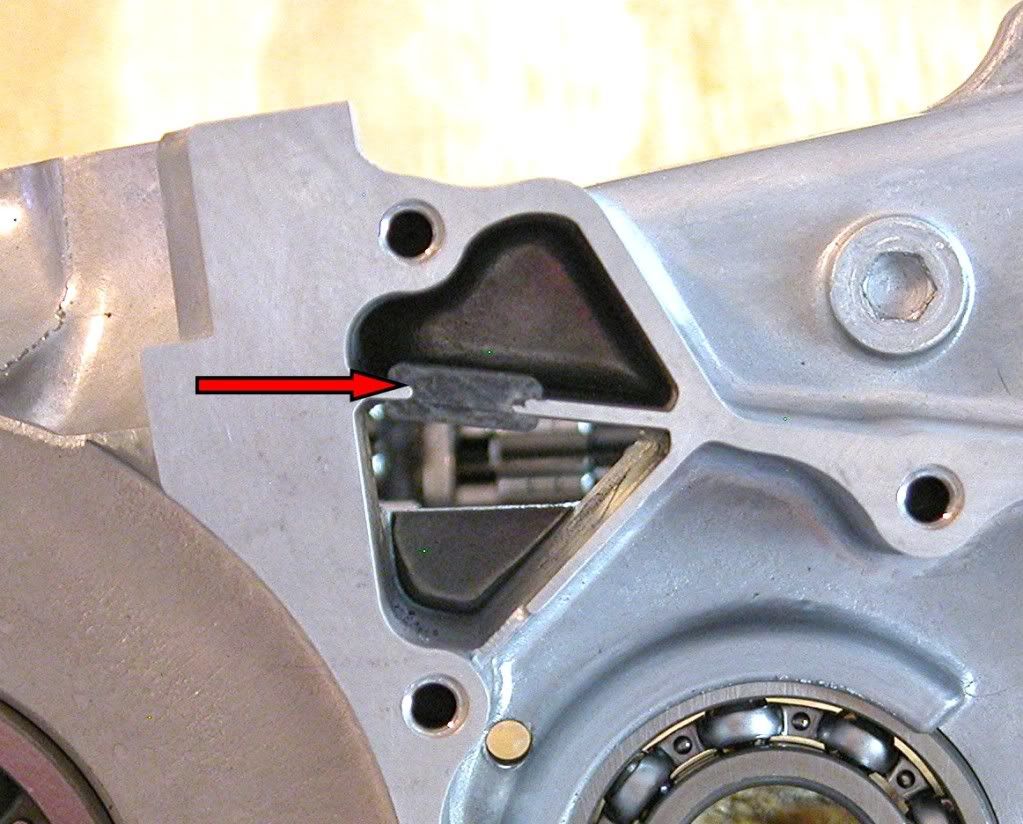
Install the rubber baffle.
Install the crankshaft in the right side case using a crankshaft installation
tool.
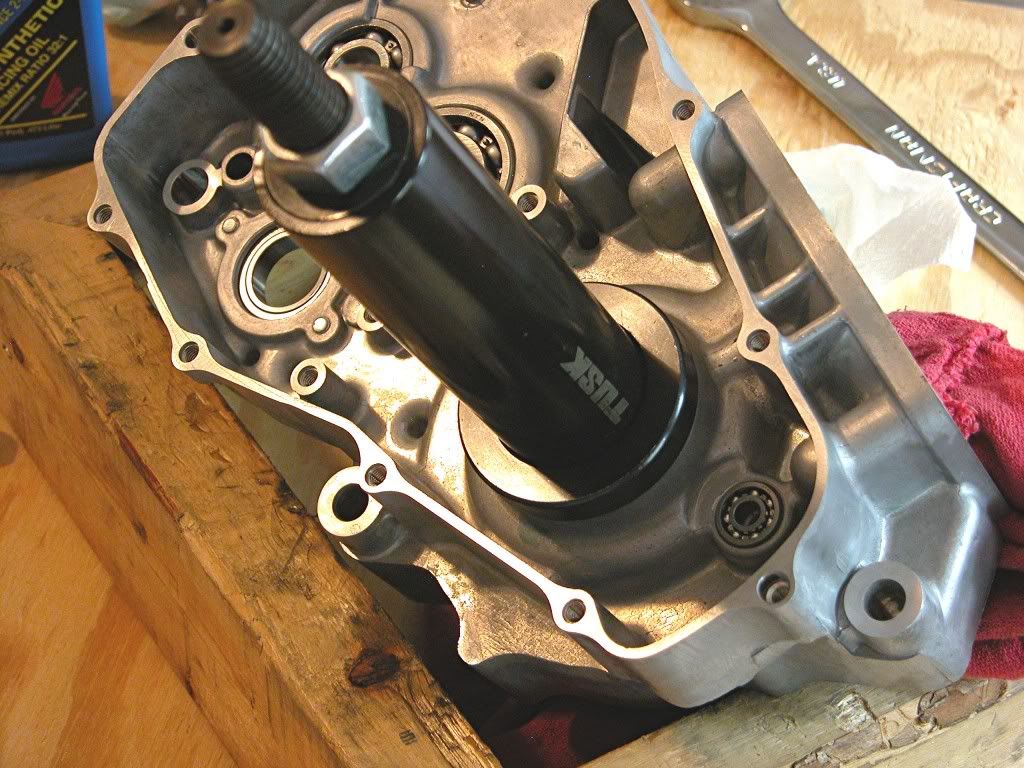
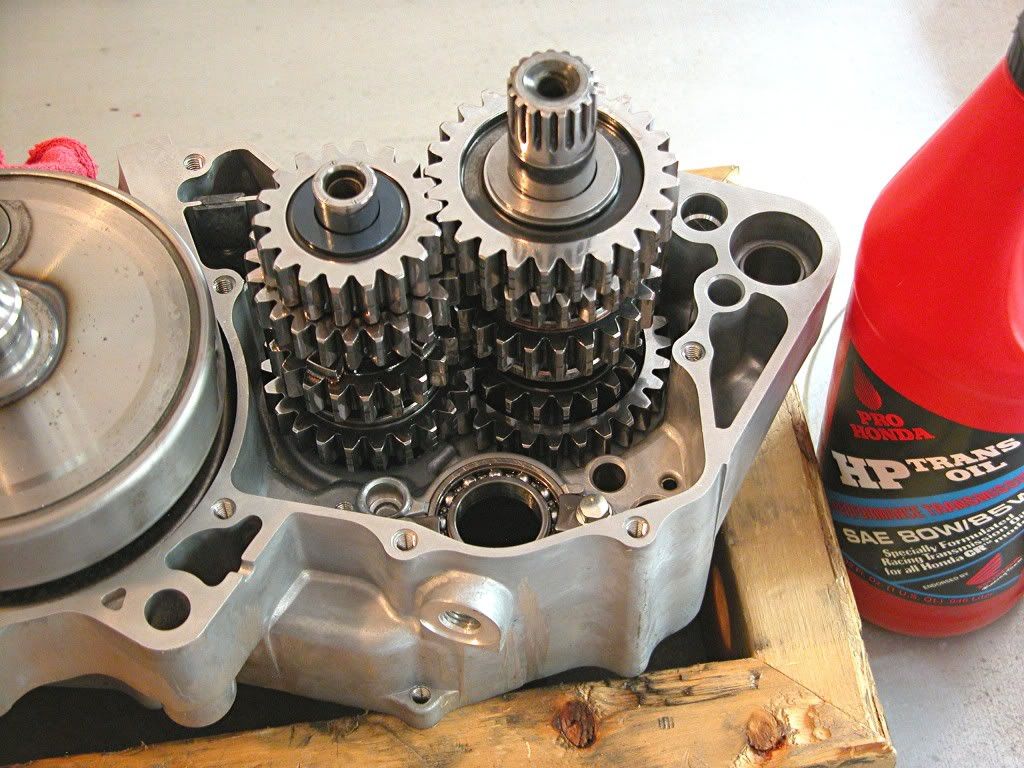
Then install the previously assembled transmission clusters
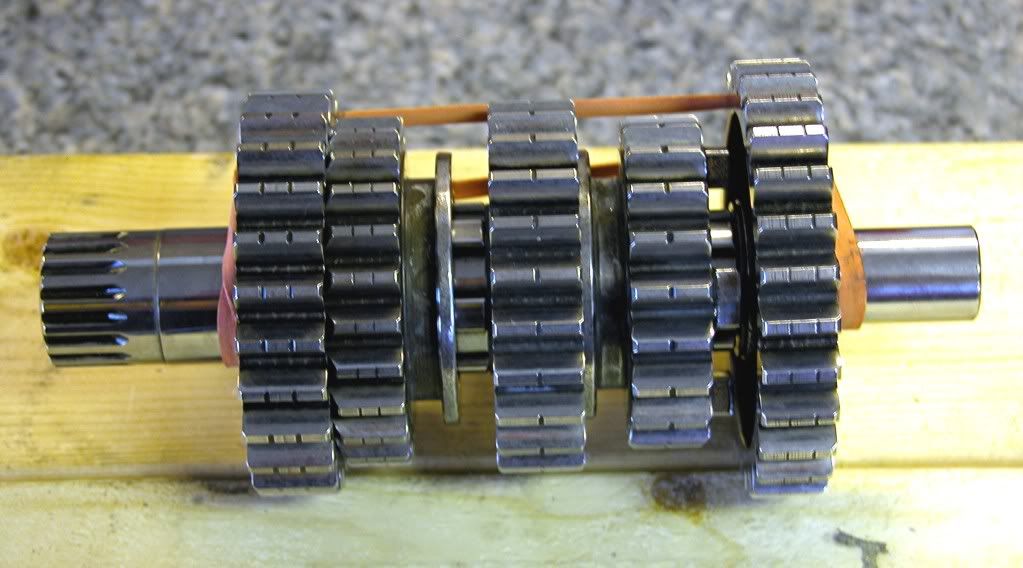
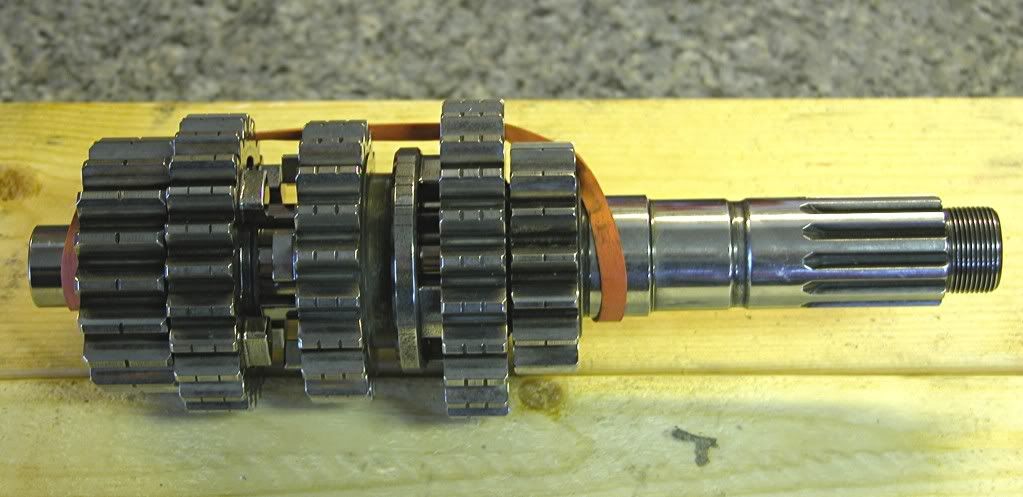
after lubricating with clean gear oil (Honda HP Pro) into the right side case.
The clusters have to be installed meshed together.
Next up are the shift forks. Forks stamped "R" and "L" on the right
side of the shift drum with "R" on the bottom and the fork stamped
"C" on the left. Douse everything in gear oil before installing
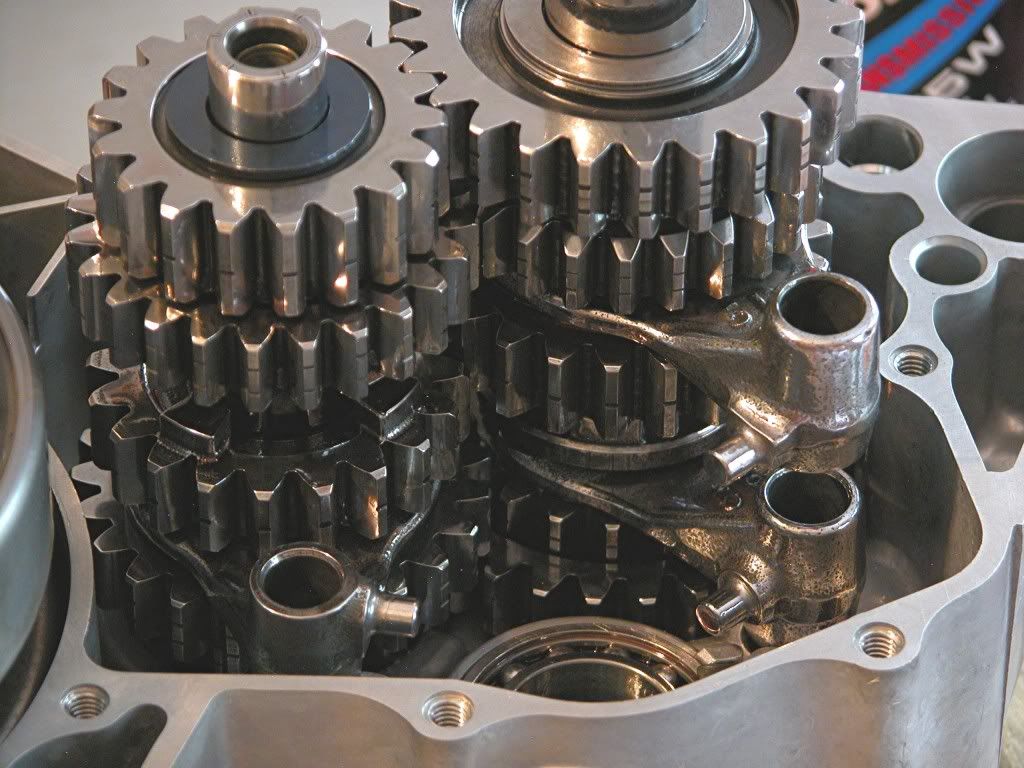
Now install the shift drum after coating it with gear oil. Insert the shift
fork pins into the shift drum grooves.
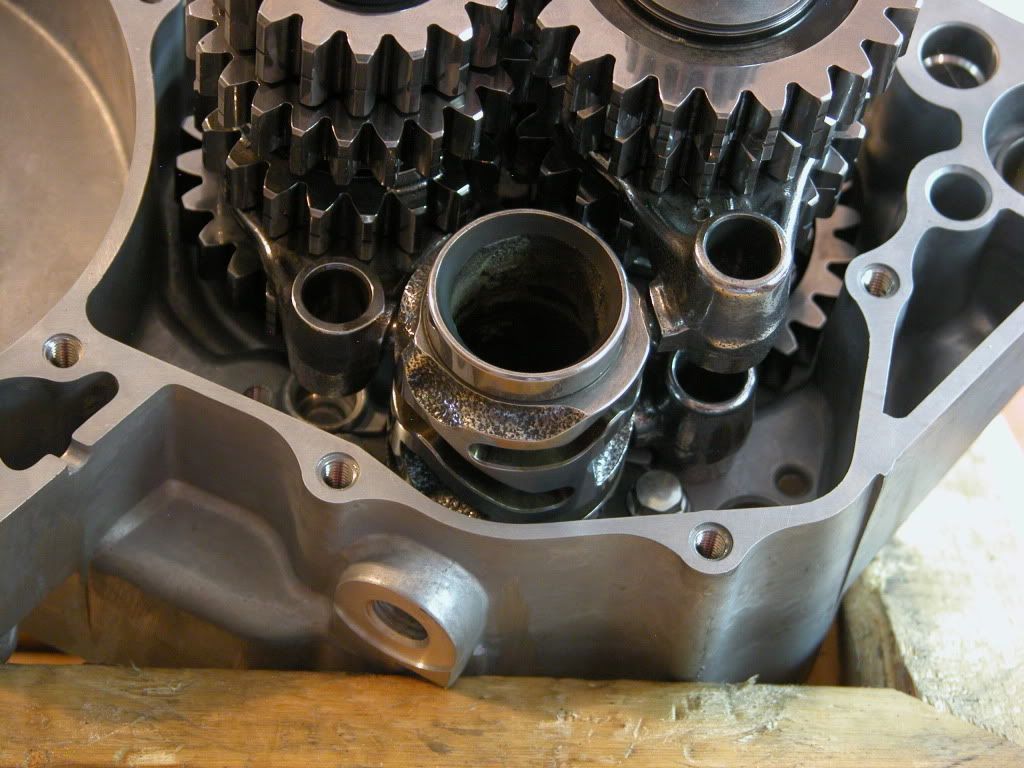
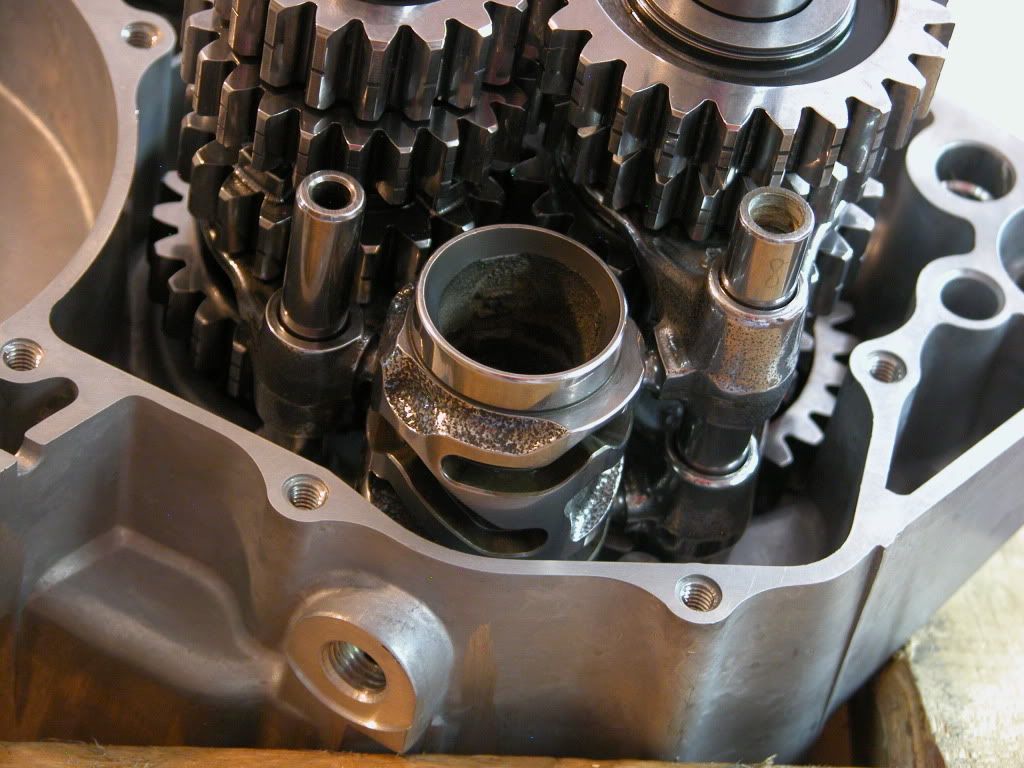
Finally, coat the shift fork shafts with gear oil and install.
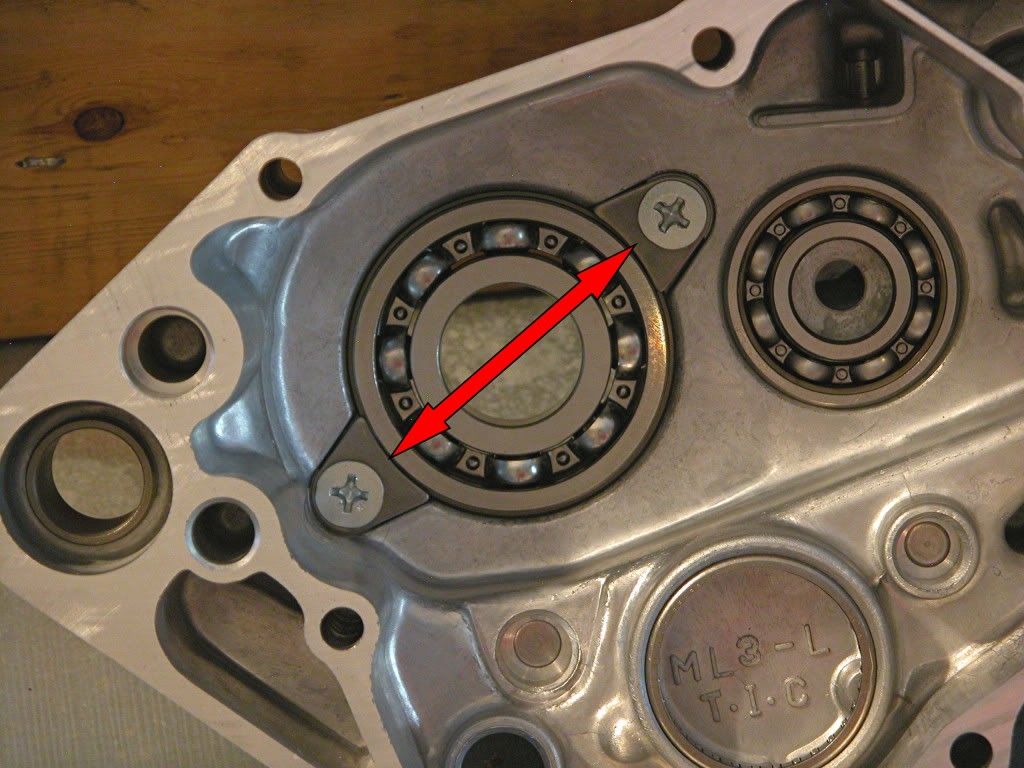
Now turn your attention to the left side case half and install the bearing
retainer as shown using threadlock on the screws and torquing to 7 lb.ft.
install the crankcase ventilation hose.
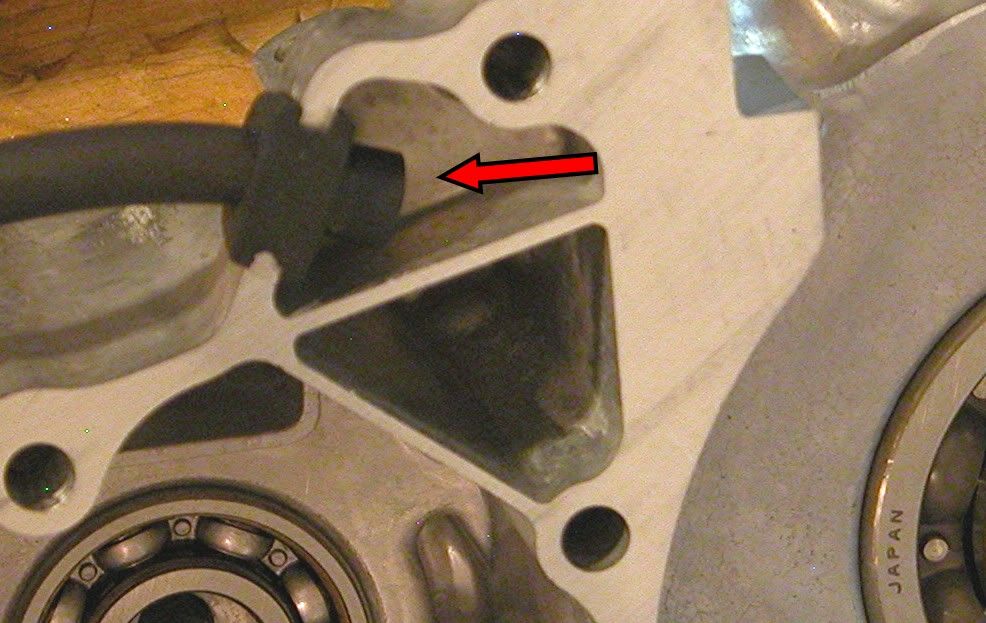
Back to the right side case, lubricate the two dowels with oil and install
along with a new gasket.
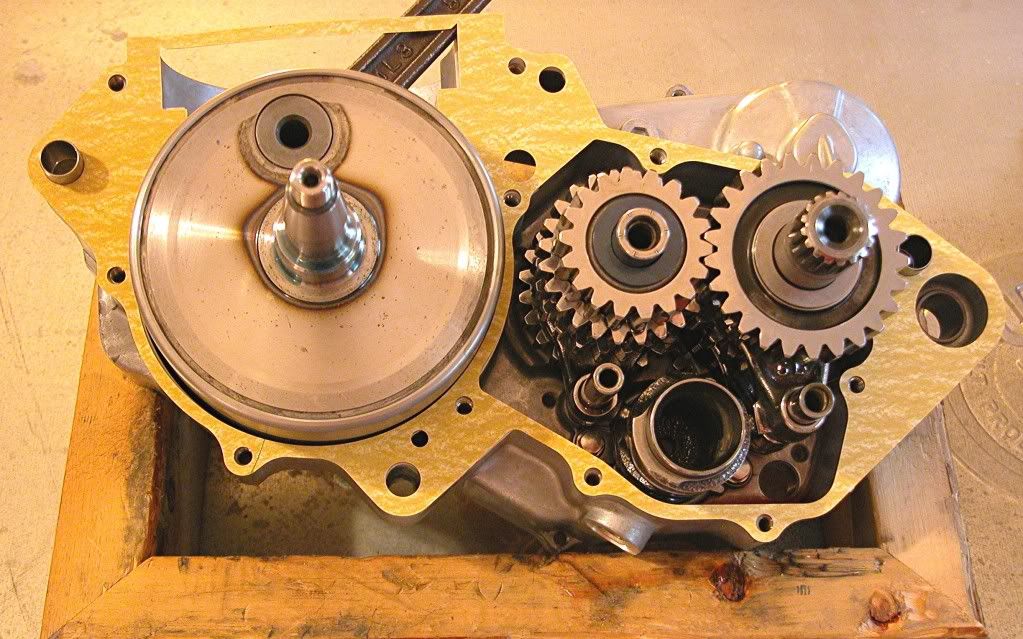
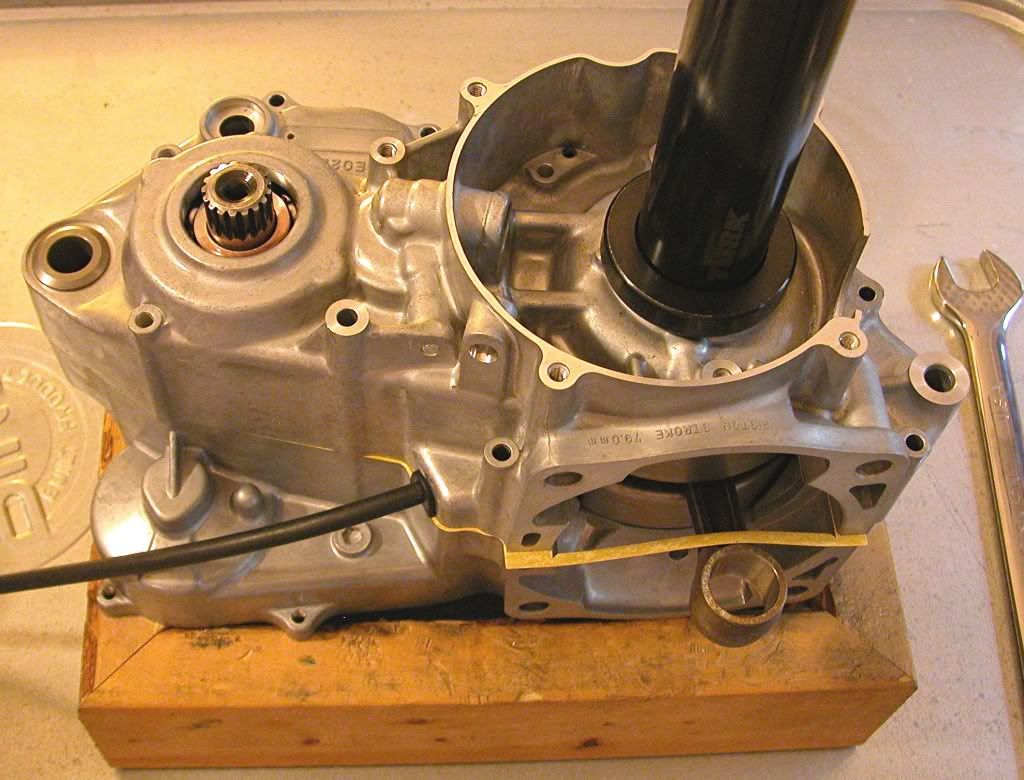
Place the left side case on the right and install using the crankshaft
installation tool as shown to pull the case together while keeping a
constant gap.
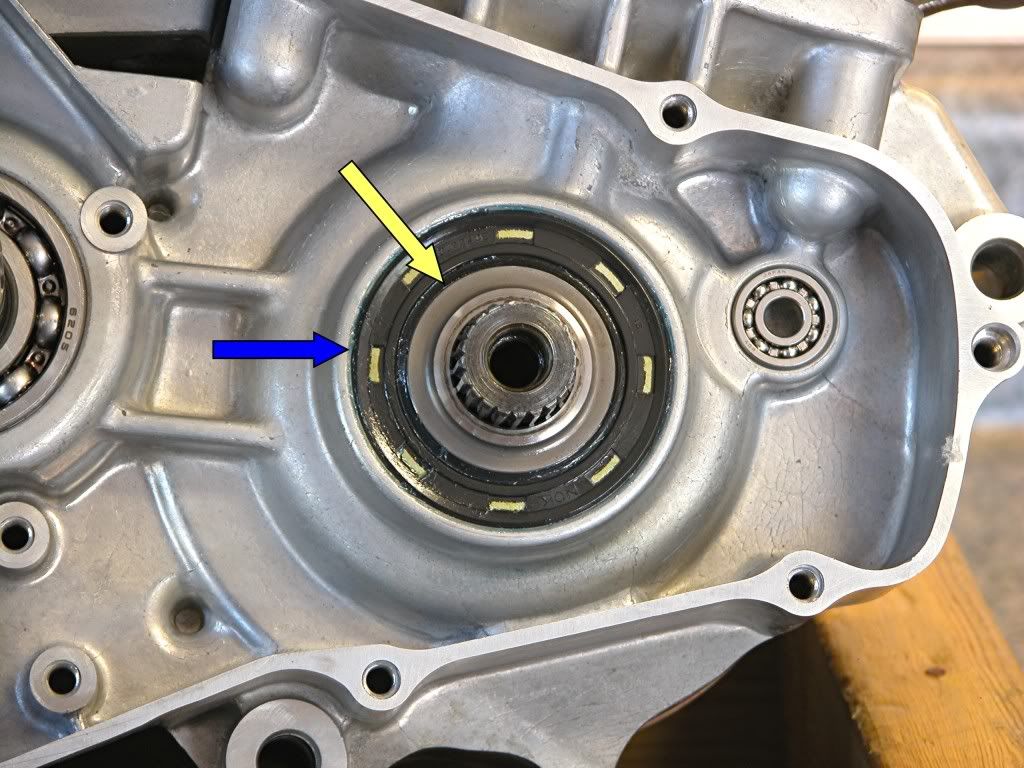
Remove the crankshaft installation tool, install the 10 bolts (Red arrows),
and tighten to 7 lb.ft. Pack the seal lips with grease and install (Blue
arrows). Grease a new O ring and place it in the collar (Yellow arrow)
and install. Don't forget the seal over the clutch actuating rod bore
inside the ignition cavity (not marked). Finally, trim the excess gasket
material above the cylinder deck.
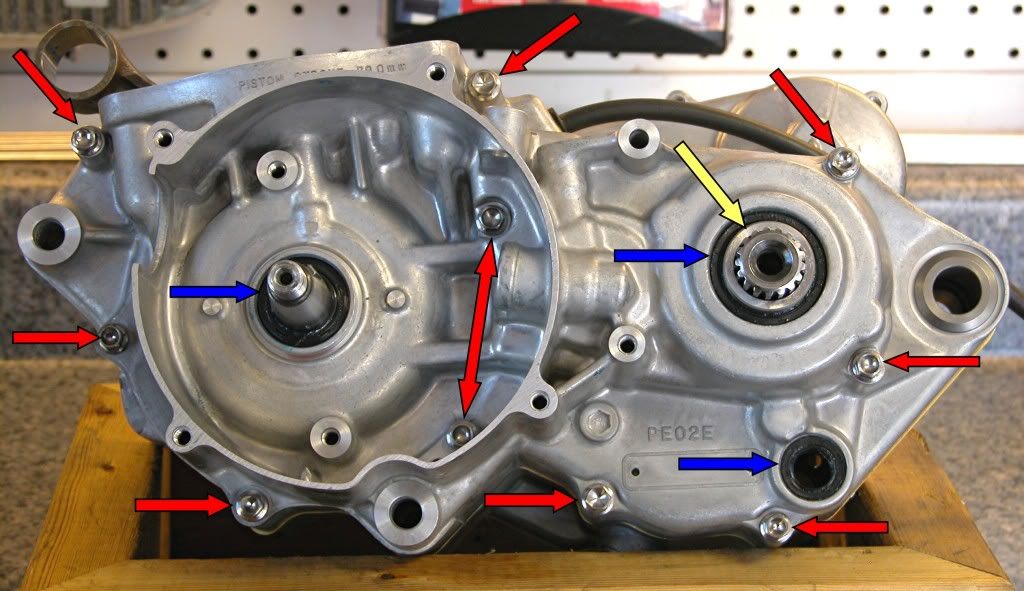
Grease the lips and install a new seal (Blue arrow), and collar (Yellow
arrow), on the right side.
That wraps up this segment. Next up are all the components in the right
side case cover and the ignition.
dogger
