installation and finish with the intake and carburetor.
Squirt some clean two stroke oil into the ring landings of the piston.
Carefully spread the rings and install with the mark facing up and the
gap centered on the pin.
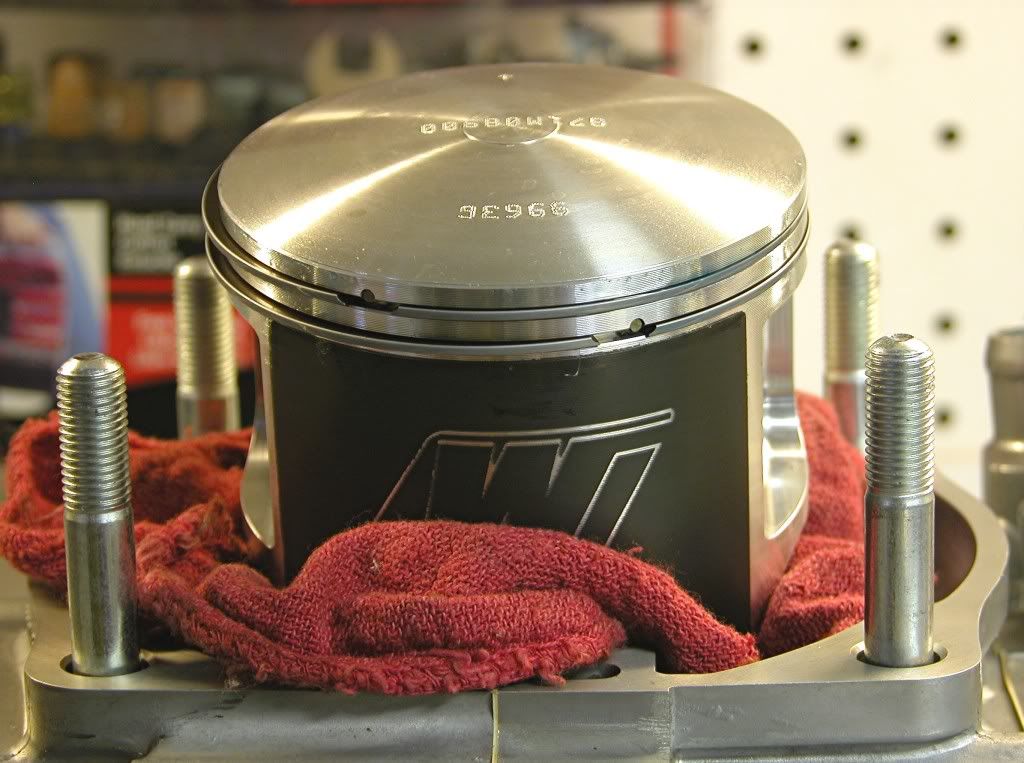
Install the two allignment dowels on the left side cylinder studs.
Place a new base gasket on the crankcase and carefully lower the cylinder
over the compressed rings until seated on the crankcase. Be careful not
to rotate the cylinder during this process because it is possible to snag and
break a ring.

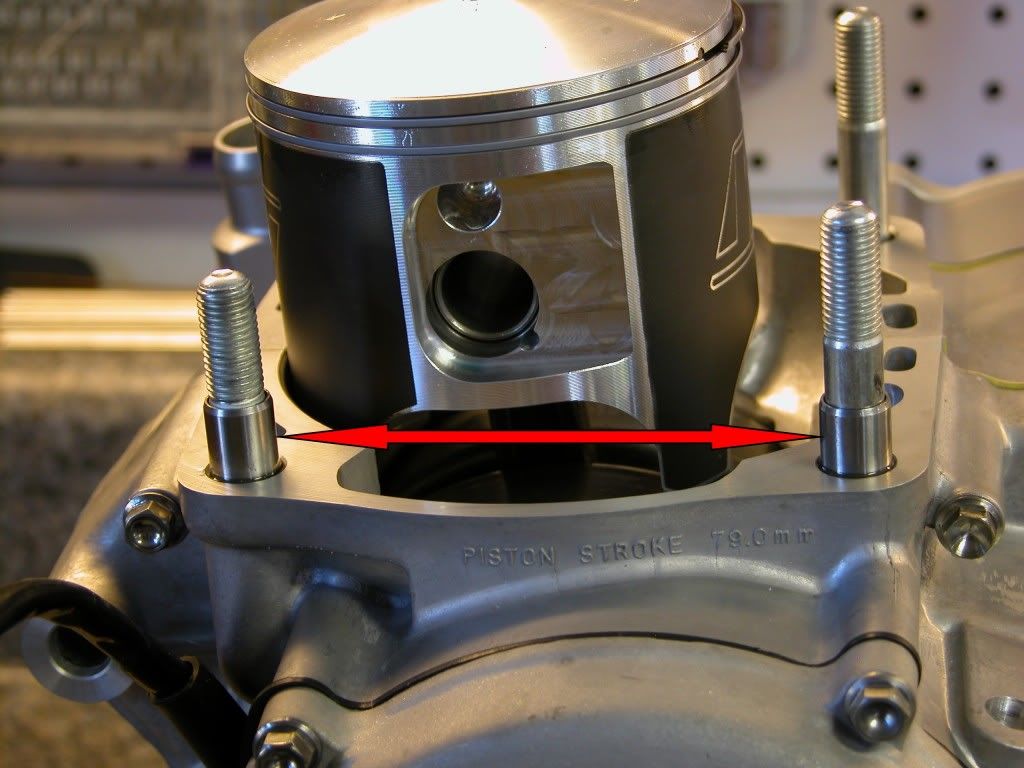
Place several drops of oil on the landings and apply anti seize to the cylinder
studs.
Install the four flange nuts and using a torque extension tool, torque the
nuts to 29 lbft in three steps and in a criss cross pattern.
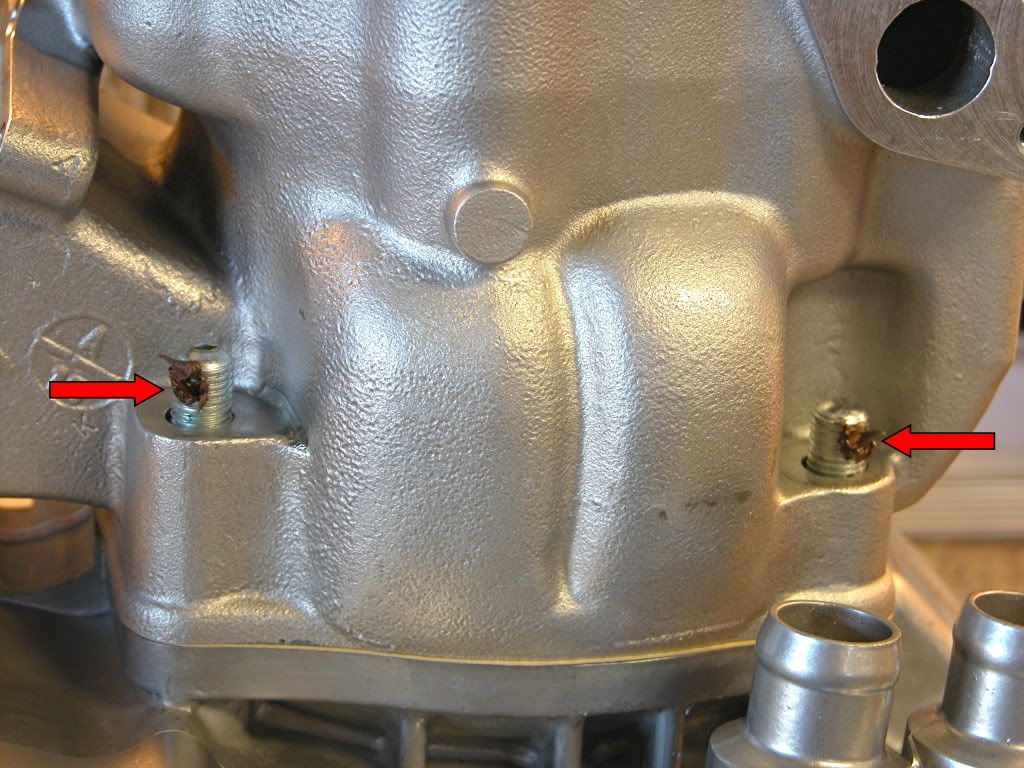
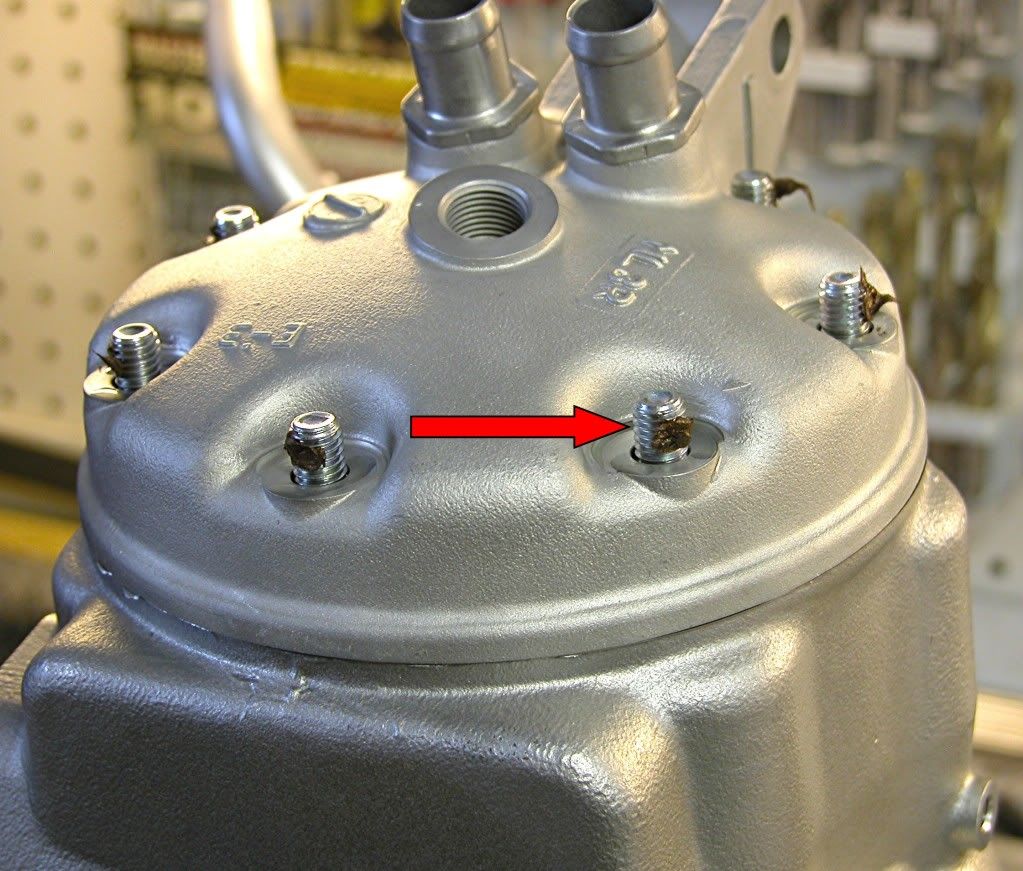
Install the coolant drain bolt into the left side of the cylinder using a new
copper washer and torque to 7 lbft. Install the exhaust flange using a new
gasket and torque the bolts to 7 lbft.

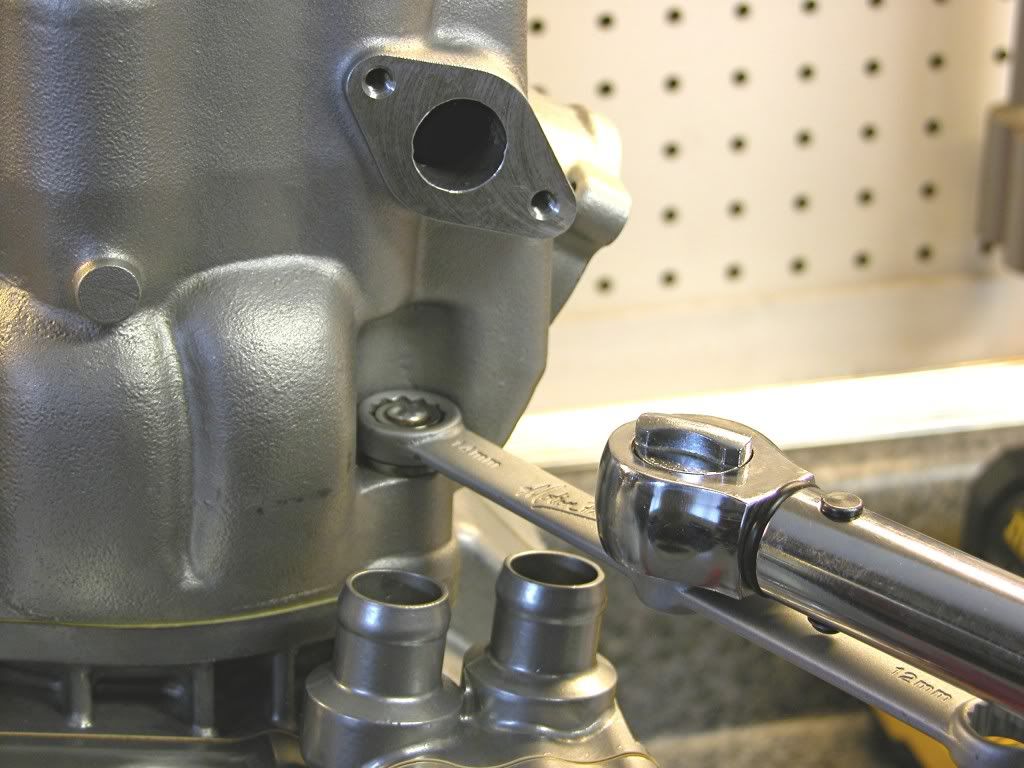
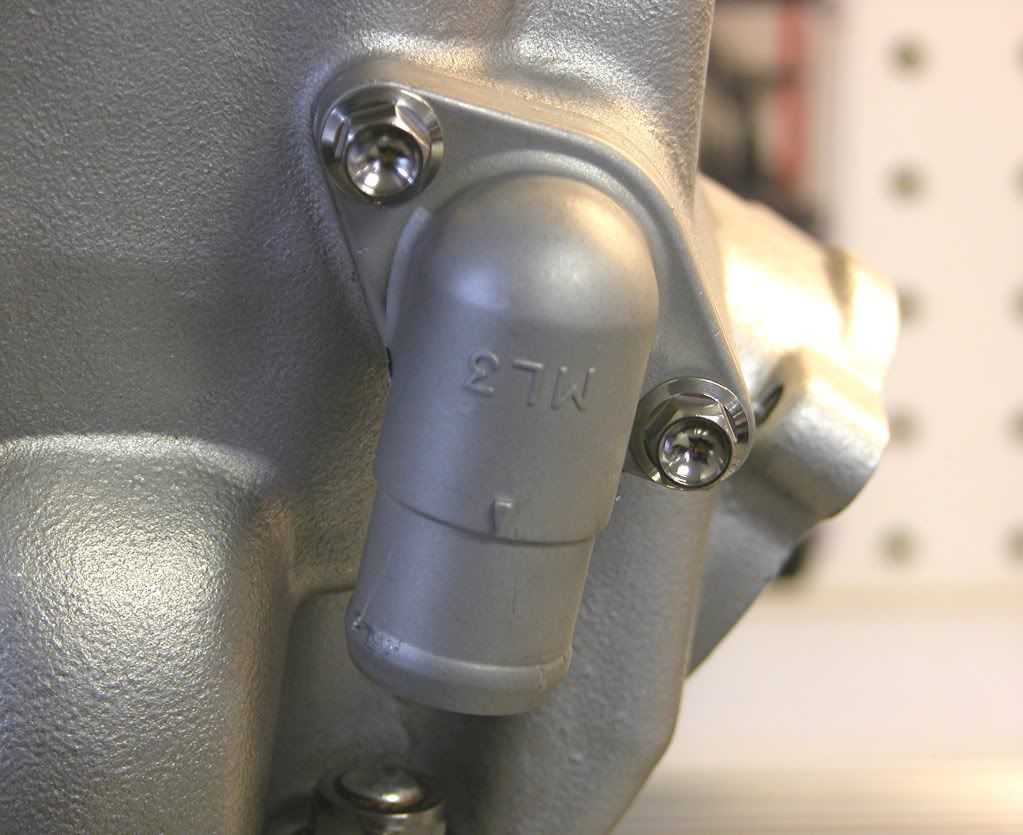
Place a new O-ring in the water hose joint.
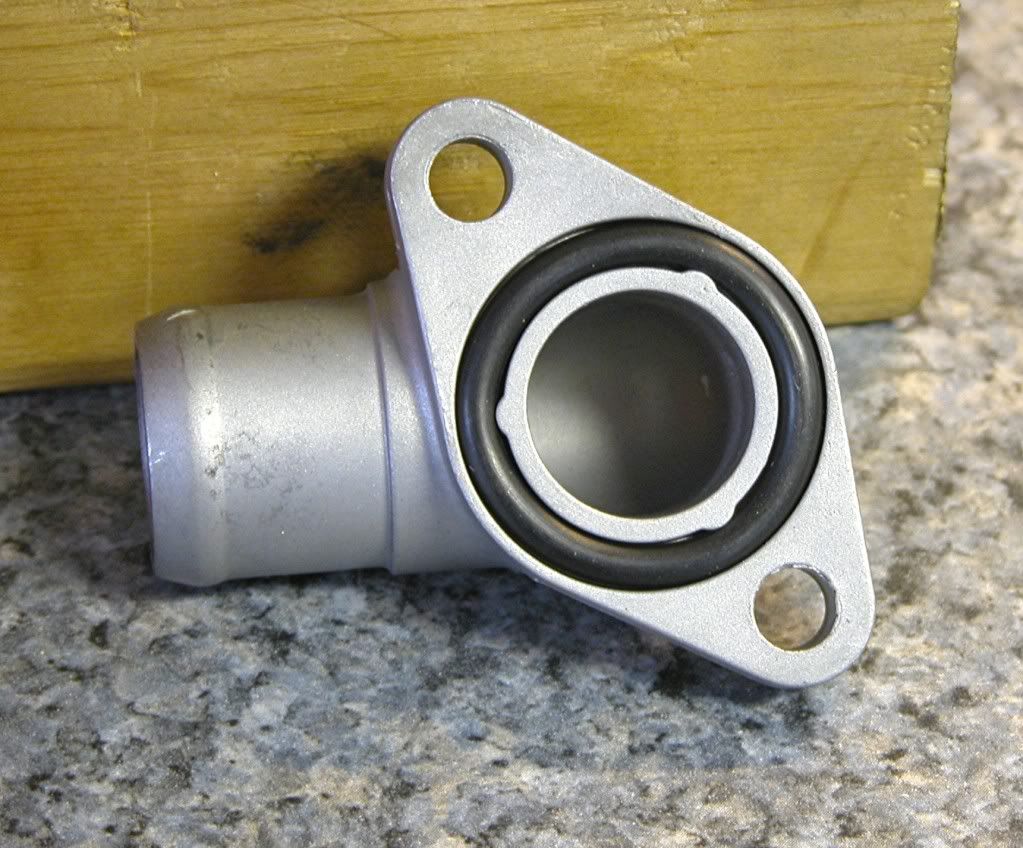
Install the joint to the right side of the cylinder. Torque the bolts to 7 lbft.
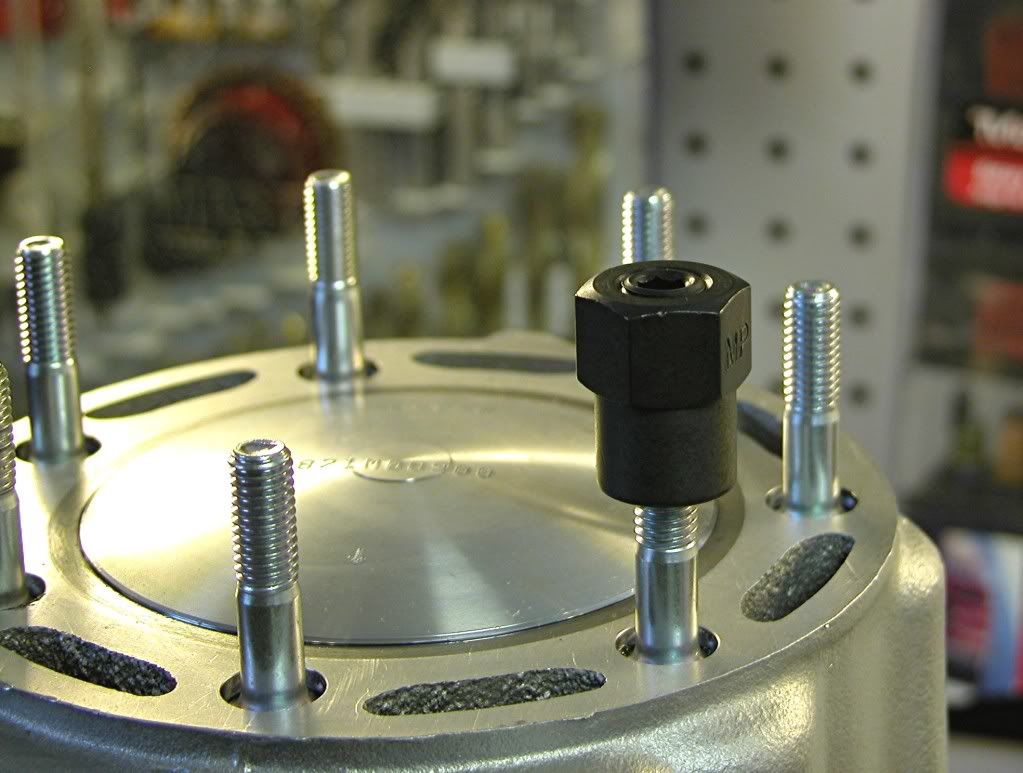
Install the seven cylinder head studs into the top of the cylinder. Prep the
studs with Blue loctite on the bottom and antiseize higher up on the threads.
Torque the studs to 9 lbft. using oposing flange nuts or a stud installer.
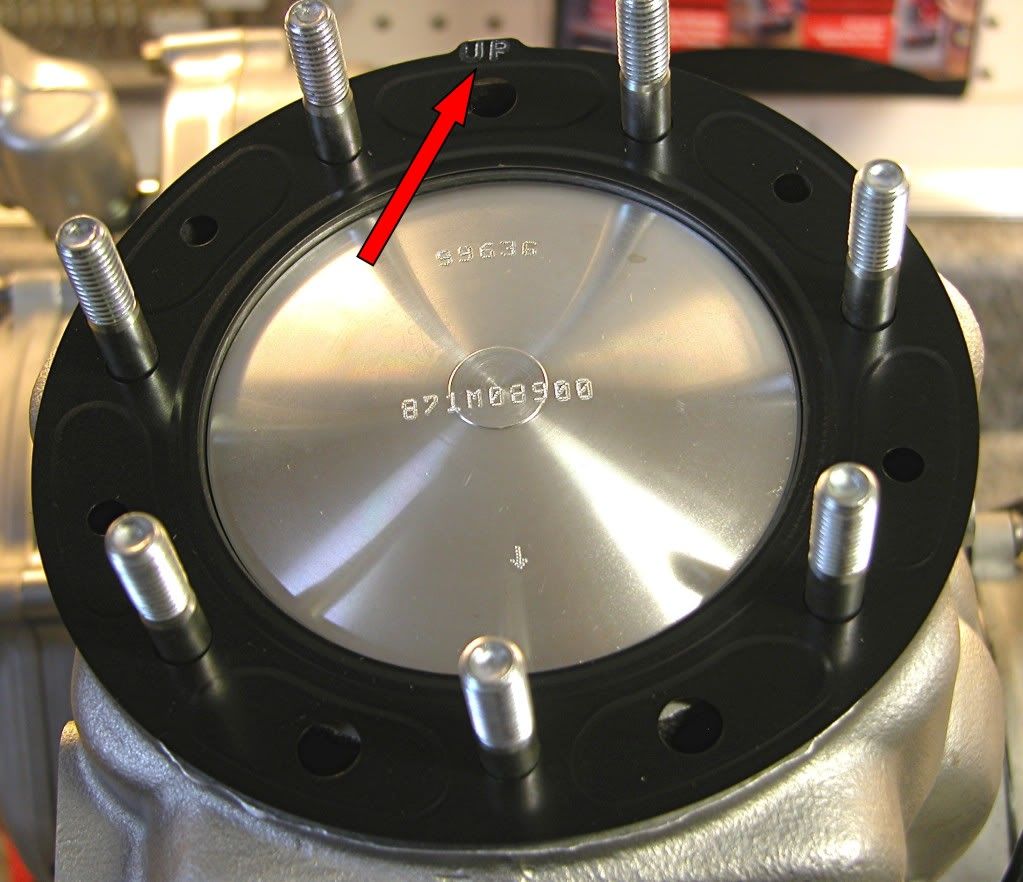
Place a new head gasket with the "UP" mark facing aft onto the cylinder.
Install the cylinder head. Apply several drops of oil to the flange landings
and anti-seize to the threads.
Install the cylinder head flange nuts and torque to 20 lbft in three steps and
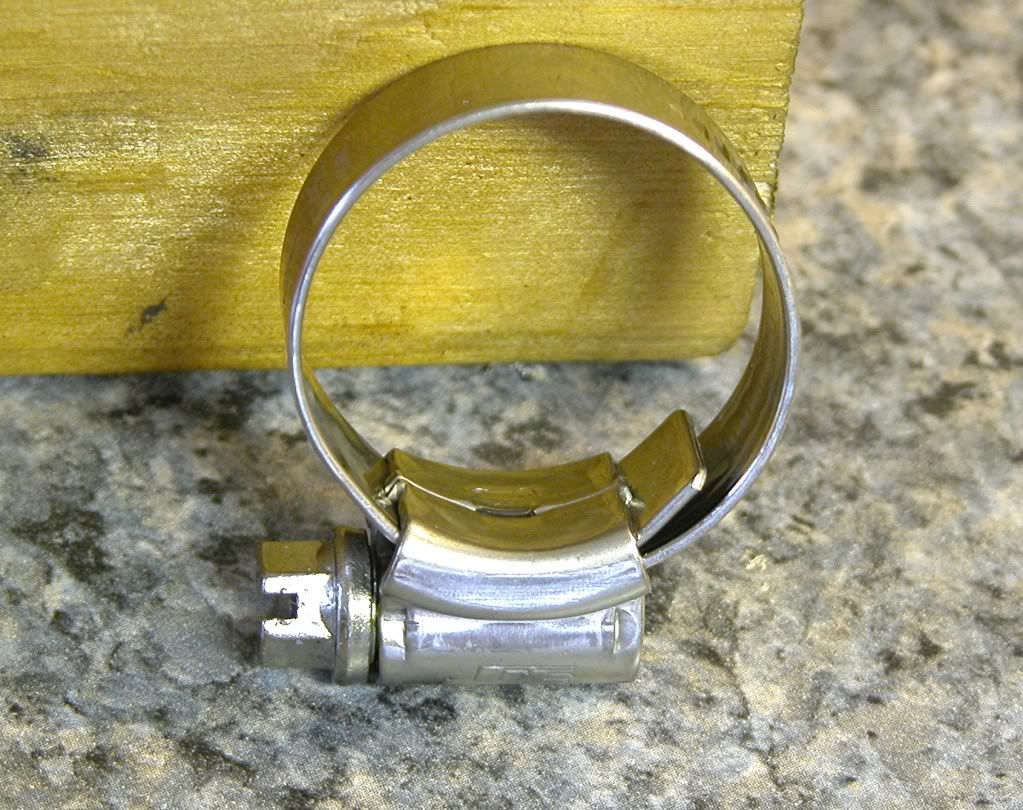
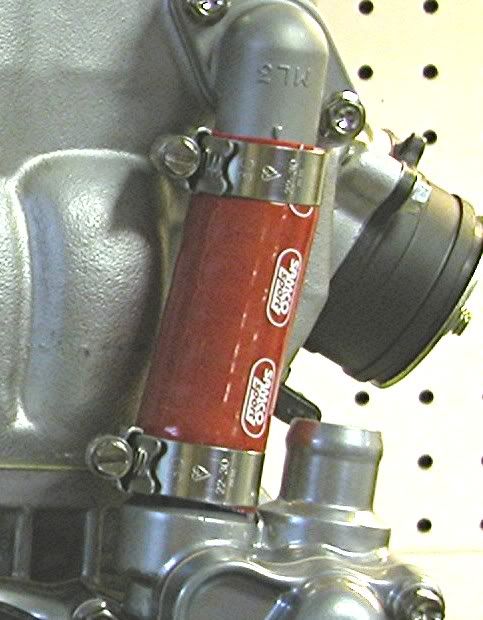
in a criss cross pattern. Next, install the coolant hose. If you use silicon
hose, make sure to use silicon hose specific hose clamps. These clamps
have a smooth surface around the worm gear and beveled edges so they
won't cut the hose like a normal clamp.
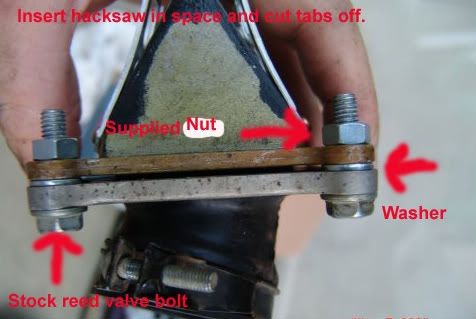
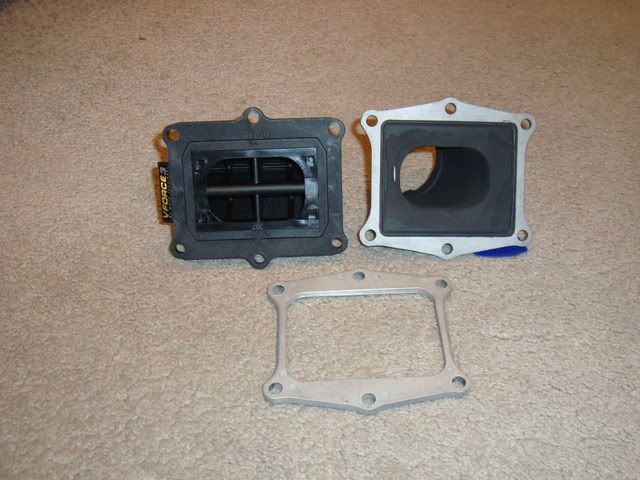
Next up is the intake. I am using a VForce 3 reed valve. This valve requires
the removal of the rubber reed stuffers present on the stock Honda intake.

Spray some Blue Permatex gasket adhesive on one of the gaskets included in
the VForce kit and allow it to tack up.

Place the gasket on the intake.

Install the VForce

Use the second included gasket between the VForce reed and the intake
and secure using the six hex flange bolts. Torque the bolts to 6.5 lbft.

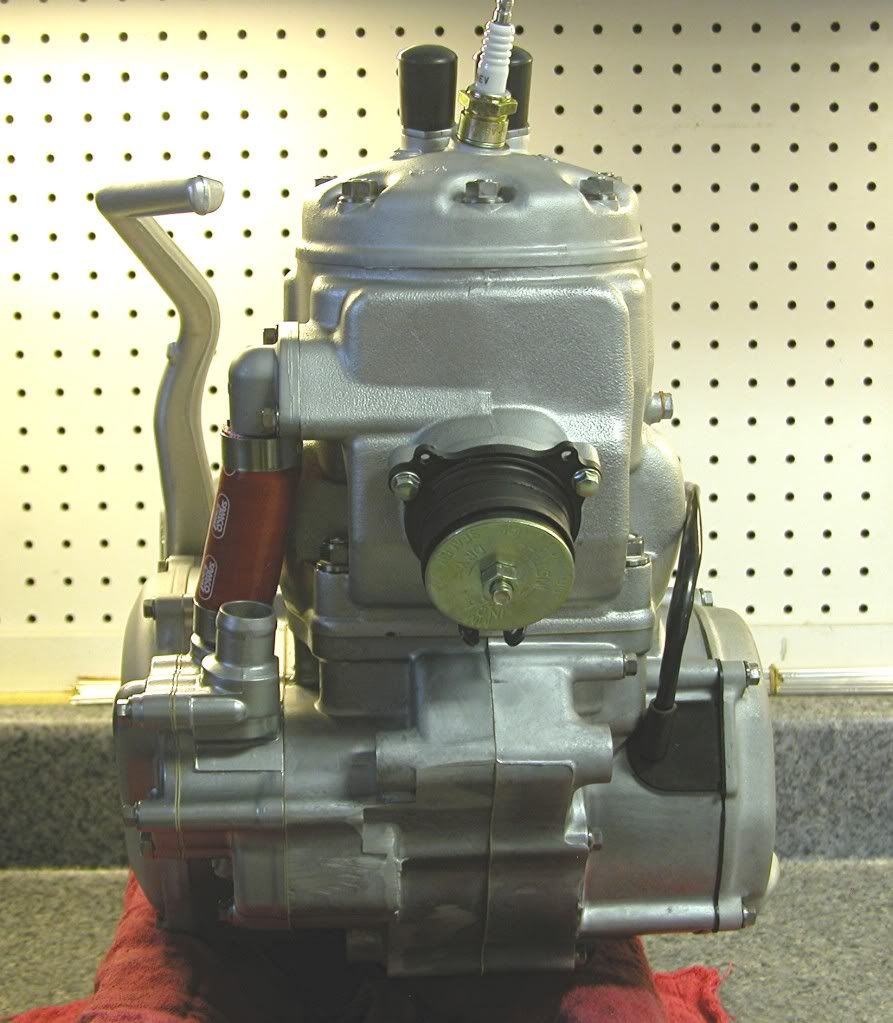
Install the spark plug and perform a leak down test. This is a critical test
that will determine if the engine is air tight for all intents and purposes.
I use a Motion Pro tester and pump the engine to 6 psi before starting
the stop watch. This engine didn't lose any pressure over the 5 minutes
I measured - good enough for me. A pressure loss of 1psi/min is the
maximum you should allow. Any more than that and you will have
problems.
Next install the carburetor, in this case a 39.5mm Keihin PWK, and you are
done.
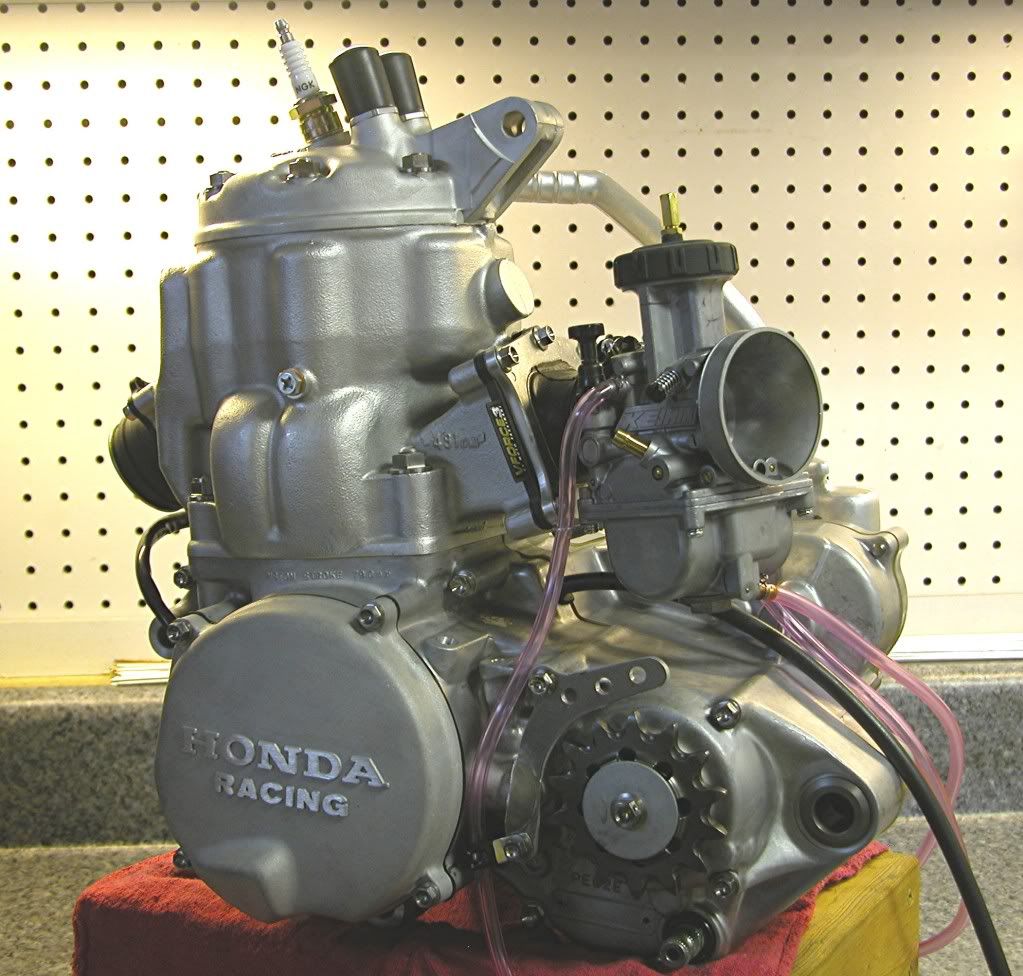
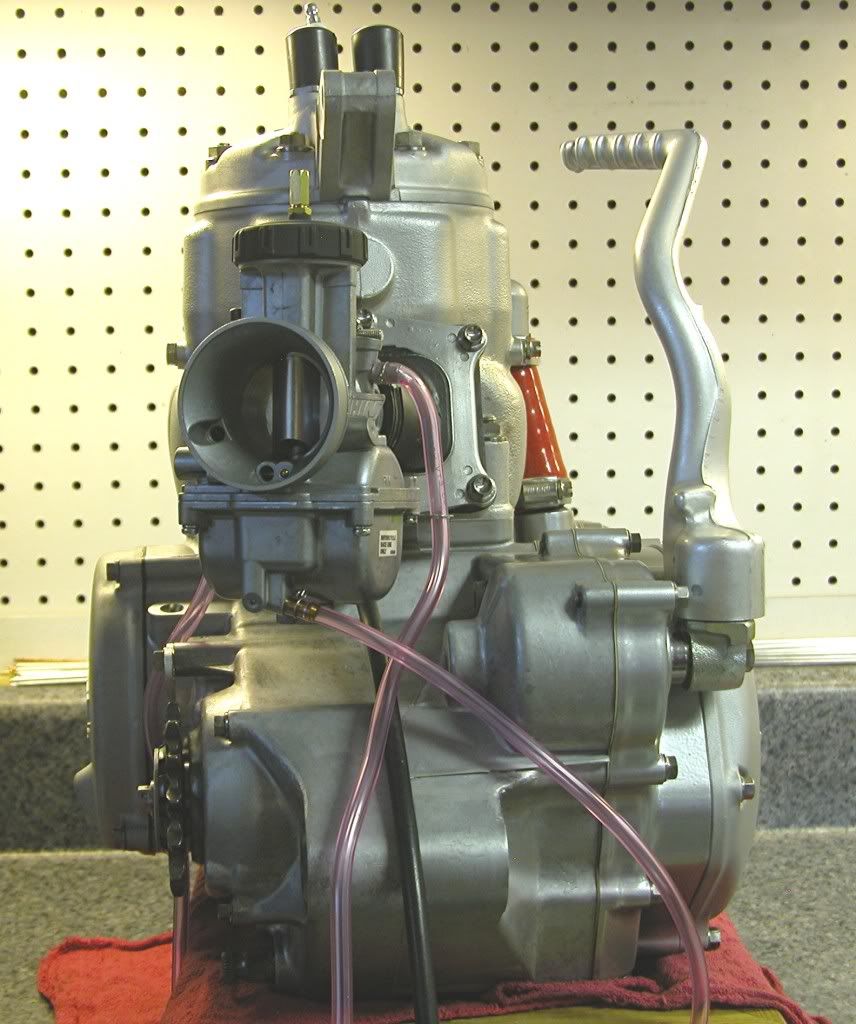
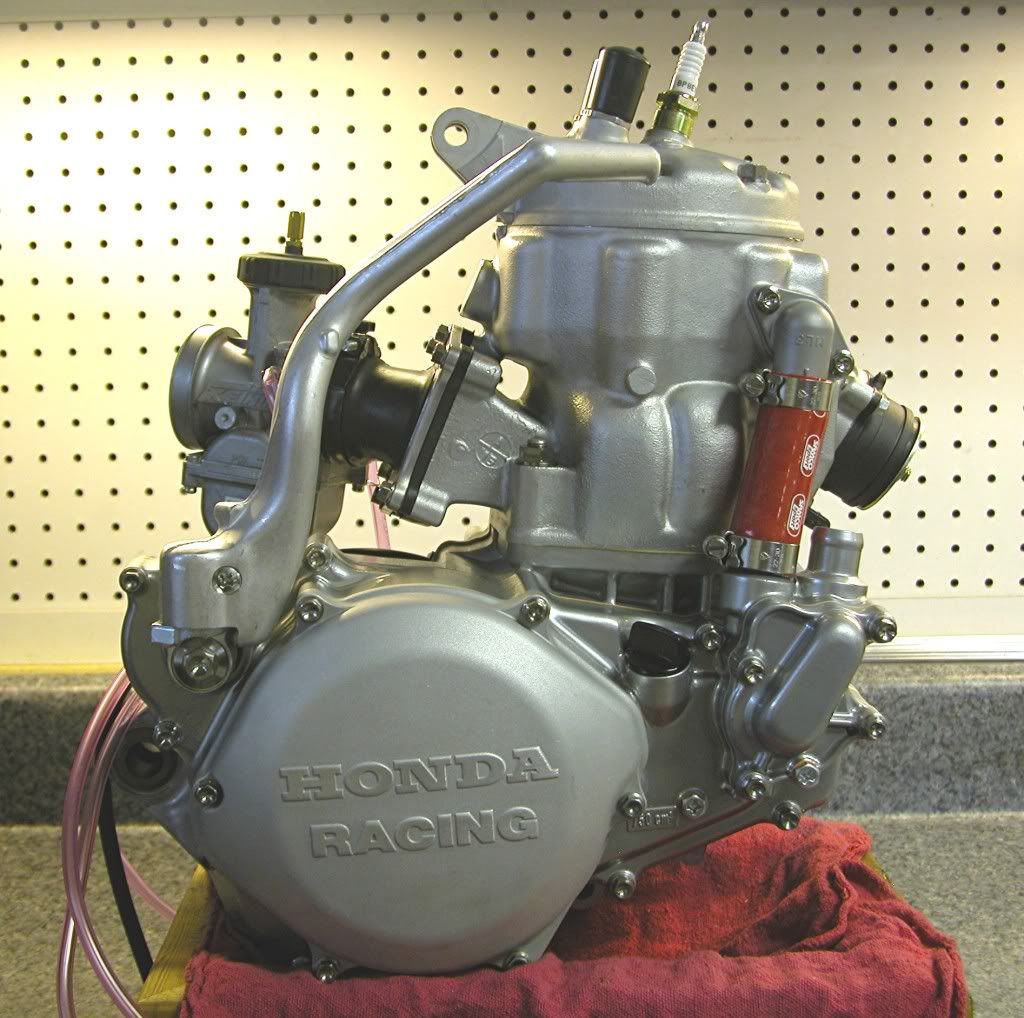
This engine should produce about 70 hp with a smooth useable
powerband.
dogger
--------------------------------------------------------------------------------