Motard

Building Tips, Suspension Set Ups, Conversion Parts .... Build to your Heart's Content!
User avatar
matt_NC
Posts: 70
Joined: December 2nd, 2009, 4:02 pm

Motard

Post by matt_NC »

I'm building a CR500AF motard.

I've been doing homework and collecting parts for almost a year now.

I've been getting a bunch of work done lately.


Image
Frame cut and fabbed ala AlisoBob


Image
Welded


Image
Rolling chassis!!!

:headbang:
User avatar
Roostius_Maximus
Site Admin
Posts: 4641
Joined: November 16th, 2007, 3:24 pm
Location: Mt Nebo, Manitoba, Canada
Contact:

Post by Roostius_Maximus »

bitchin
User avatar
sabreguy
Posts: 2915
Joined: June 1st, 2007, 5:07 pm
Location: Middle of the Freakin Mojave Desert!

Post by sabreguy »

Roostius_Maximus wrote:bitchin
X2
88CR500
ROOST ON PEOPLE!!!
User avatar
gregrobo
Posts: 1064
Joined: April 18th, 2009, 8:47 am
Location: kalgoorlie, western australia

Post by gregrobo »

love the mirror for effect :lol:
only posties ride 4 stroke hondas
goldfields sheet metal fabrication
98 yzfr1
05 crf 500 race tech goldies
2010 rmz 500af
01 banshee
User avatar
asteroid500
Posts: 1047
Joined: January 5th, 2009, 1:29 am
Location: Australia Melbourne

Post by asteroid500 »

Suprisingly very few motards give up there time & build info...pity,
should open a tread dedicated to the class.
Looks tuff mate.
"not speeding officer".....qualifying

CR250 97
CR500 AF 99 (in progress)
CR500 AF CR G-4
CR500 1985 true legend
RGV250 96 X2
GSXR600 07 TRACK BIKE
VH Commadore cup car (race)
torque monster
Posts: 193
Joined: June 7th, 2008, 12:04 am

Post by torque monster »

Did one last year, not much to it IMO. Slap some wheels on there and sliders/catch can and go ride. Just a few $$, nothing tricky about it.

If you really want to do it right send the suspension off for revalve, get some different triple clamps, get the big rotor w/ adapter, and get GSS to breath on the motor as even with tall gearing they fine on kart tracks(on and off the throttle) but a big track(lots of wide open throttle) and you'd be buzzing(vibration) like mad.
User avatar
matt_NC
Posts: 70
Joined: December 2nd, 2009, 4:02 pm

Finally some progress

Post by matt_NC »

Ok, so I've been crazy busy.

I made some progress:

Image

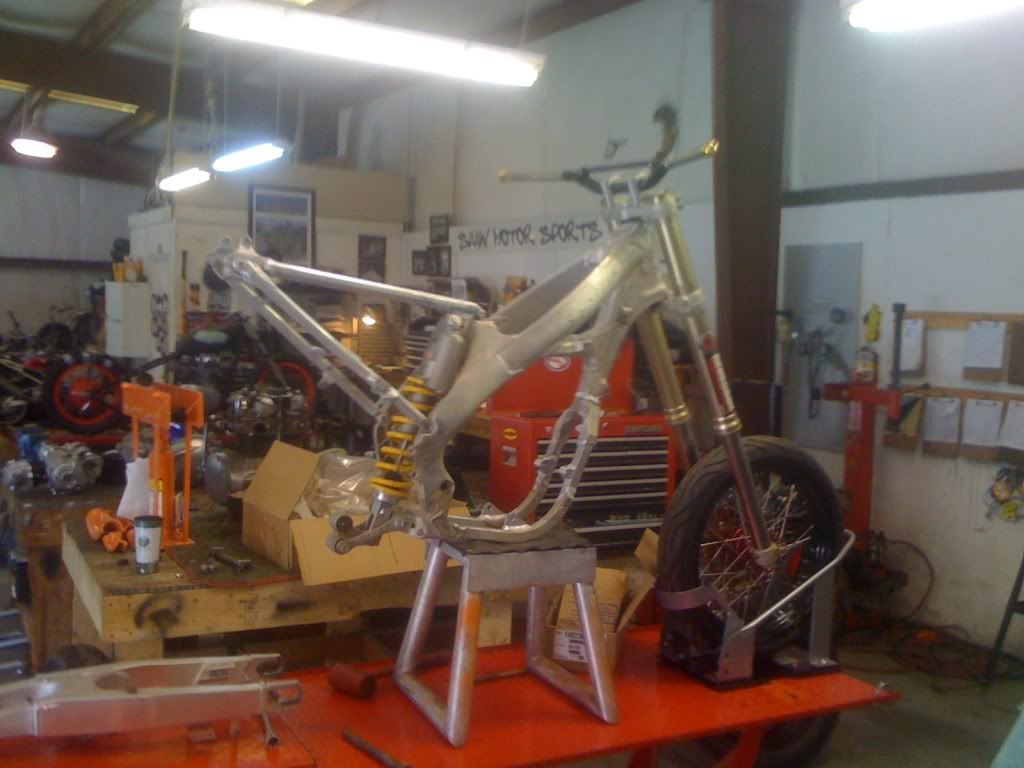
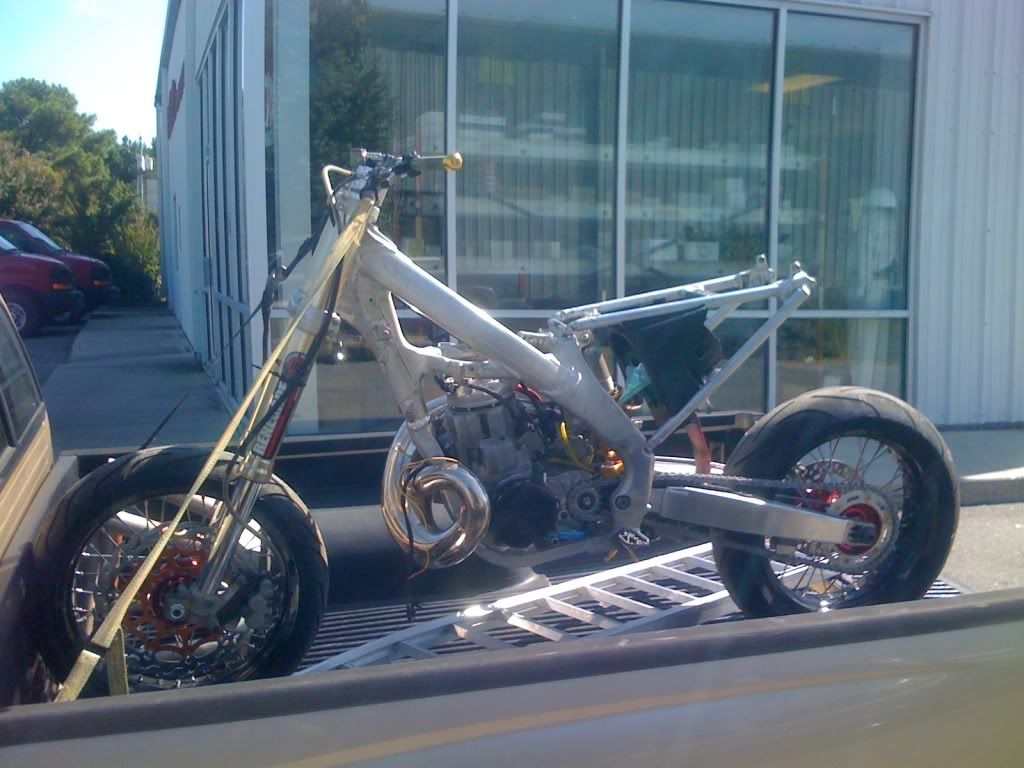
Last I posted, it was mocked up in my apartment. I rolled it down the stairs and brought to my buddy's bike shop. I had a whole day to work on it.


Image

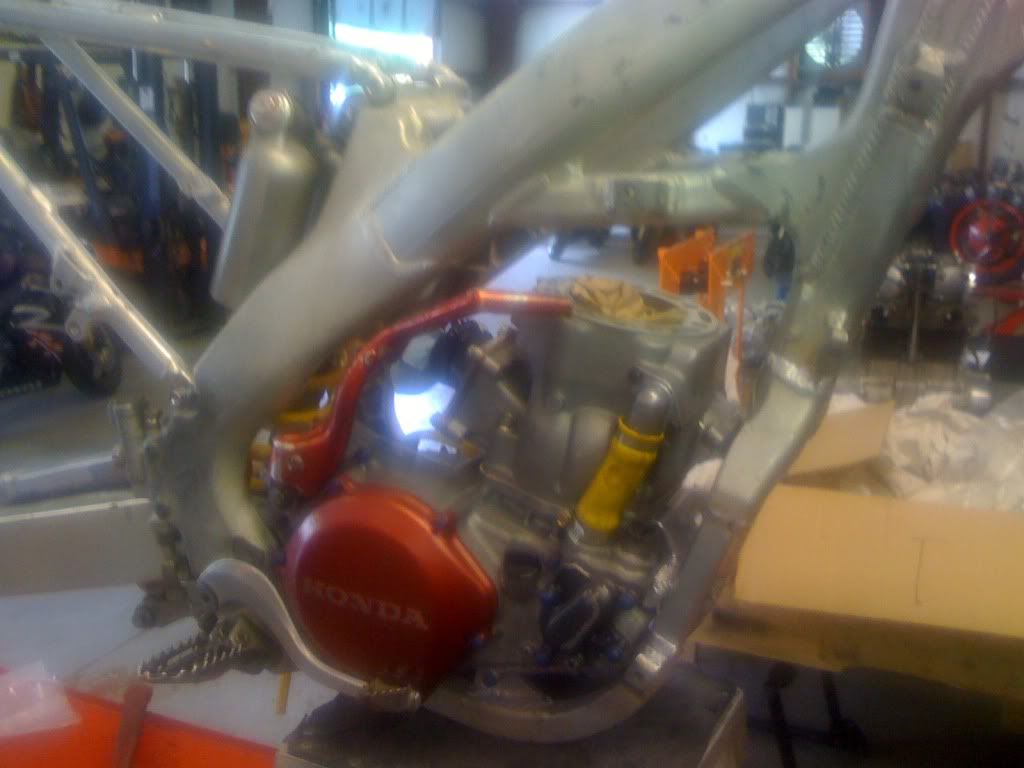
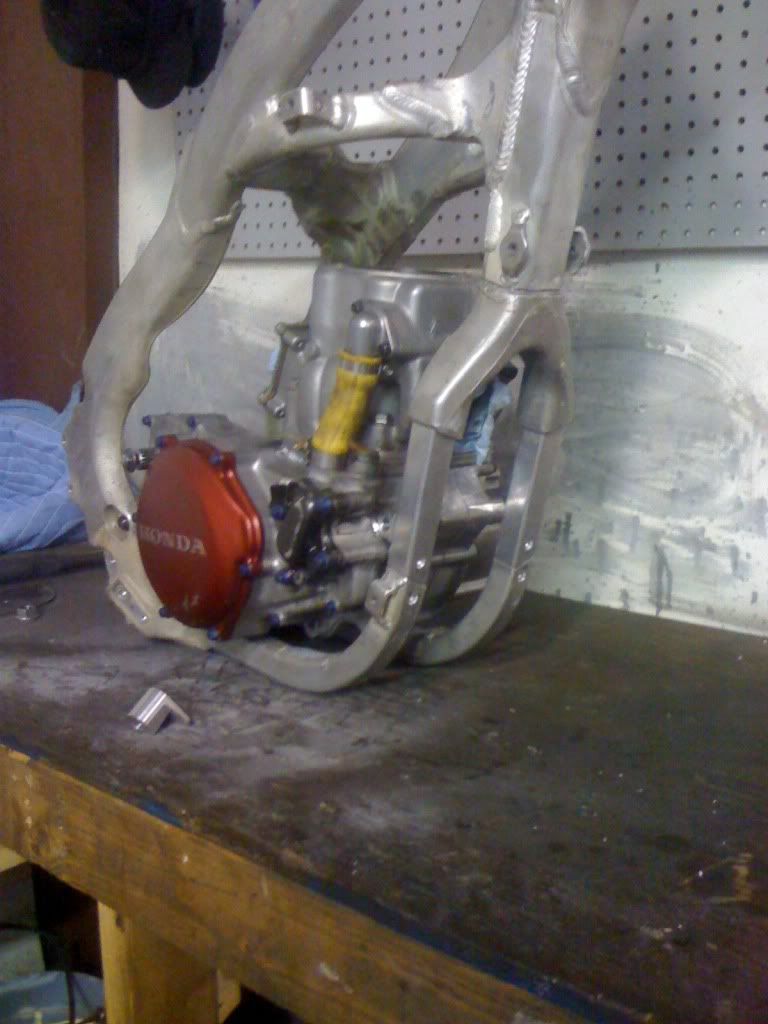
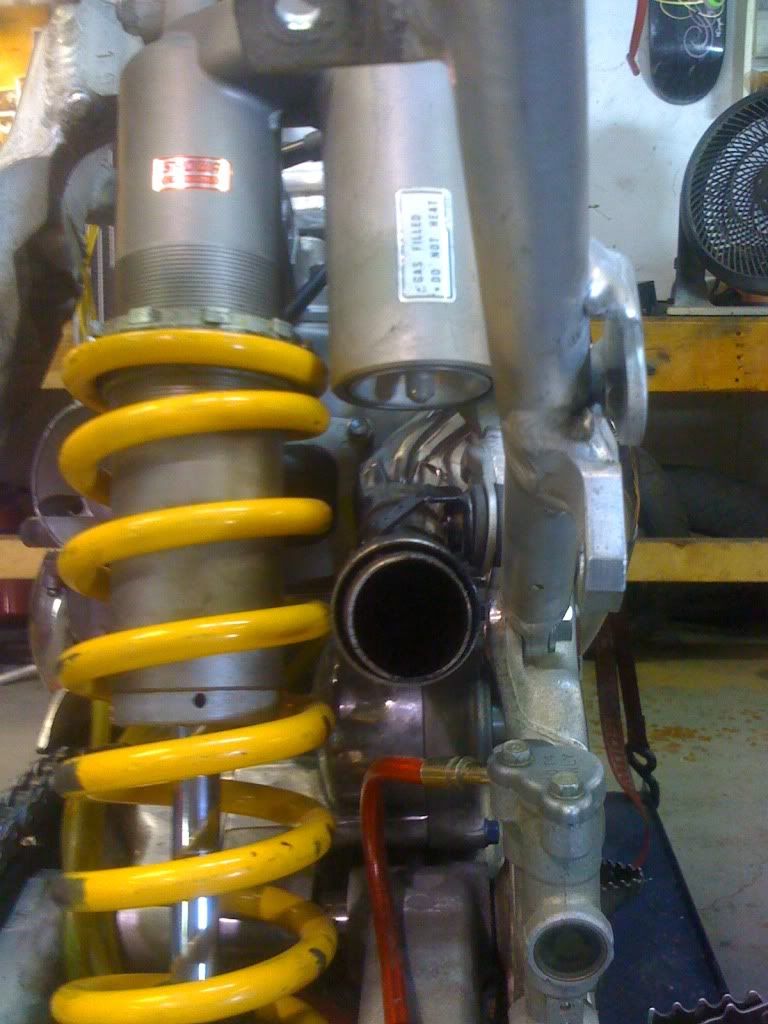
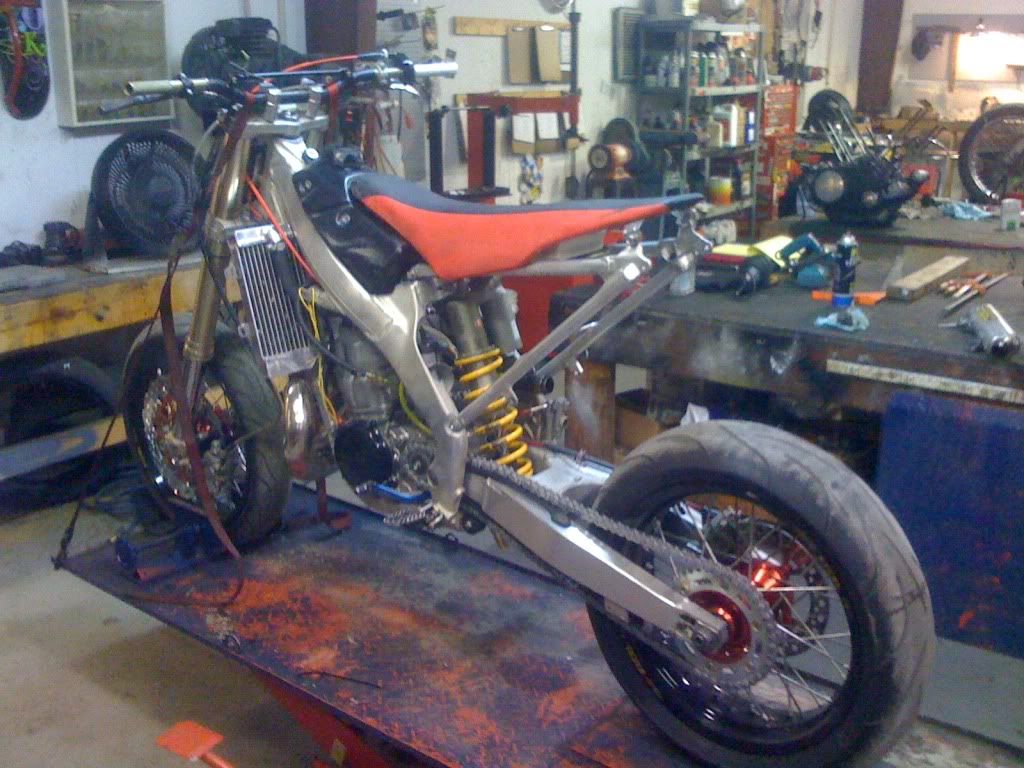
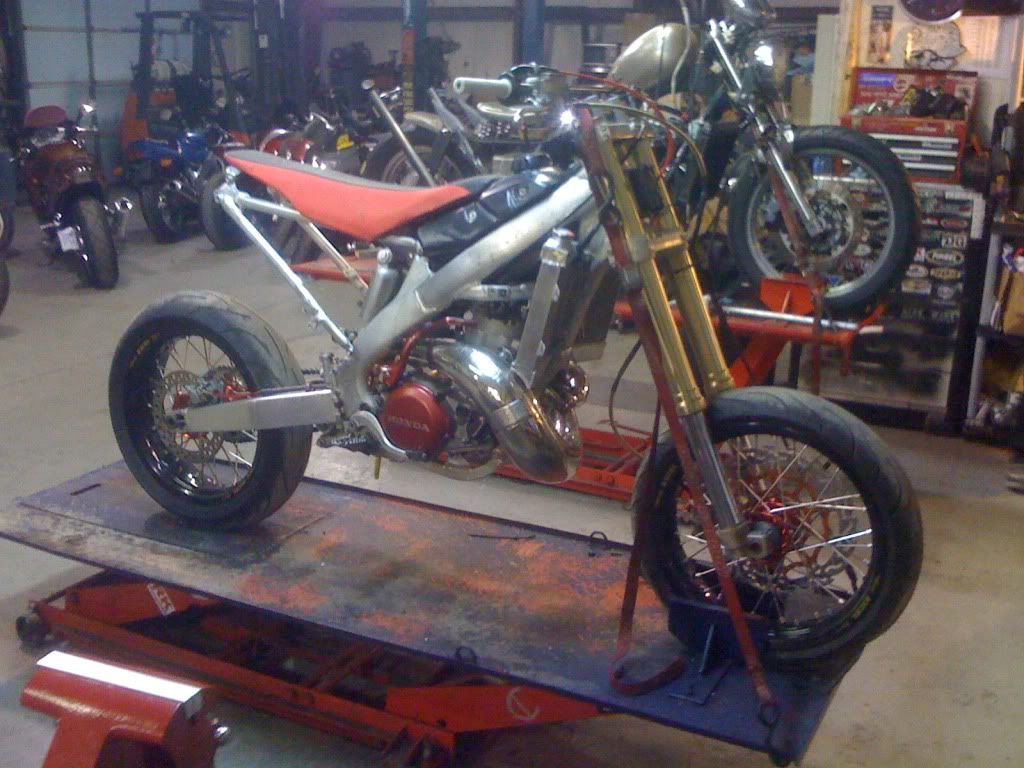
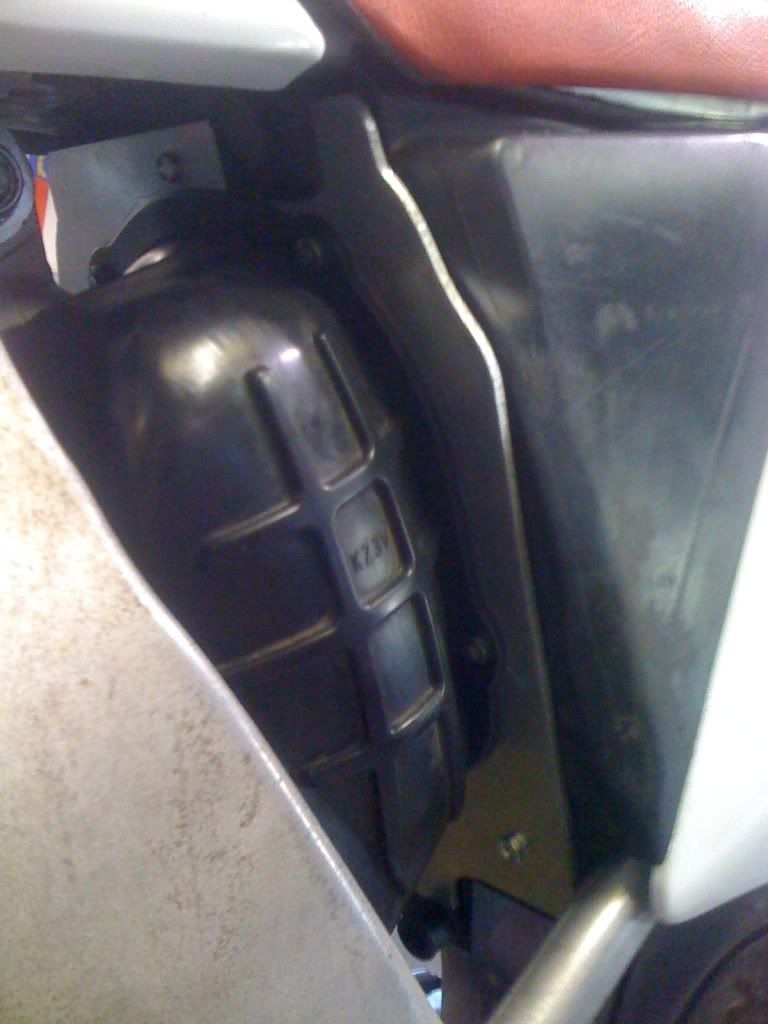
I got the motor in. Cleaned, greased and torqued where necessary.


Image

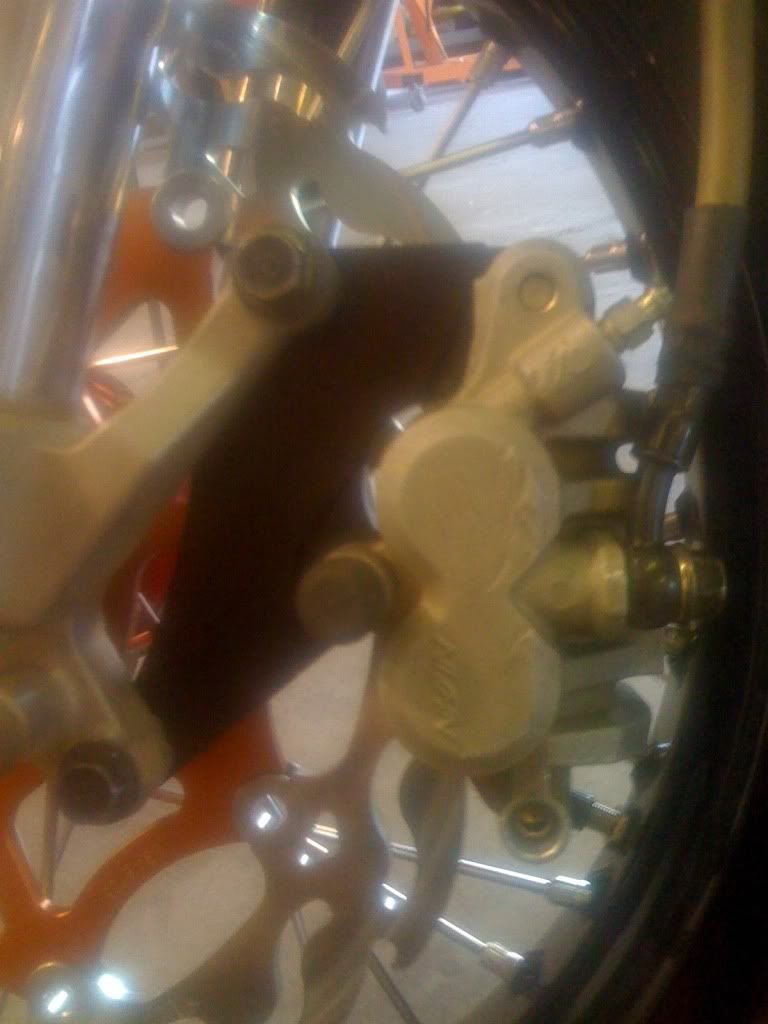
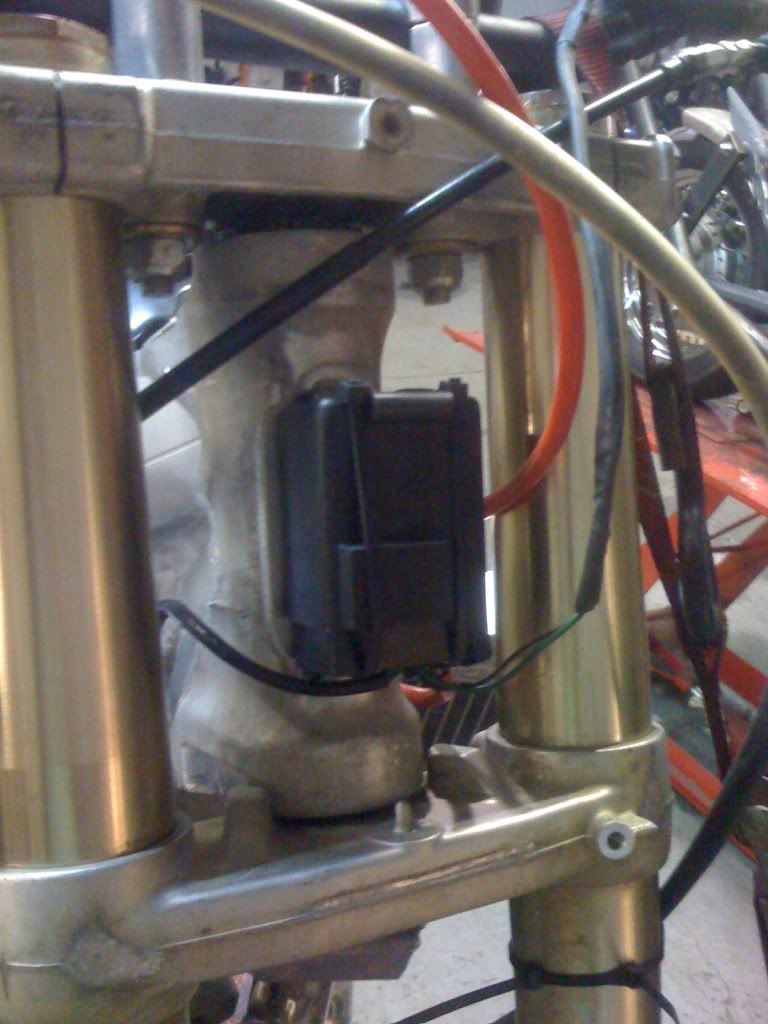
Got the brakes all set up front and rear. I was really impressed with the caliper relocation bracket. What an quality piece of machining!


Image

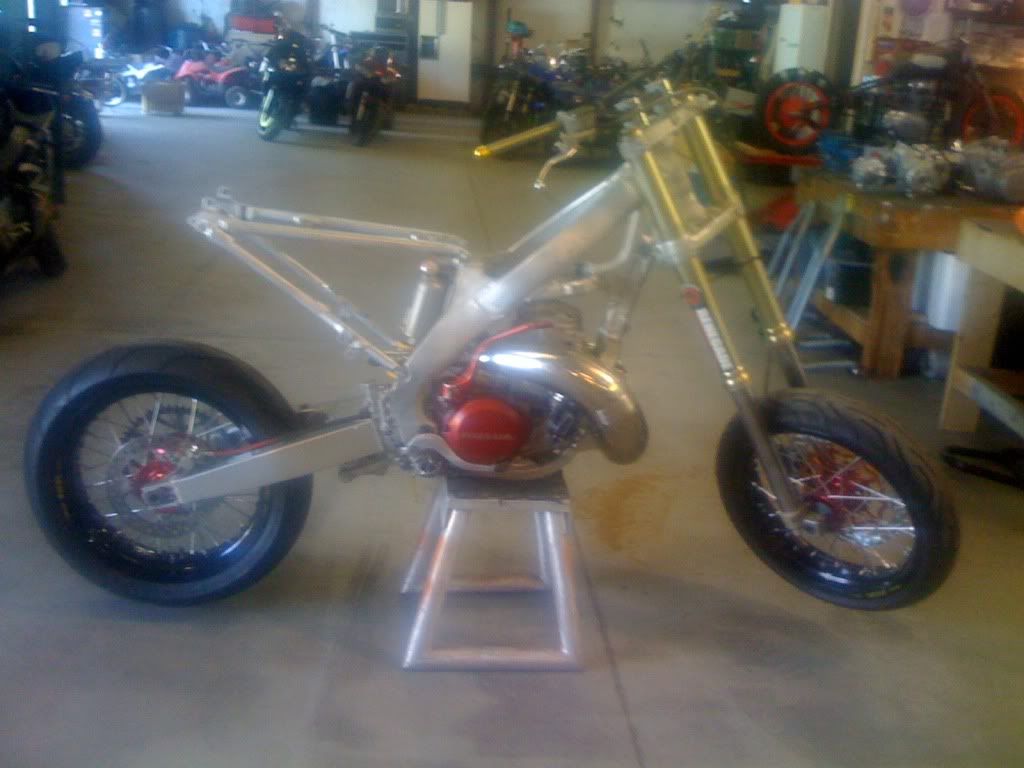
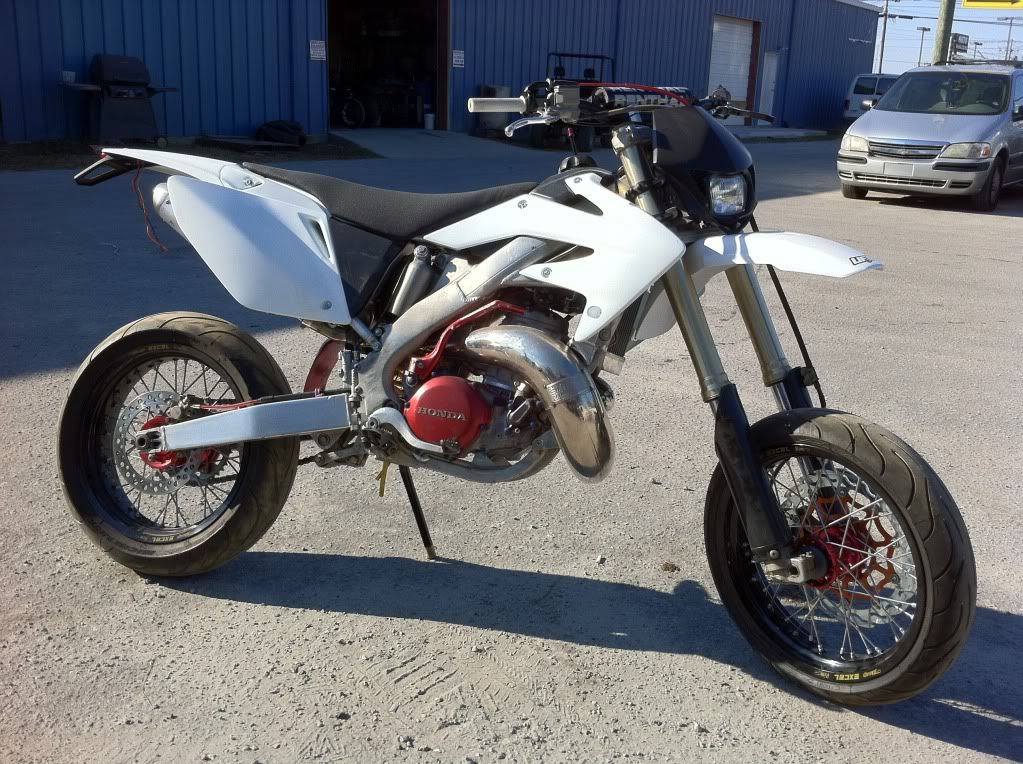
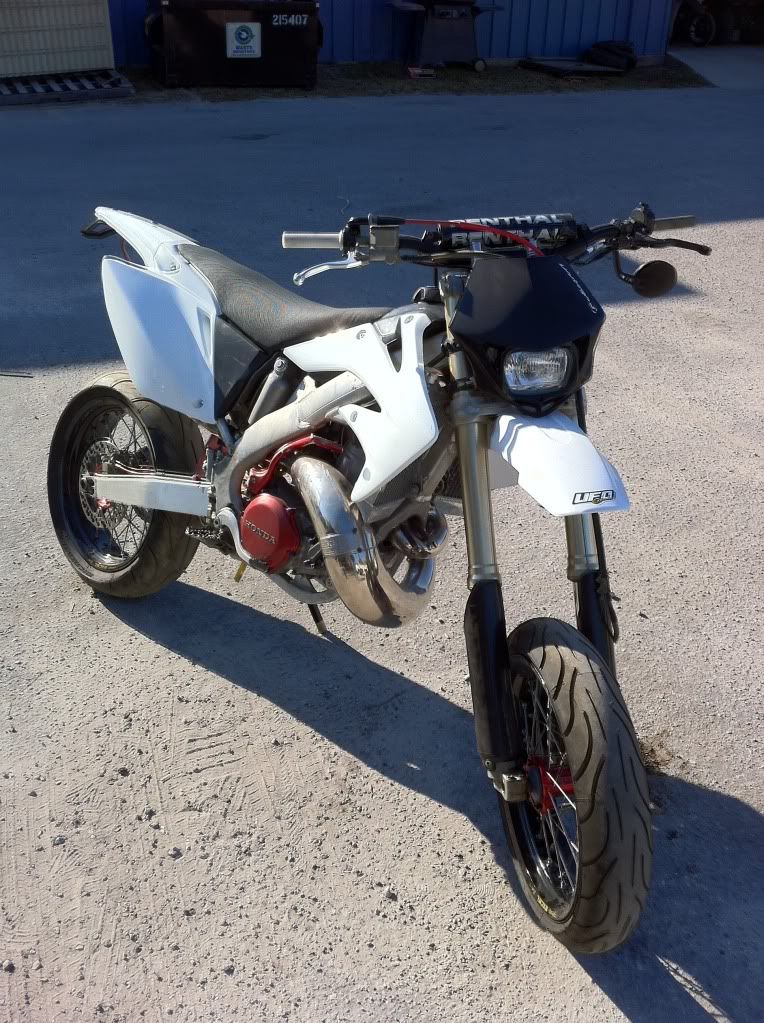
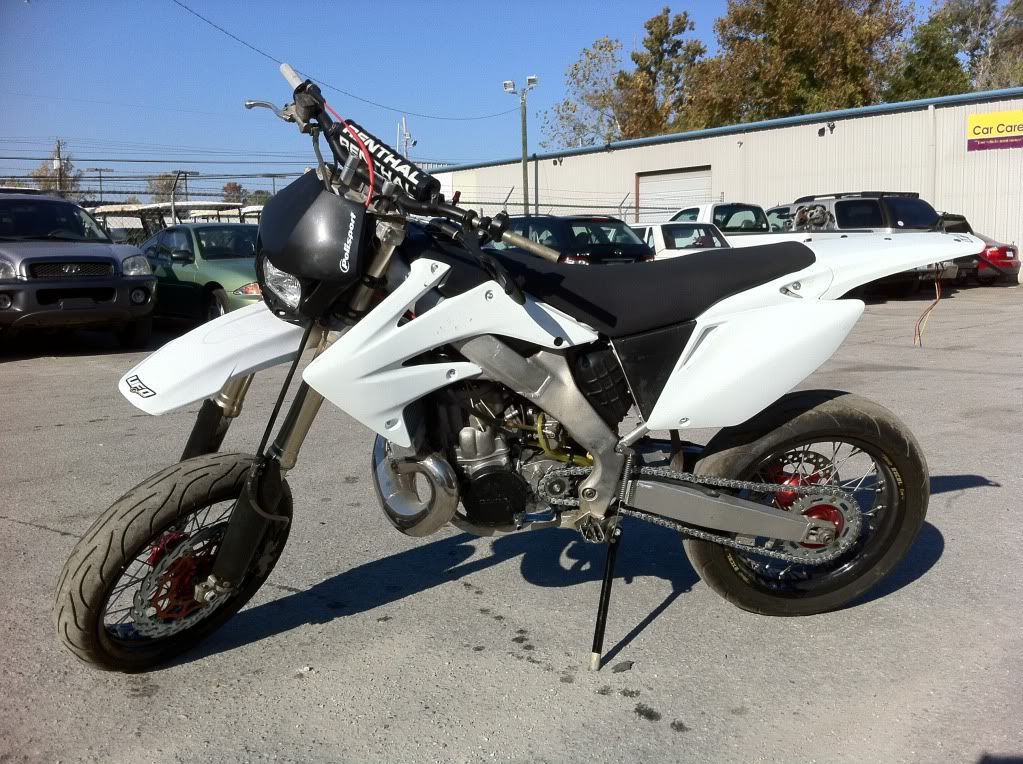
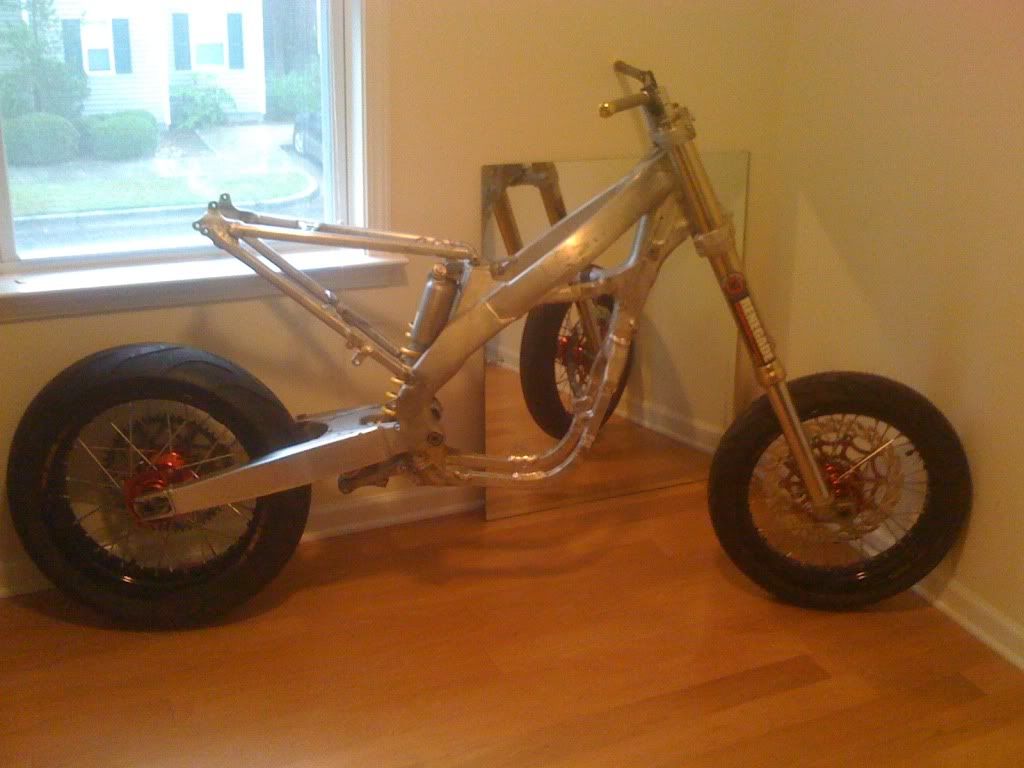
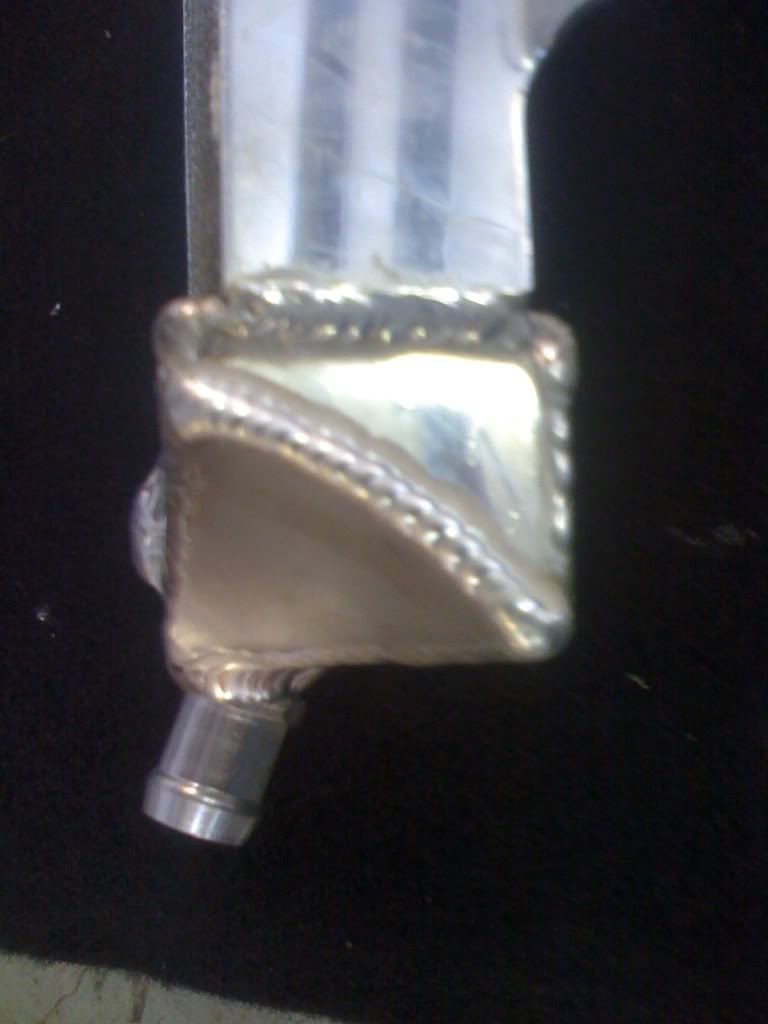
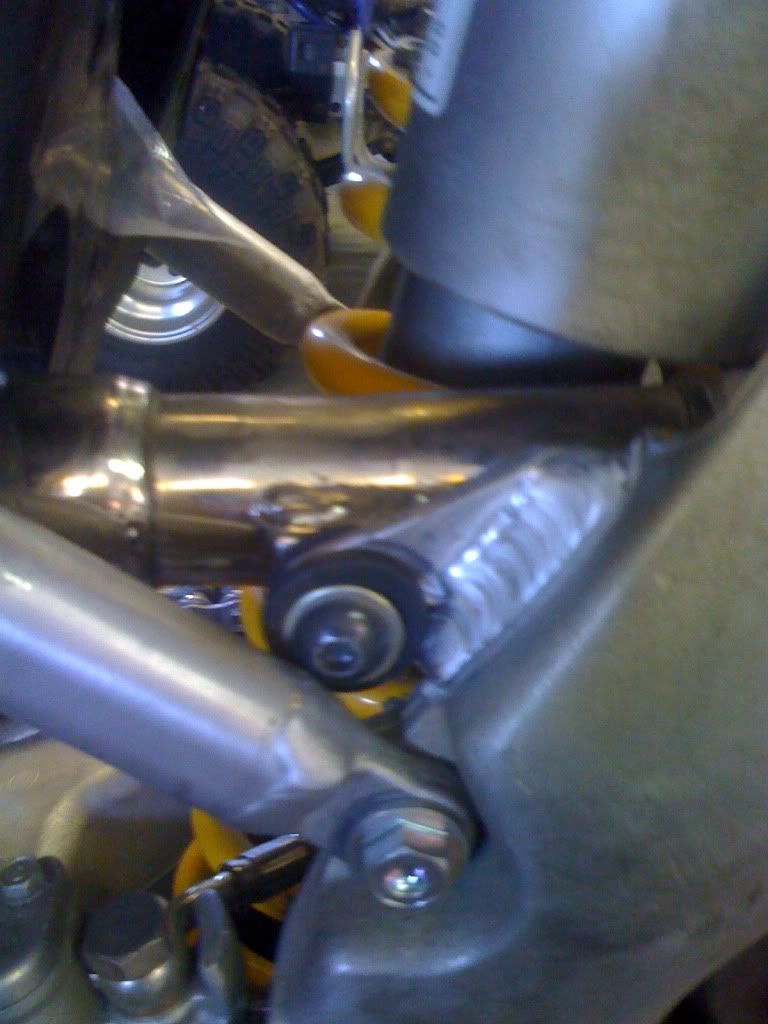
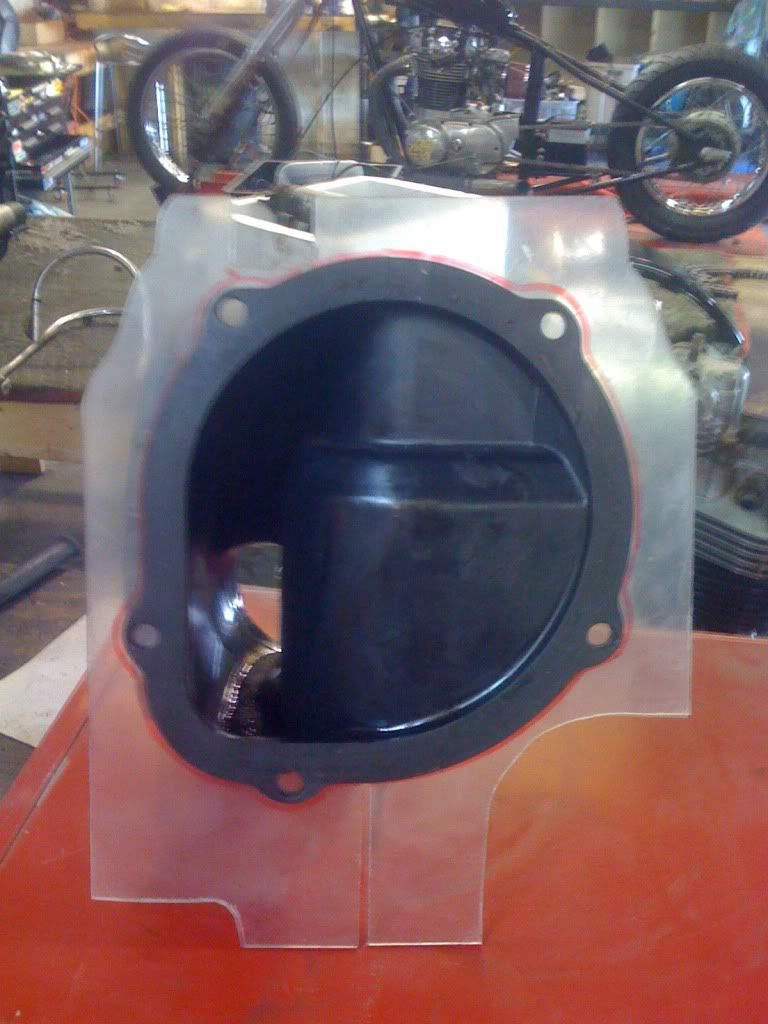
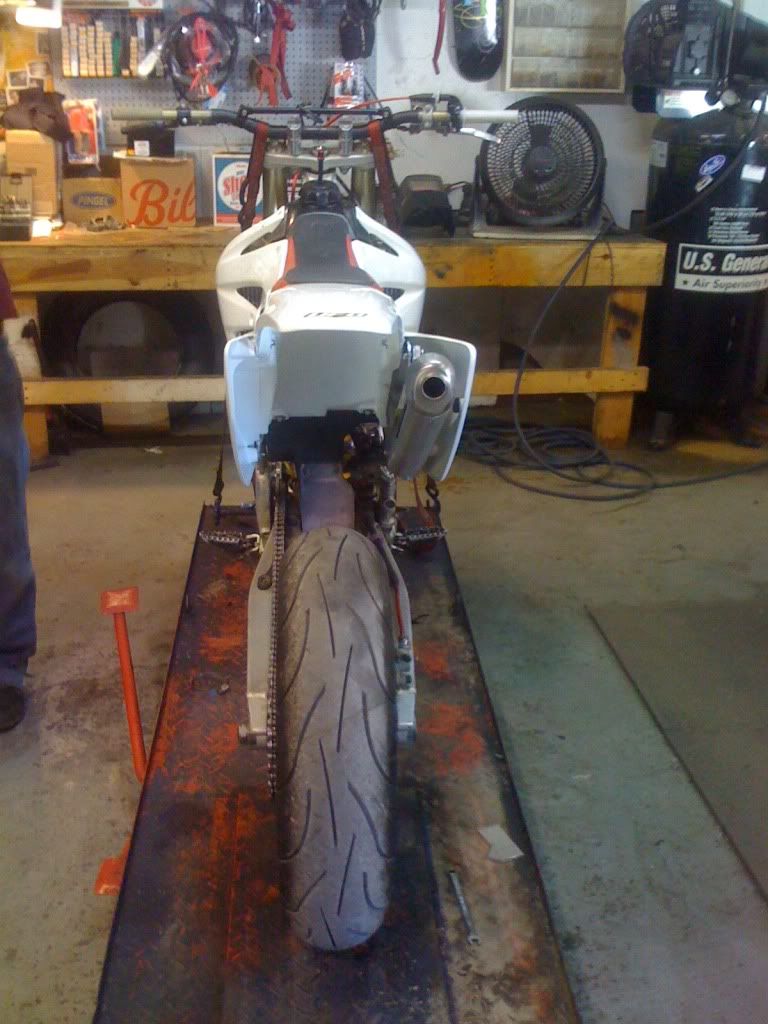
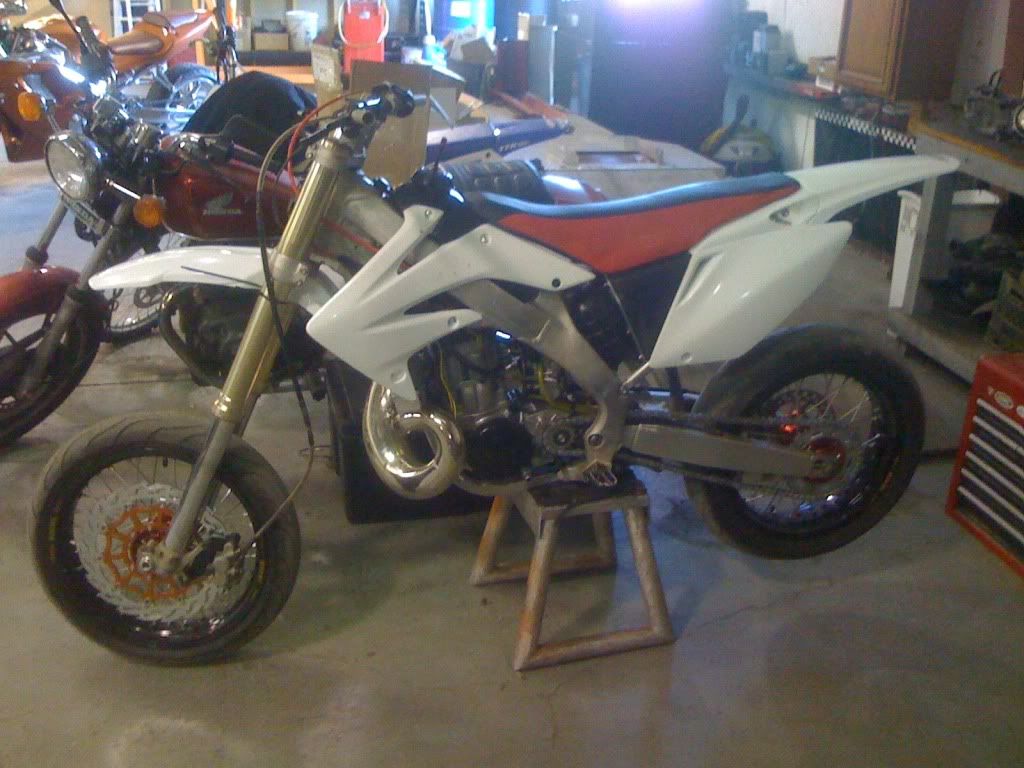
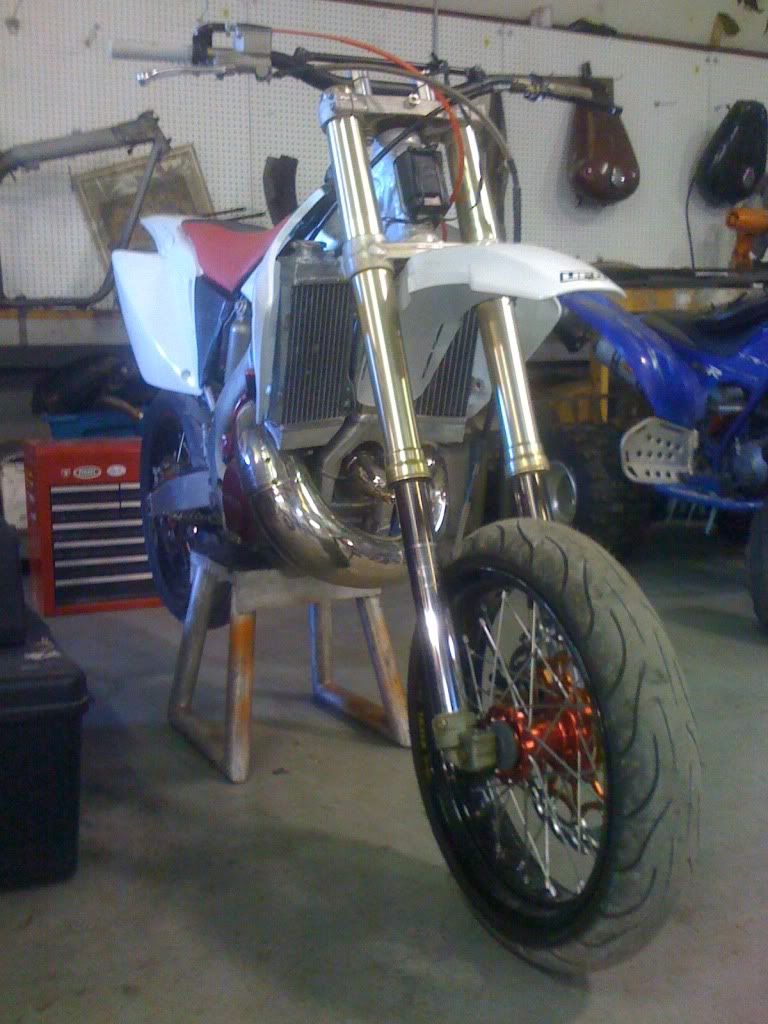
Mocked up the exhaust. Did as many other odds and ends as I could. Now I really have a rolling bike.


Image

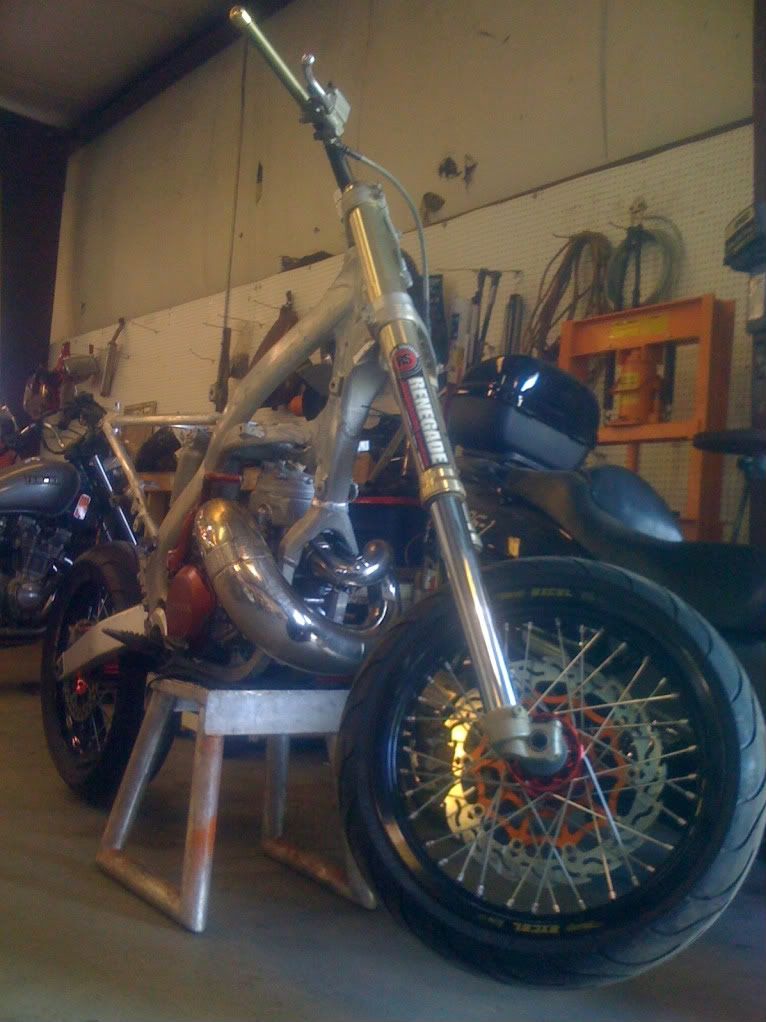
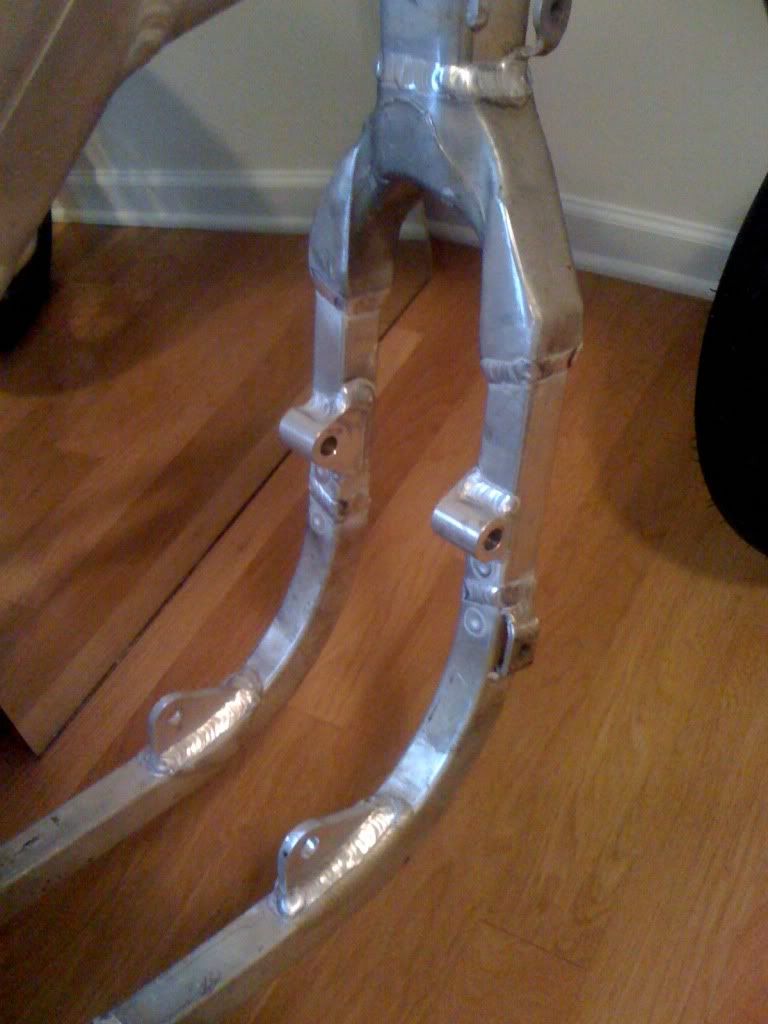
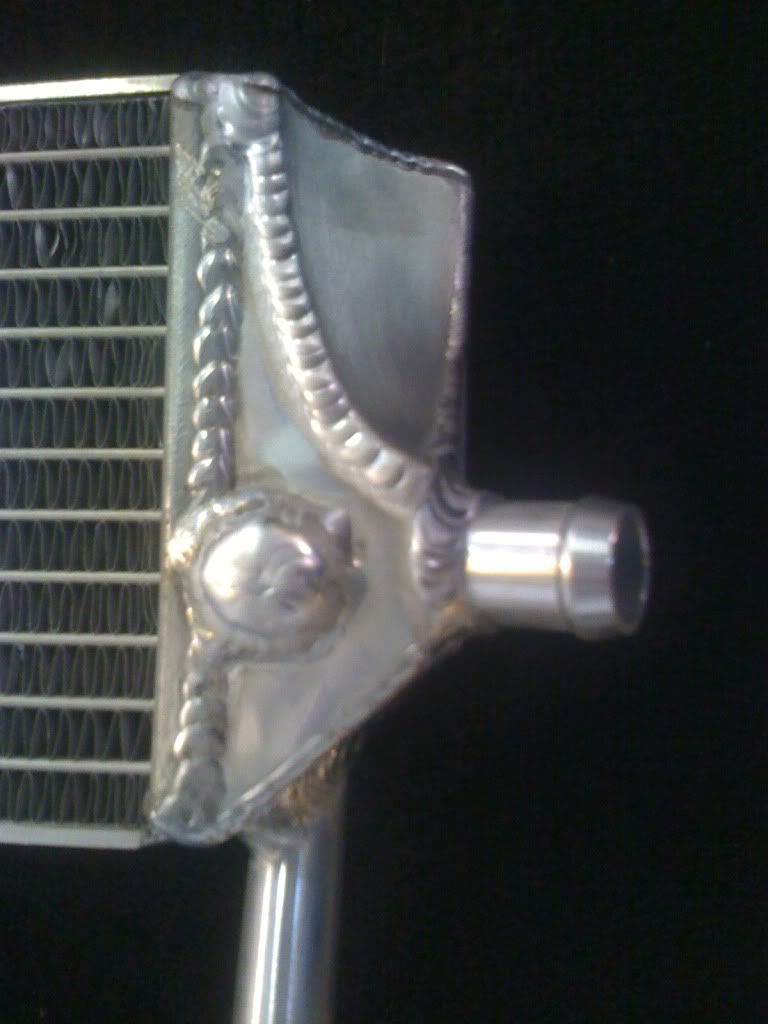
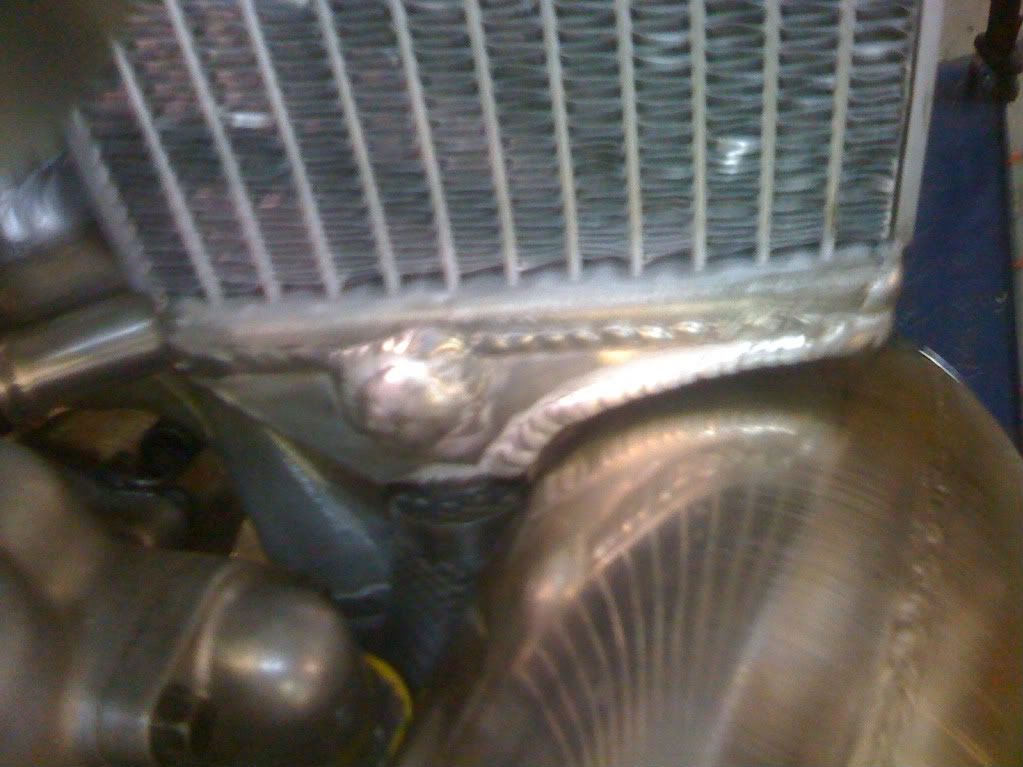
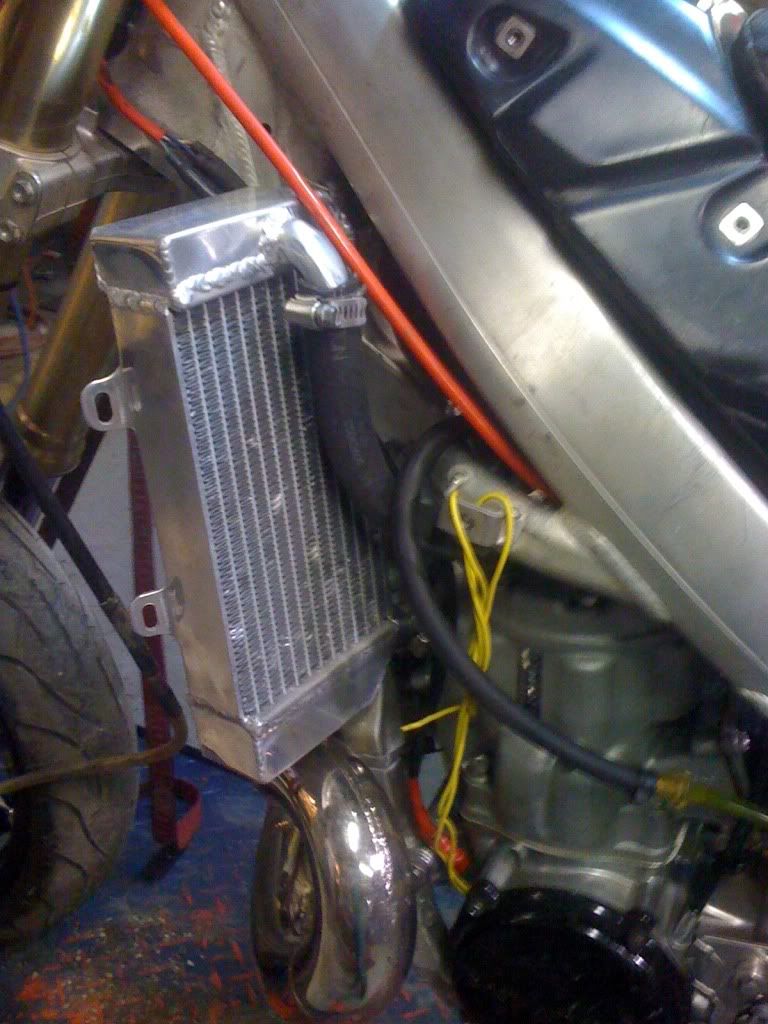
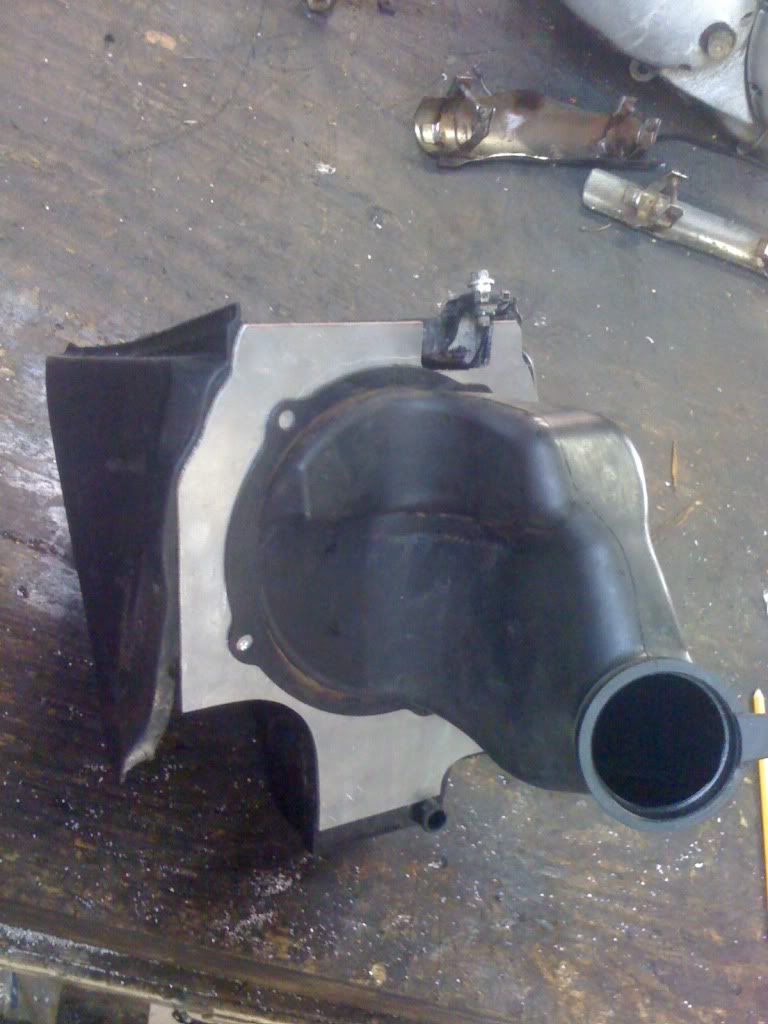
It's starting to look pretty mean. I still have a ton of small things to fabricate. Radiators/cooling system, airbox, ignition/charging system, headstay, gastank, exhaust mounts, whatever else I'm forgetting.

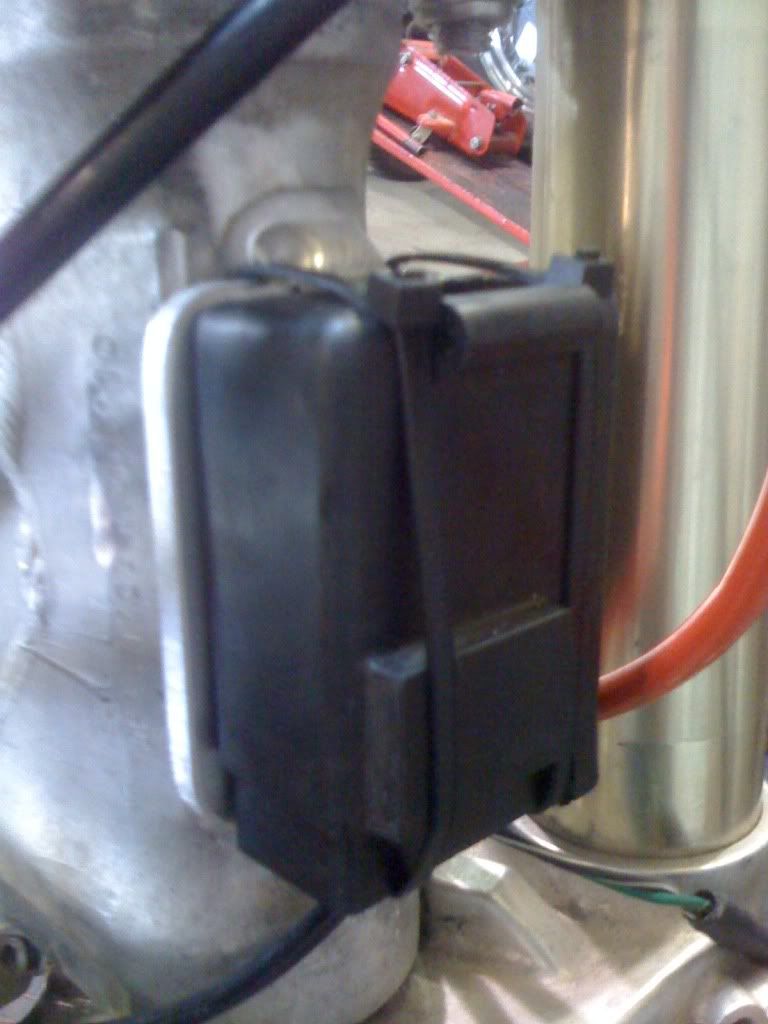
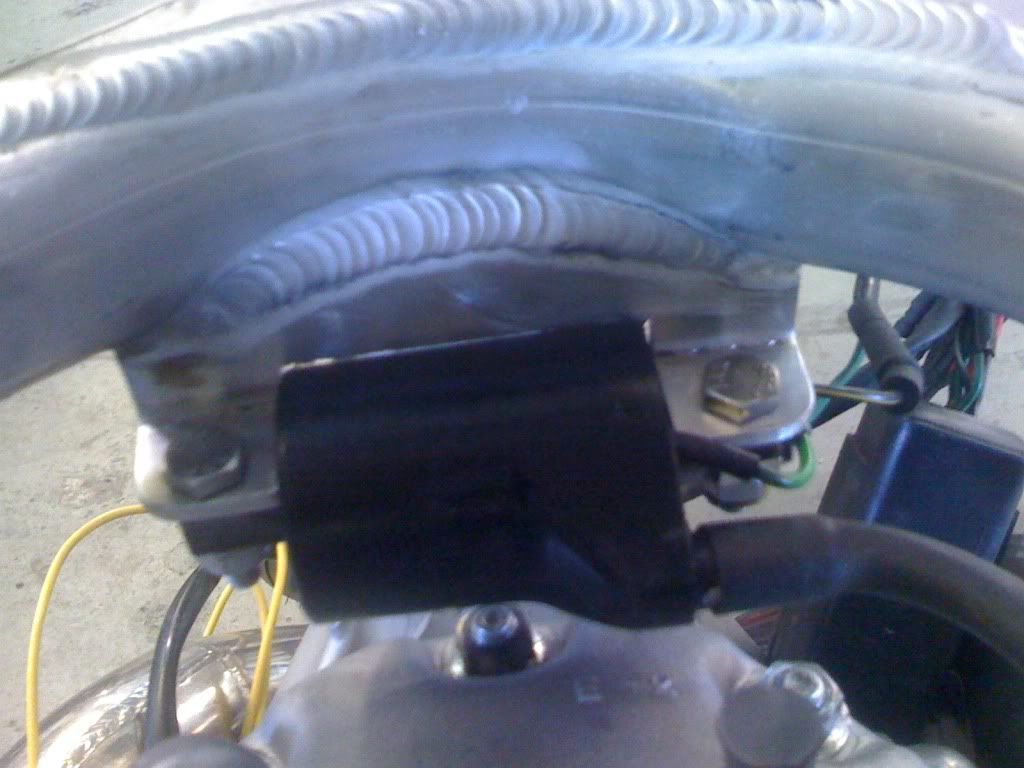
I worked on it once since these pics where taken, got the aftermarket lighting coil installed and the stator/flywheel on.

I ordered a bunch of stuff from Parts Unlimited today

Hopefully I'll be posting more progress soon!!

Thank for all the interest. :mrgreen:
User avatar
AlisoBob
"Hoon-father"
Posts: 15404
Joined: May 31st, 2007, 6:39 pm
Location: Aliso Viejo Ca

Post by AlisoBob »

Love it!!!
User avatar
matt_NC
Posts: 70
Joined: December 2nd, 2009, 4:02 pm

Post by matt_NC »

So last Saturday I worked on my bike all day. It was one of those days where you get a ton of stuff done but none of it shows. I did manage to get all the metal fab done so I could drop it of at my buddy's welding shop.

Today I picked it up.
Image


I went with a CRF450 outlet elbow:
Image


The radiators are from eBay. Chiggity China. They are double row (much larger volume than stock) so they needed to be modifed to clear the pipe. Also the outlet needed to be moved.
Image

Image

Clears nicely:
Image


Mounted the coil to the frame and the CDI to the headtube:
Image
Image

The exhaust is mounted solid too:
Image

So I brought it back to the bikeshop and I spent a few hours on it today.

I torqued the head down and got all the electrics sorted. Lengthened a few wires and mounted everything nicey nice.

I still need to run the cooling lines and get some water into those fortune cookie radiators.

I cleaned the carb out and hooked it to a test tank.

It started right up and idled perfectly. :bannana::bannana::bannana:

I was so pumped!!!! I shut it down before it got hot, but those thirty seconds or so were awesome!! It sounds so tight.

Hopefully I'll get over there to work on it again soon. I should be test riding it ASAP:D
User avatar
Roostius_Maximus
Site Admin
Posts: 4641
Joined: November 16th, 2007, 3:24 pm
Location: Mt Nebo, Manitoba, Canada
Contact:

Post by Roostius_Maximus »

:cool:
User avatar
lewisclan
PVT. 1st Class
Posts: 4804
Joined: June 1st, 2007, 3:34 pm
Location: Yucca Valley CA

Post by lewisclan »

Nice
Image"the game of life of is not so much in holding a good hand as playing a poor hand well"
Jeff4510
Posts: 86
Joined: March 2nd, 2010, 8:58 am

Re: Finally some progress

Post by Jeff4510 »

So you didn't have to mod the left side rad at all?
User avatar
matt_NC
Posts: 70
Joined: December 2nd, 2009, 4:02 pm

Post by matt_NC »

Thanks for the edit, Jeff :D

So far the left side seems to need no modification.

I'm heading out of town for the weekend, when I get back I can measure the Chinky radiators to compare them to stock.

By the naked eye they are larger in every dimension.
User avatar
AlisoBob
"Hoon-father"
Posts: 15404
Joined: May 31st, 2007, 6:39 pm
Location: Aliso Viejo Ca

Post by AlisoBob »

Welding looks very nice.
User avatar
matt_NC
Posts: 70
Joined: December 2nd, 2009, 4:02 pm

Post by matt_NC »

AlisoBob wrote:Welding looks very nice.
Thank you.

My buddy Pete takes great pride in his tig welding.
User avatar
matt_NC
Posts: 70
Joined: December 2nd, 2009, 4:02 pm

Post by matt_NC »

Well I finally got the radiators hooked up and flowing :D

Image


I didn't like the way my exhaust was sitting so I relocated the mount on the back of the pipe and rehung it. The outlet is about 2" lower now, kinda like a Service Honda pipe. I've taken that sucker on and off at least a hundred times in the past few weeks. It was nice to mount it "for good!"

Image


CDI mount:

Image


I made a template for the airbox adapter plate. I'm going to make the plate from aluminum for bling factor.

Image

With the help of two friends, we heated and popped in the bottom of the tank. I threw the seat on too:

Image

Image


It starts right up and runs great!! I took it for a quick ride down the driveway. It has a huuuuge flat spot off the bottom with no airboot/box, but hauls ass once it spools up!!!

I love this bike!!!!

I need to get the airbox all done then I can put the plastics on and start the electrical system.


Thanks to everyone on this board for posting all their experiences and thoughts.

It made this crazy ass Motard possible!!
User avatar
matt_NC
Posts: 70
Joined: December 2nd, 2009, 4:02 pm

Post by matt_NC »

So I got the airbox plate done:
Image

Mounted up on the bike with a freshly oiled UNI
Image

Got my silencer mounted up:
Image


I spent a good half hour ripping around in an huge industrial park down the street. What a fun ride this thing is!! :headbang:

I just need to get the electrical done now and I'll be legal. I ordered another load of goodies from parts unlimited so hopefully next weekend I'll be putting a dent in that.

Got my plastics on too. I ordered an all black seat cover, black fork guards and the headlight I ordered is black too. It should look pretty sweet.


Image

Image
dubious01
Posts: 472
Joined: October 23rd, 2009, 1:24 pm
Location: Calgary

Post by dubious01 »

:cool:
User avatar
matt_NC
Posts: 70
Joined: December 2nd, 2009, 4:02 pm

Post by matt_NC »

I took a couple of pics today before I worked on it.

I got the electrical all done today.
It works really well.

I've ripping around town on this thing and it is awesome!!!!!

Smokes my buddy's Husky 510. :cool:

Image


I'm really happy with how it looks.

Image

Image
DesertCR
Posts: 235
Joined: March 2nd, 2008, 7:27 pm

Post by DesertCR »

Bitchen! What state do you live in? Thats nearly impossible to register in CA.
User avatar
AlisoBob
"Hoon-father"
Posts: 15404
Joined: May 31st, 2007, 6:39 pm
Location: Aliso Viejo Ca

Post by AlisoBob »

:twisted: :twisted: :twisted: :twisted: :twisted:
User avatar
matt_NC
Posts: 70
Joined: December 2nd, 2009, 4:02 pm

Post by matt_NC »

DesertCR wrote:Bitchen! What state do you live in? Thats nearly impossible to register in CA.
I'm in North Carolina.
I built it with a frame that had a streetable title from another state.
:headbang:
qkenuf4u
Posts: 271
Joined: September 12th, 2010, 5:08 pm
Location: lake havasu city arizona

Post by qkenuf4u »

looks sweet... makes me wanna go buy brits gen 1 frame and get it on the road like my steelie is now... :twisted:
only thing i would change is the headlight.. move it up to it actually looks like a bikini fairing.... but whatever floats your boat.. :wink:
User avatar
kdizzle
Posts: 372
Joined: May 7th, 2008, 10:03 am
Location: Phoenix, AZ

Post by kdizzle »

props dude, bet that thing is a hoot. I would be arrested in minutes for 5th gear power wheelies down main street.

:cool: :cool:
User avatar
AlisoBob
"Hoon-father"
Posts: 15404
Joined: May 31st, 2007, 6:39 pm
Location: Aliso Viejo Ca

Post by AlisoBob »

kdizzle wrote:props dude, bet that thing is a hoot. I would be arrested in minutes for 5th gear power wheelies down main street.

:cool: :cool:
Can you start out in 5th?
Post Reply