
For those of you who were following this on my '01 refresh post I have decided to post the body conversion on its own. This post covers the complete conversion, not just the front # Plate.
In September of ’08 I bought a 2001 CR500 AF. I am big time into 2 strokes and needed a 500 to complete the collection. I also really liked the David Bailey retro style graphics. I thought an AF with the David Baileys sitting in the garage next to my 1985 ATC 250r would look cool. Unfortunately I did not do my research before buying and after I bought the ’01 I discovered that the DB’s were not available for the Gen 2 bikes. That is what initiated the Gen 3 body conversion. When I got the DB’s I was further disappointed that they were orange, not red. The end result was that it did not look like a match pair next to my ATC. With the orange bike my buddies gave me a hard time about having a secret fetish with KTMs.
I found a link on the other site to another site where a guy had done a gen 3 body on his gen 2 cr250.
I recently went through my bike and cleaned up some of the brackets that I used in my original conversion, while I was at it I photo documented it.
There are 3 areas that can be converted independently.
’04-’07 number plate.
'02-'07 shrouds (requires tank and custom brackets)
'02-07 side panels (requires '02-'07 air box and custom brackets)
NUMBER PLATE
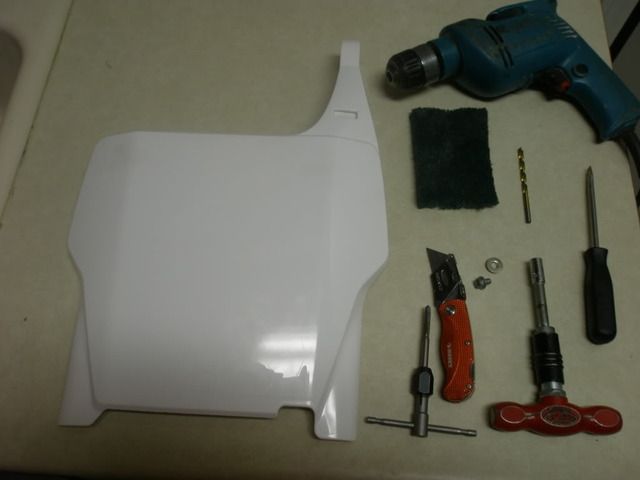
Required tools / components
’04-’07 number plate
Drill
Drill Bit
Tap
Bottom tap (optional)
Flat head screw driver
Utility knife
8mm (5/16”) T wrench, nut driver, socket, whatever you have
Scotch Brite pad
I did this because the DB kit came with an ’04-’07 number plate. First pop the Honda logo off. Flat head screw driver will do. It is held on with double stick tape. Remove tape with utility knife blade, then restore brushed look with scotch brite pad. Next “dry fit” the ’04 + number plate. You will notice that the top will not go far enough back to touch the upper triple. This is because of interference between the ’03- mounting tit on the upper triple. I wanted to retain the ability to use the ’03- number plate, so rather than cut it off, I used a file to file a groove into it allowing space for the support gusset on the ‘04+ plate. I did end up trimming about 1/16” off the support gusset to get a good fit. Now with the number plate in place mark the upper triple where the mounting hole is needed (where the Honda logo was). I used a spring loaded center punch. Now drill a 13/64” hole about 3/8” or 9mm deep. Be careful to keep the drill perpendicular to the upper triple, and do not waller out the hole. Now tap with a 6mm x 1.00 tap. Spin with pressure until it gets a good bite, then let it self feed. Go in ½ turn at a time, then back a ¼ to cut the chips. Since I am doing this as a hobby not production, I take my time and back the tap out on regular basis and blow out the hole and tap. Resistance will tell you when you hit bottom, stop and remove tap. Taps are very hard which equals brittle compounded by the flutes making them very easy to break off in a hole. Since they are so hard drilling them out is not much of an option, especially when broken off in a much softer material. If you have a bottom tap (non tapered tap) it would be good to chase the threads with it so you get fully cut threads to the bottom of the hole. I did not have a bottom tap so I did not do this step.
Use a 6 x 1.00 mm x 8mm long flange bolt and step washer to install.
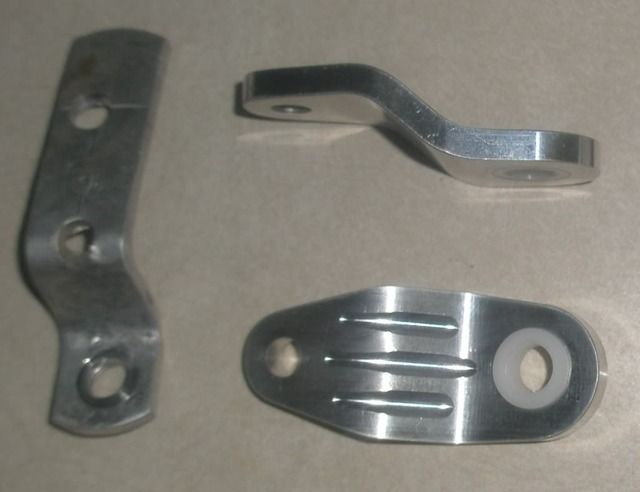
I originally did this little “L” bracket, which is more difficult, you have to hack the support gusset all the way out, and the fit and finish is not as good.
SHROUDS
Required components
’02-’07 tank and shrouds
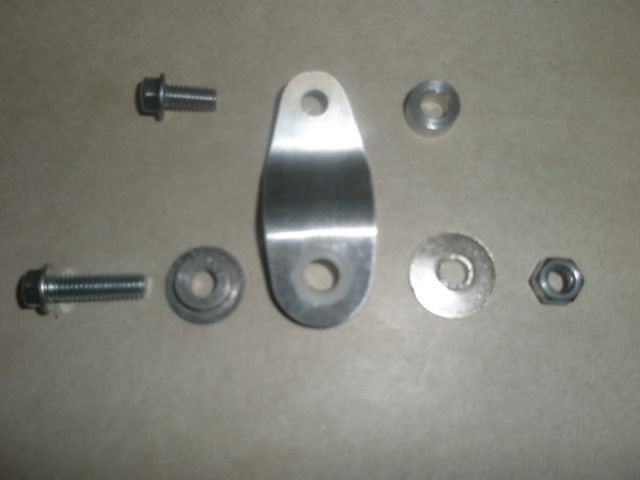
2 ea. Brackets (Banshee Toomey brackets by USA-1)
2ea. Spacers
2” x 2” x ¼” rubber pad
Zip tie
4 ea. 6mm x 20mm flange bolts
2ea. 6mm Aircraft nuts
2ea. Step washers
All the original hardware from the gen 2 shrouds
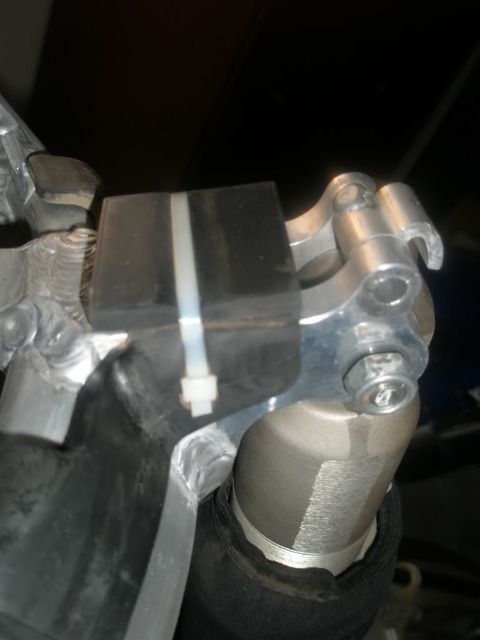
First you need to install a ¼” spacer at the back where the tank sits. I used a 2” x 2” x ¼” piece of rubber. I used a zip tie to hold it in place. The white zip tie bugs me a bit. Next time I have it torn down I will replace with black. This rotates the tank so that the front bottom mounting holes line up with the mounts at the radiator.
Now you need some brackets to hold the rear bottom mounts. I originally used some aluminum flat strap as shown to the left, wanting a cleaner install, I was about to fire up the mill and make some billet brackets, but at my friend Jay’s place looking through his billet parts and accessories (he has a CNC and makes some stuff, mostly banshee) I noticed some brackets that looked like they would work.
At the frame side I used a 20mm bolt through the small hole on the bracket, through a spacer washer (from a billet TRX 250r case saver) into the frame. On the shroud side I used a 20mm bolt trough the factory aluminum step washer, then the shroud, trough the larger end of the bracket that has a delrin washer, the a steel step washer, and an air craft nut as seen below. Please note photo shows 2 different length bolts, but I ended up using 20mm bolts in both locations.
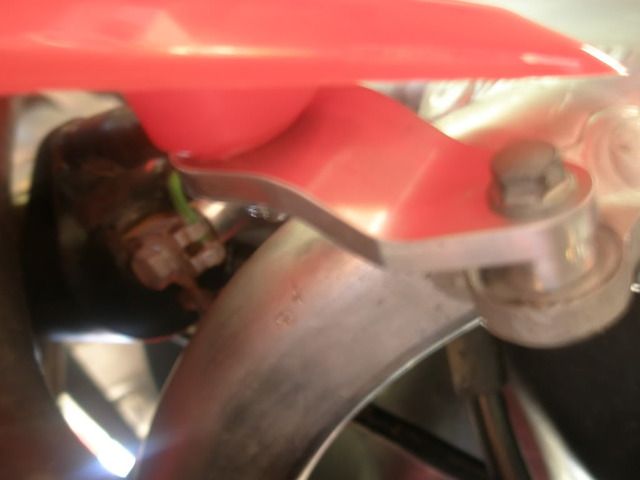
Top view
Front View
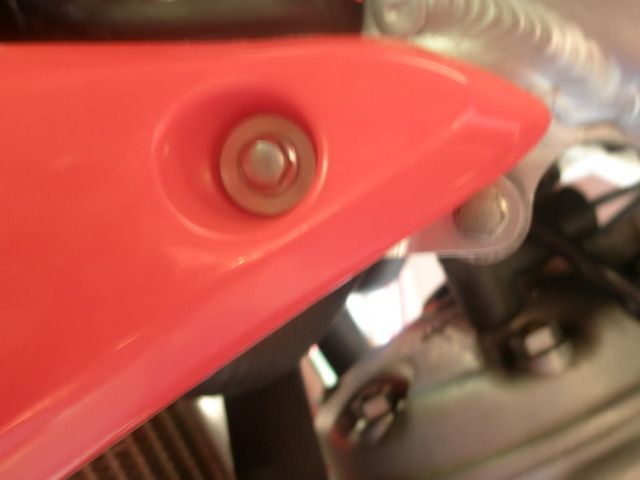
Bottom View
’02-’07 rear side panels
Required components
’02-’07 air box, and side panels
2ea. Custom fab brackets
Additional botls and nuts
First you need to attach the gen 2 air boot to the gen 3 air box. I think that there are 2 different 3rd gen air box styles. For the one I did (presumably the earlier style) I had to trim the and drill the box to get my 2nd gen boot to mate up. I used a dremel tool with a rotozip style cutter. I used yamabond to where the rubber and plastic meet up. I did all that 2 years ago and the memory is weak, and I have no photos.
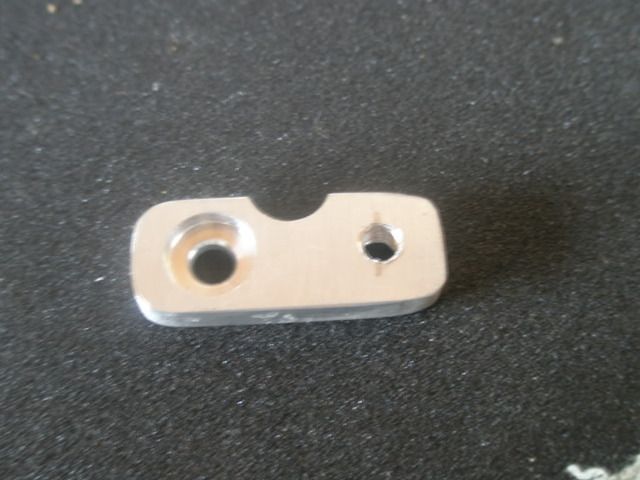
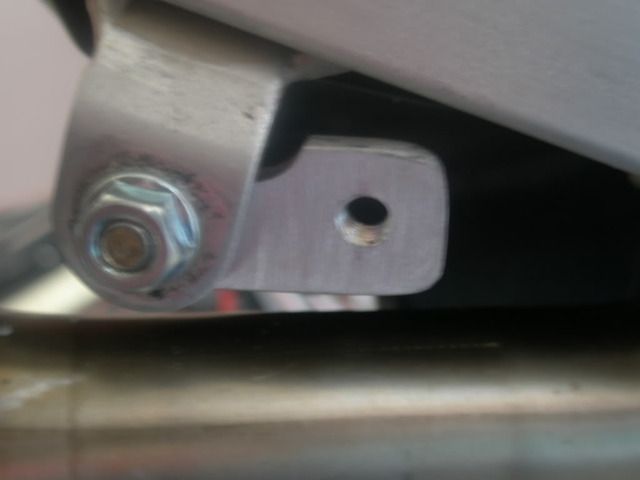
Next you need to make brackets to hold the side panels. If you have a TIG welder handy, it may be easier to cut and re weld. I used a milling machine to make the bracket shown below. The pocket on the left is for the threaded insert of the tab on the sub frame. This bracket bolts to the back of the tab and the insert protrudes. The half moon dip is to allow bracket to rotate. Other wise it hits the tab, and will not rotate enough . The hole on the right is taped 6mm for the body bolt. I installed a backing nut where the new mont mounts to the subframe. I was not sure if the insert would hold up to being pulled opposite to what it was designed for.
No need to update the seat, the gen 2 seat fits the gen 3. Also I have read that the gen 3 sub frame fits the gen 2 bikes. THIS IS NOT TRUE. It does NOT fit.
In theory you can buy a used tank and used air box, then resale your used tank, air box, and only be out the shipping.
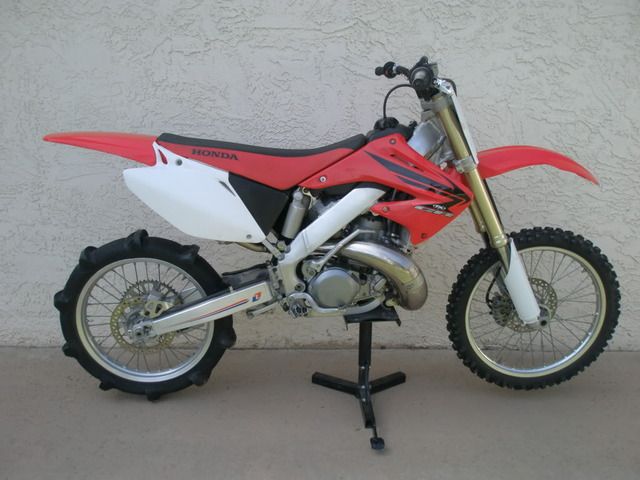
I was very happy with the end results. It updated the appearance significantly, gave me more graphics options, and I was able to use the ’04 + plastics which are more red vs pink.
If anyone is interested in the Toomey brackets let me know, I will pass along Jay’s contact info.