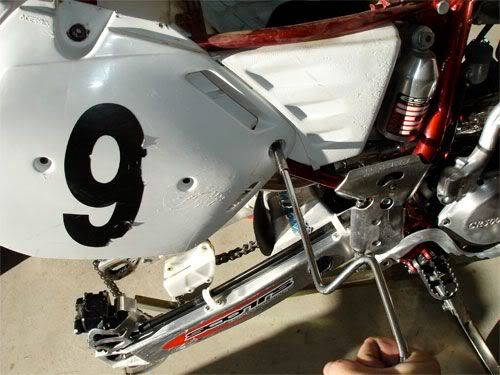
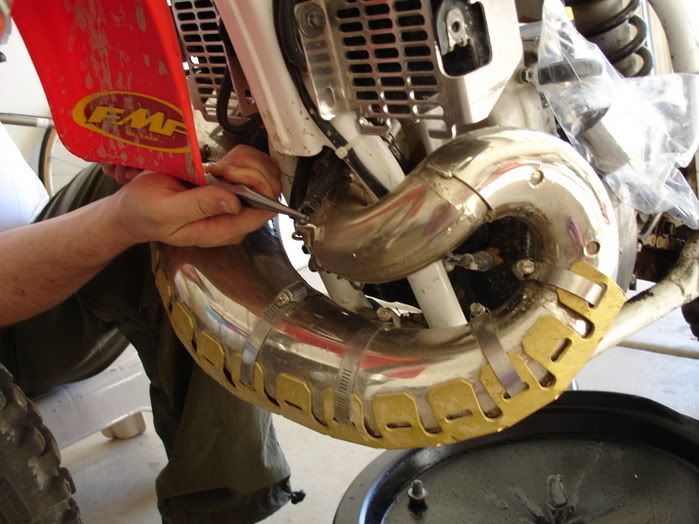
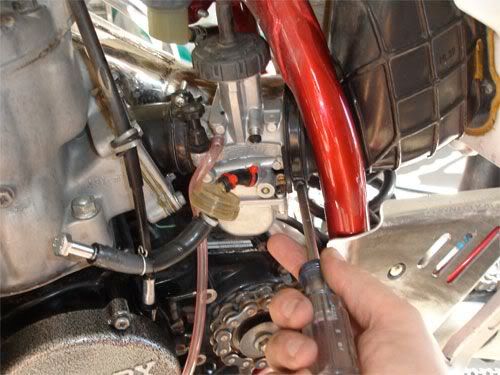
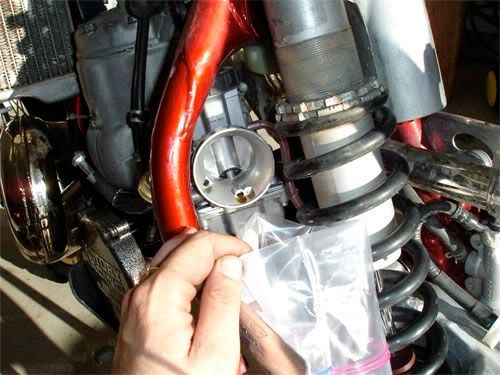
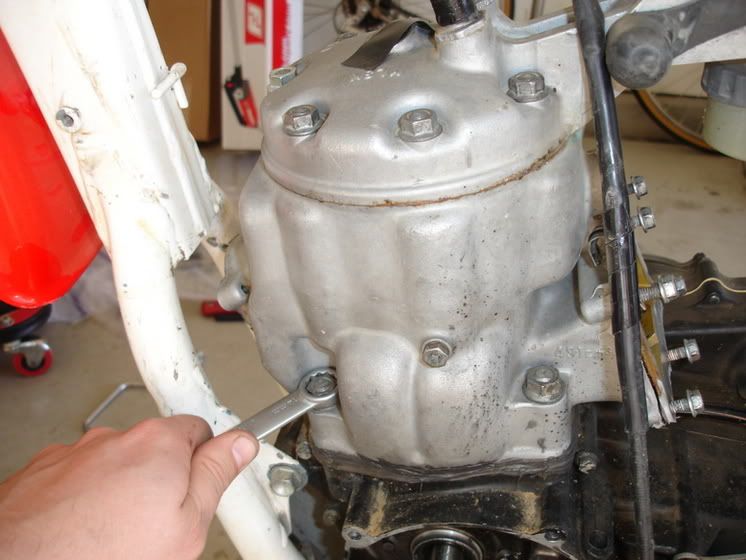
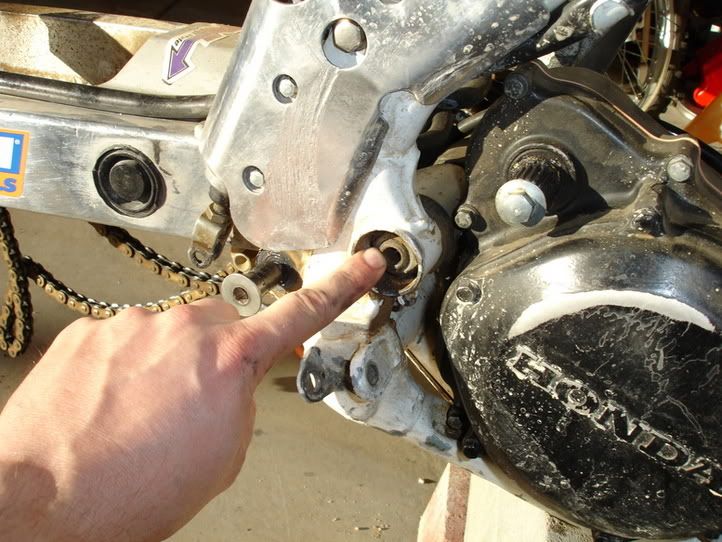
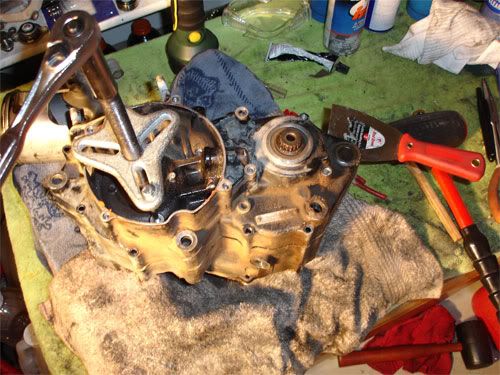
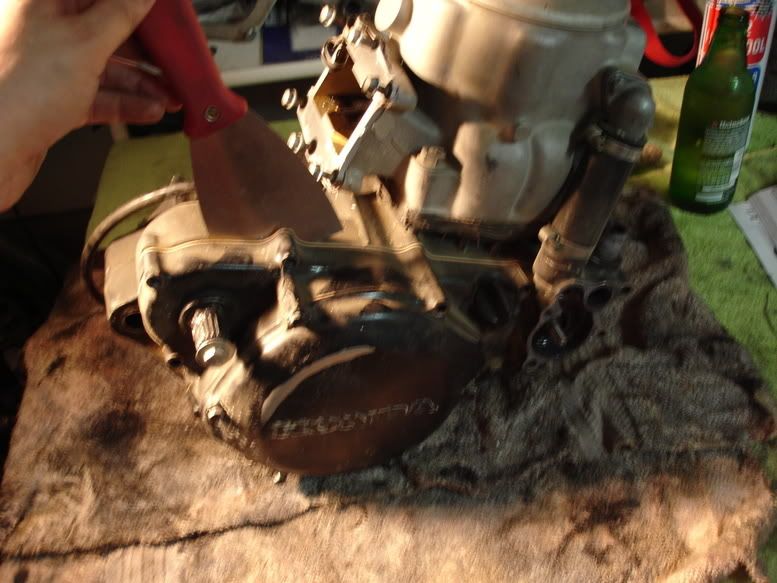
Right Cover Removal:
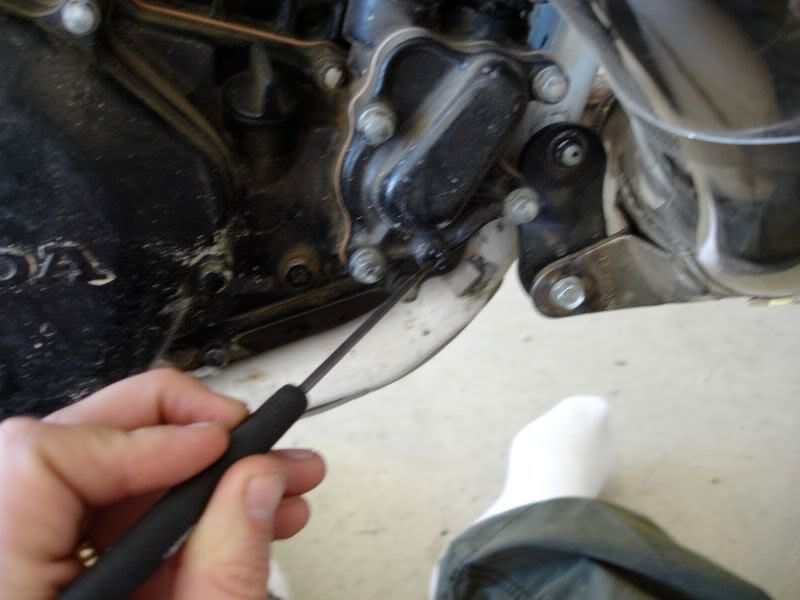
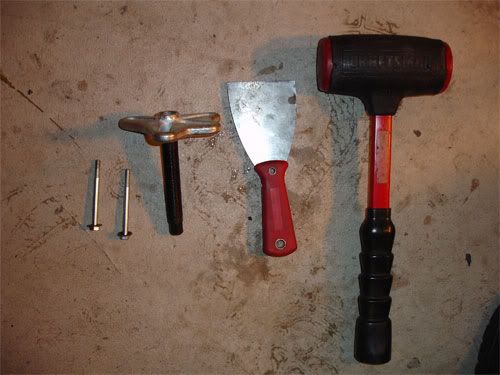
First....remove Coolant Line from Cylinder/Waterpump....bag it up. Next, remove all bolts securing Right Cover to Right Case. Now....break out the spackle knife and mallet. A few light taps to break the seal on the gasket or to create a gap. Slide the spackle knife in and work it around..CAREFULLY! You do not want to hose up your mating surfaces......a screwstik (screwdriver) is an absolute no-no! Work right cover off evenly.
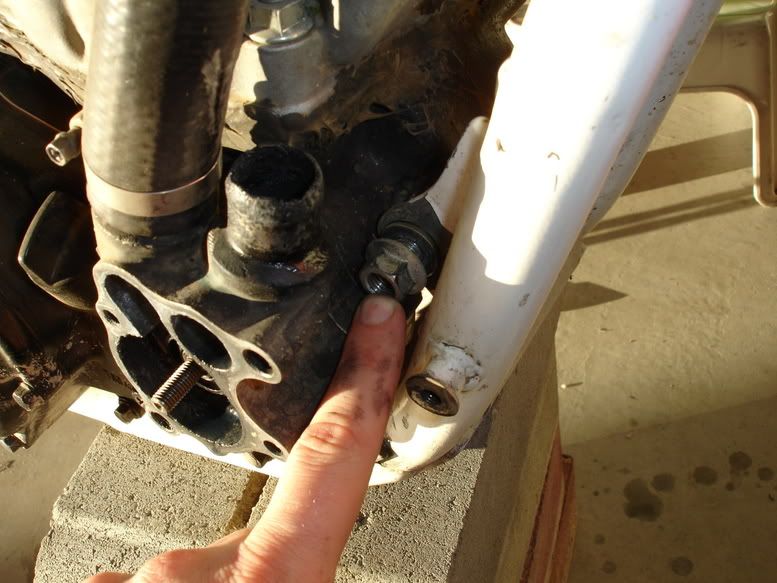
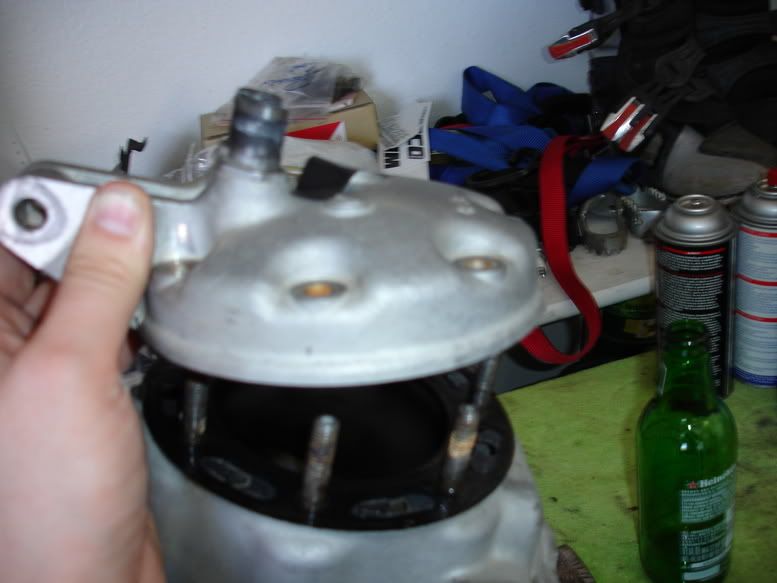
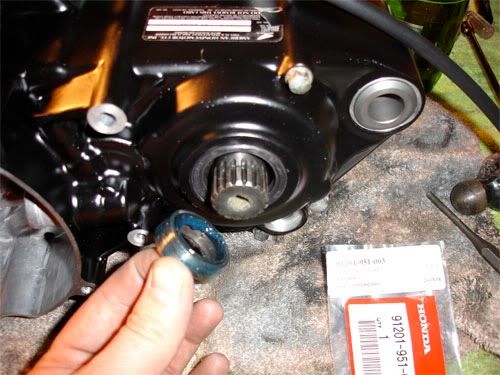
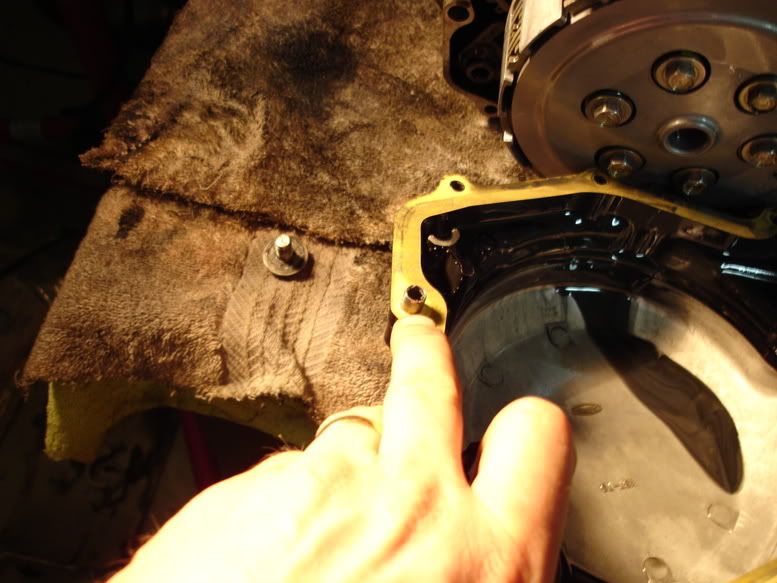
Remove Water Pump Gear:
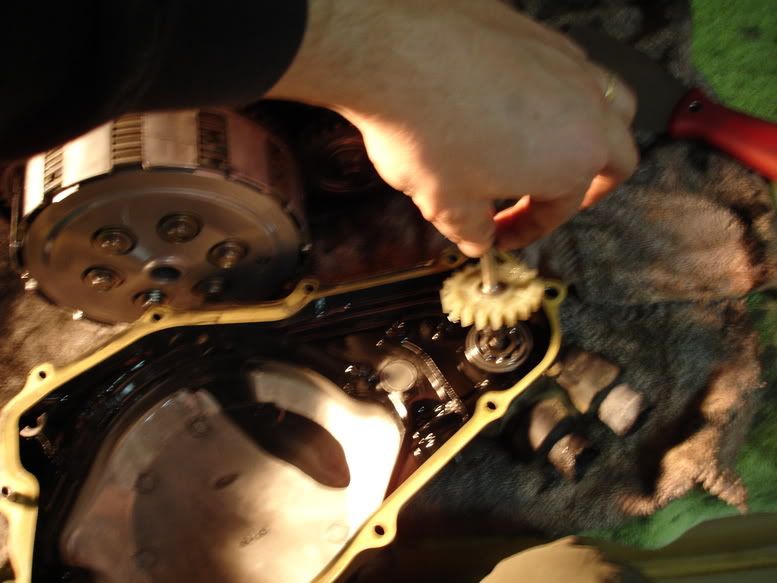
Make sure all of your Dowel Locating Pins are accounted for...there are 2ea, 180 degree's out from each other. Bag them up if they are loose.
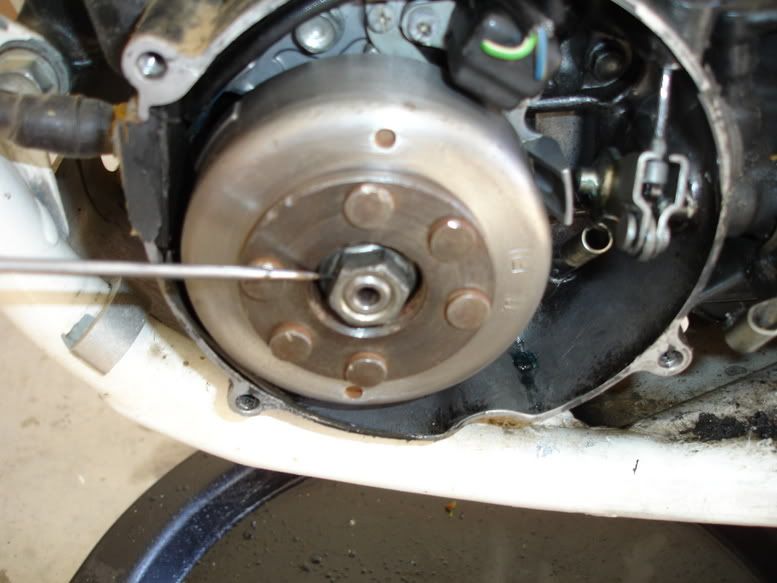
 Primary Drive Gear:
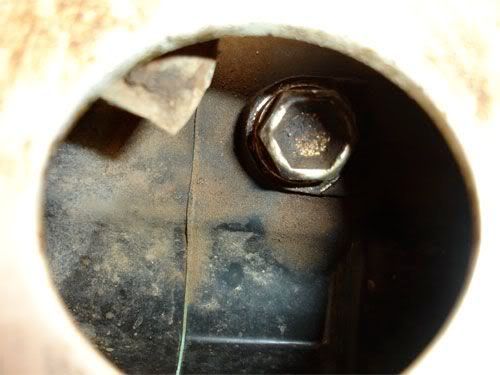
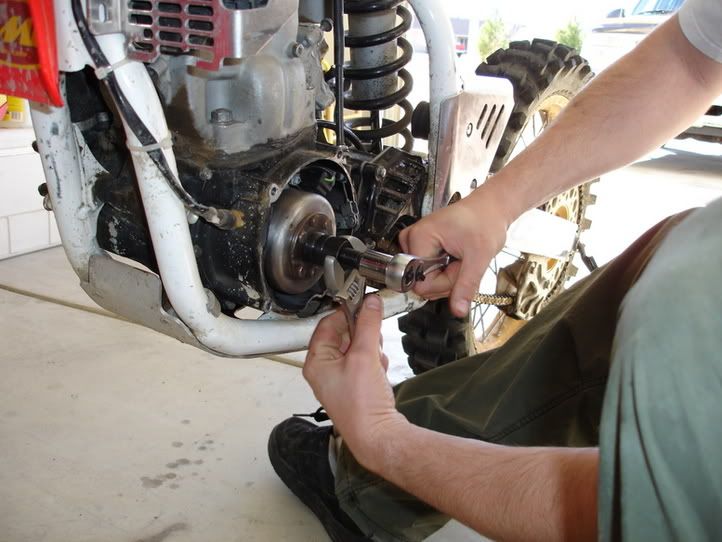
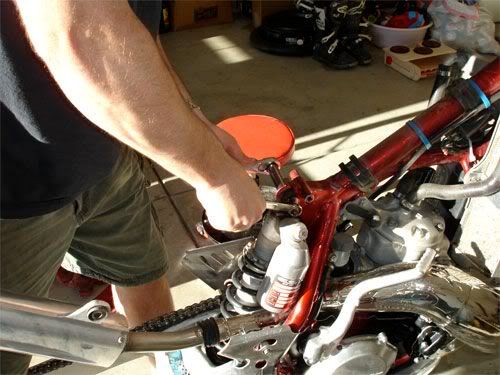
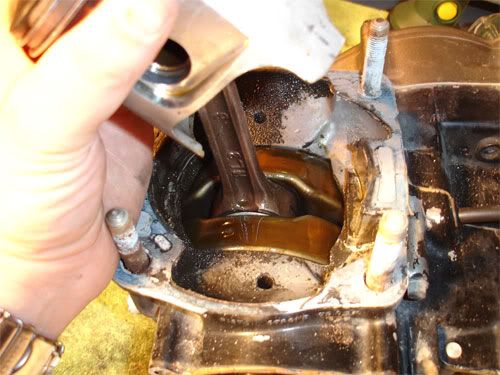
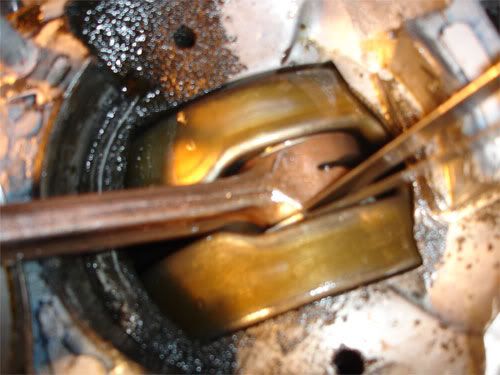
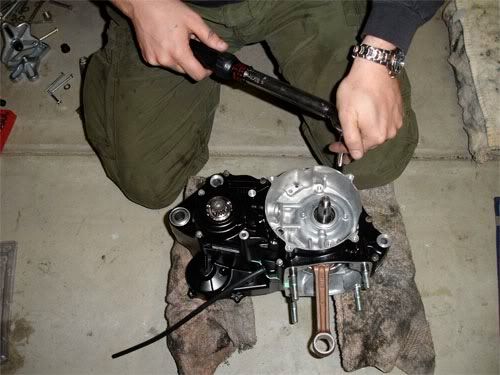
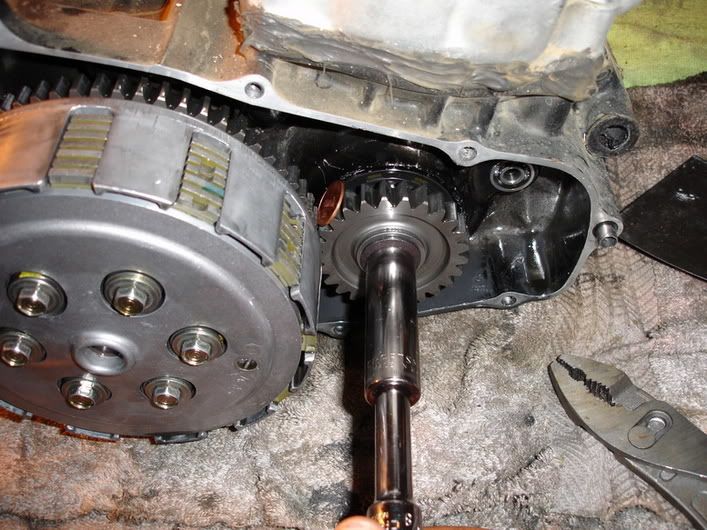
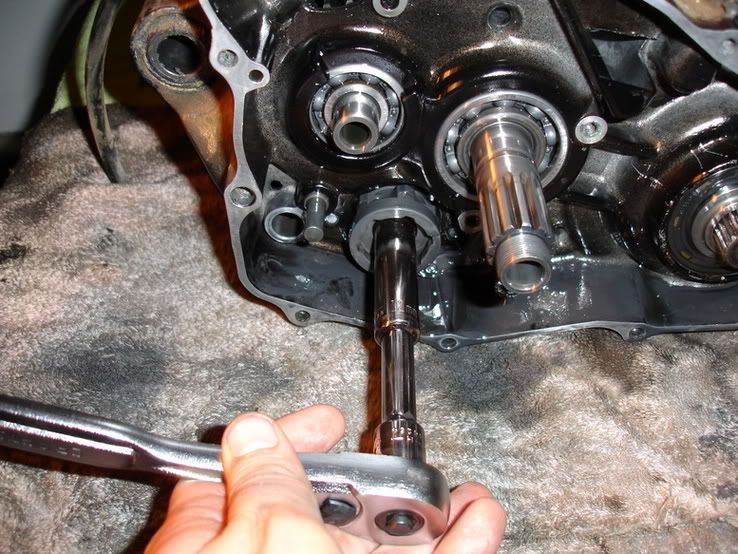
Lets Break torque on this bad boy while we can. Wedge a penny between the Primary Drive Gear and Clutch. With a breaker bar break toque on it.....be sure to get a good full turn on it. The penny will be mangled...but served its purpose and soft enough not to damage anything.
 Clutch Removal:
Remove 6 each bolts and springs on Pressure Plate.
Remove all Clutch Plates and bag em up...they will need to be inspected later. Unless you plan on changing them.

Remove Clutch Lifter and Pushrod and in my case (90 and older) there is a BB between the Lifter and Pushrod....DONT loose it.
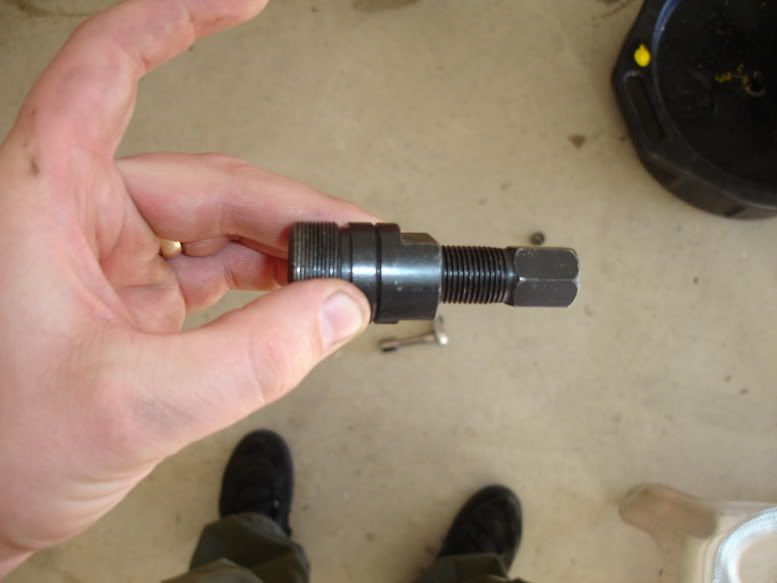
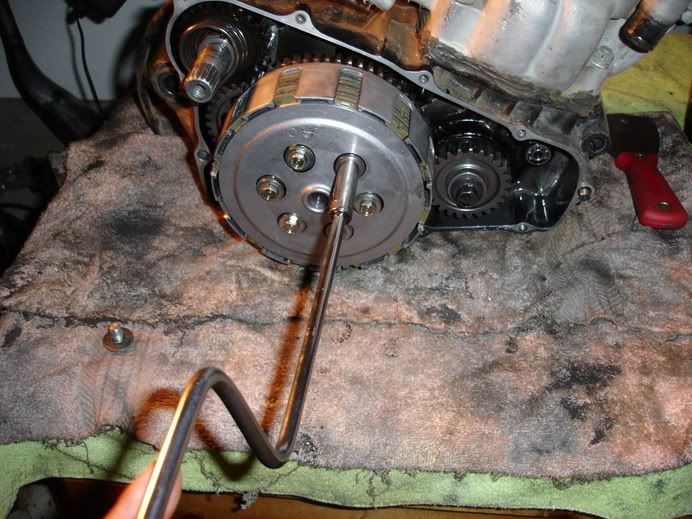
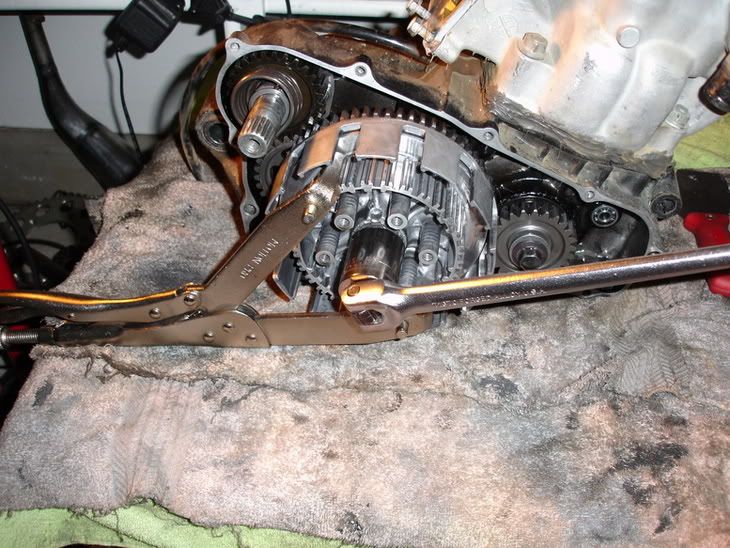
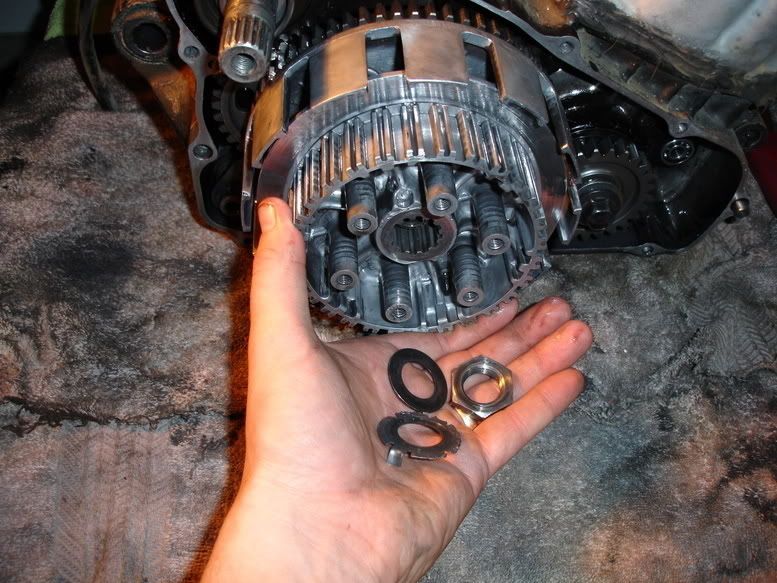
Bend Locking Tab's Washer off locknut....break out "The Grabbit" (Chingus) and lock it onto the Clutch Center in a fashion that you can work a breaker bar and the Grabbit wedges down on the table.....effectively freeing up a hand to hold motor.
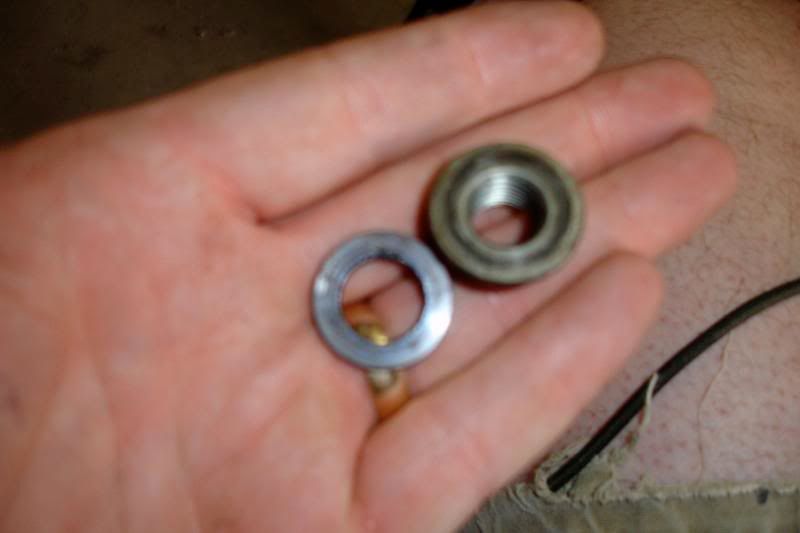
Remove Clutch Center, Locking Washer....(buy a new one...shitcan old one) Nut and washer.
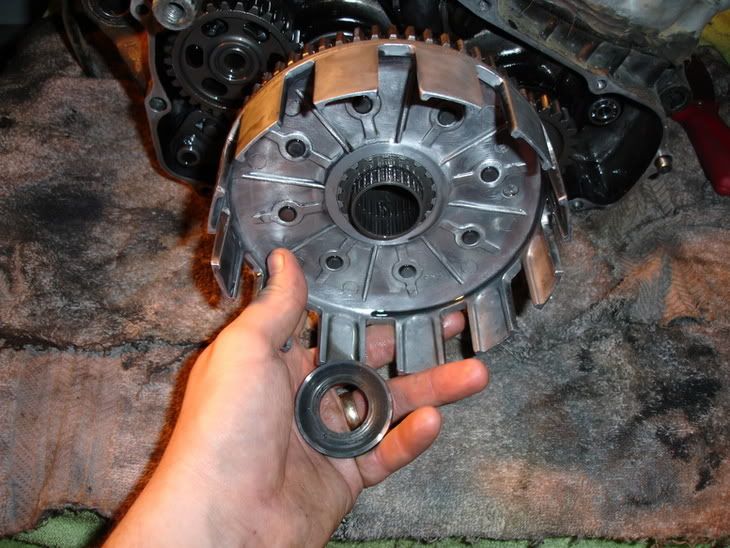
Remove thick washer and Clutch Basket....remember the order!
Slide off Sleeve and Needle Bearings off MainShaft....
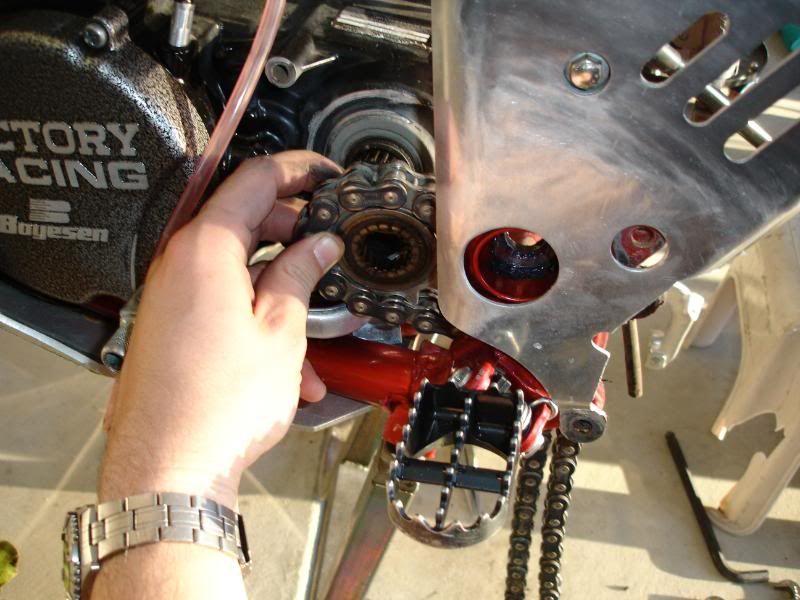
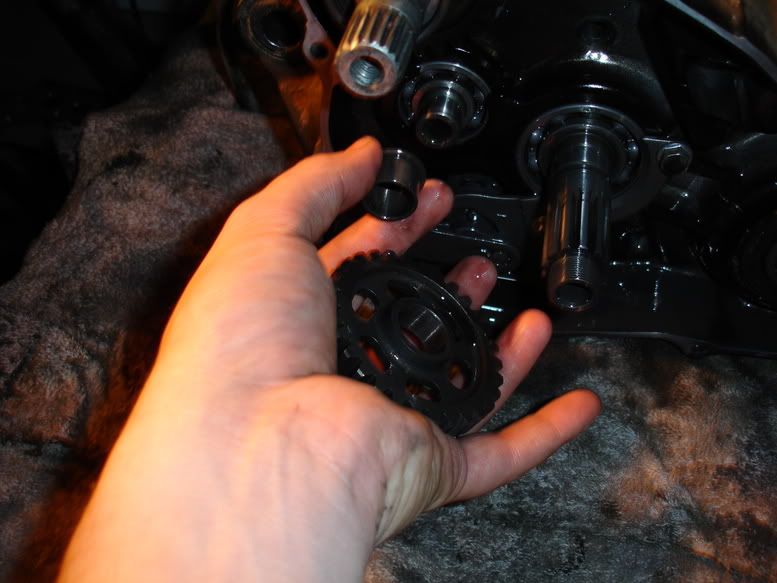
Now Remove that Primary Drive Gear.
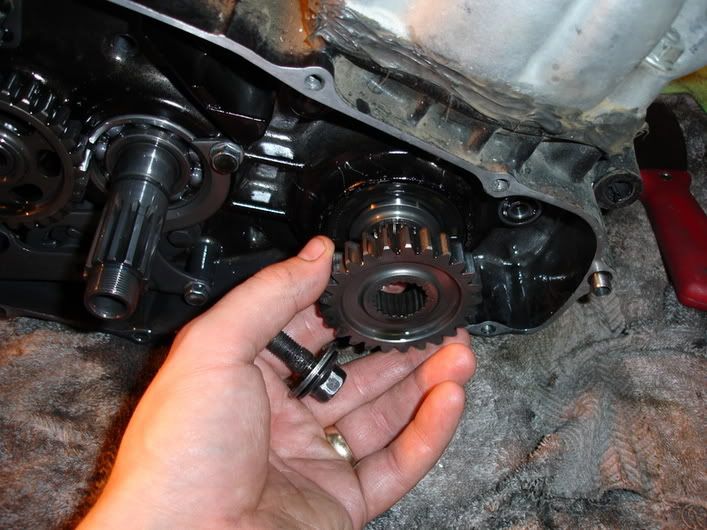
Slide Idler Gear off Countershaft.....dont forget the flanged bushing it rides on...flanged side toward the bearing/case.
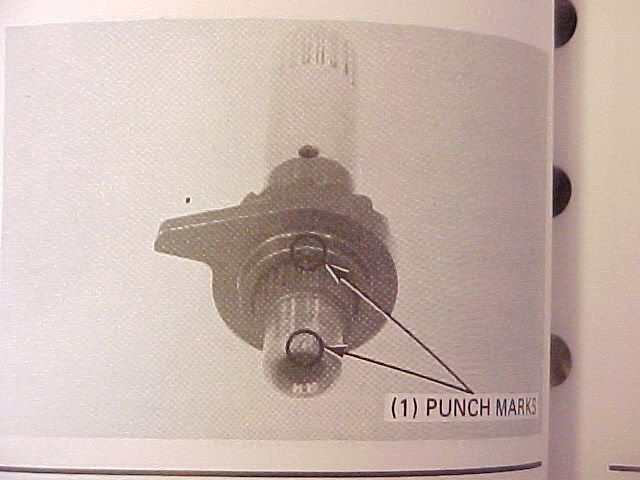
Pull Spring end out of case, apply slight inward pressure and clock Kickstart Spindle counter-clockwise until its pops free.
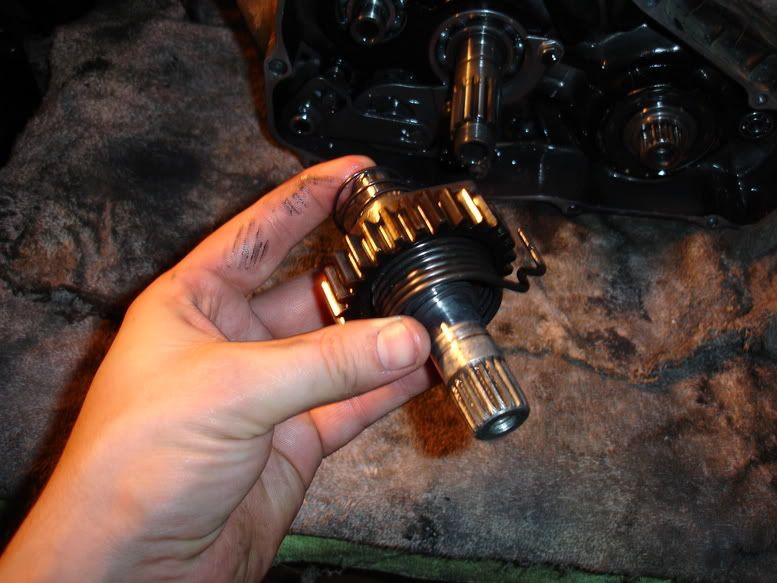
Keep it all together in one bag and dont upset the peened marks. This is important during re-assembly....We'll cover it again.
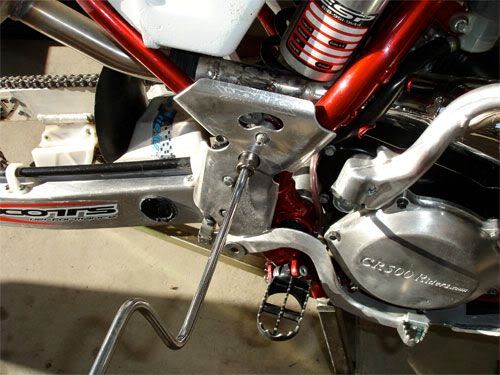
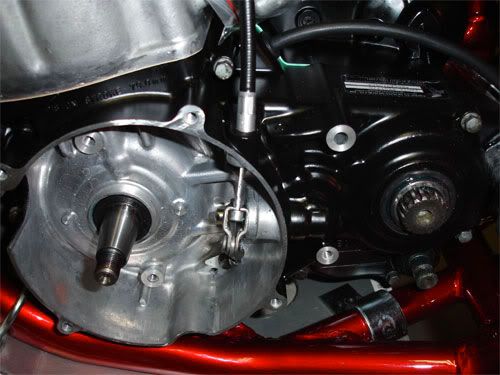
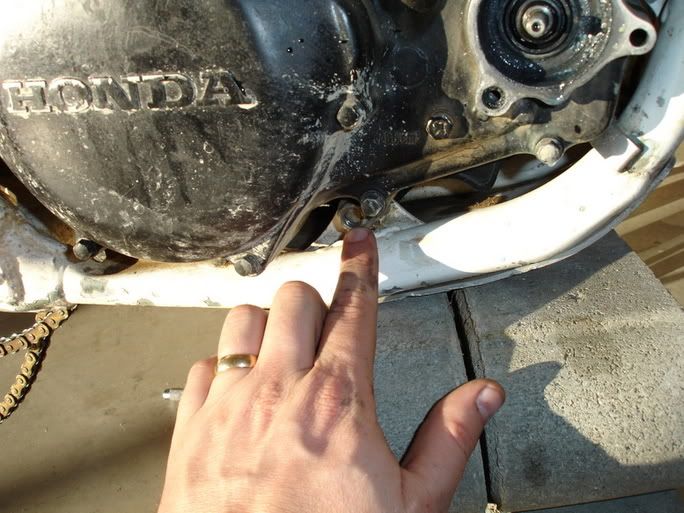
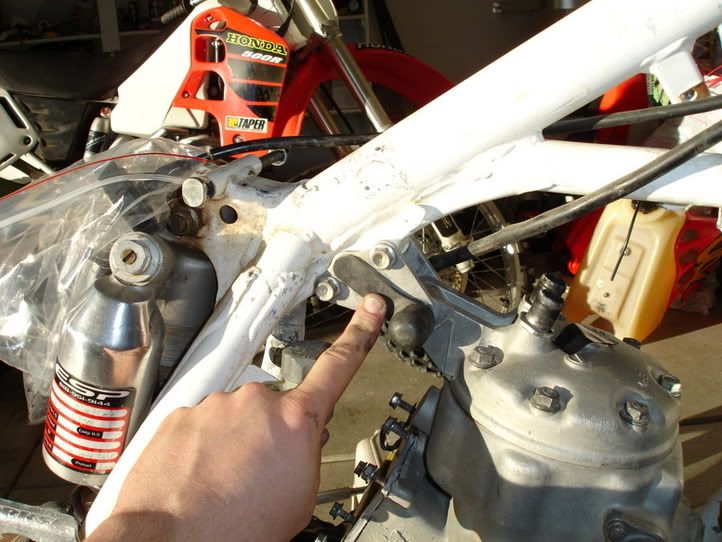
 Shift Linkage Disco:
***Note*** Bagging of parts after disassembly is critical...too many small parts to loose!!!!! So if you've been drinking too much beer and have as much agility/dexterity as Edward Penis-Fingers....save it for the next day.
Shift Linkage Disco:
***Note*** Bagging of parts after disassembly is critical...too many small parts to loose!!!!! So if you've been drinking too much beer and have as much agility/dexterity as Edward Penis-Fingers....save it for the next day.
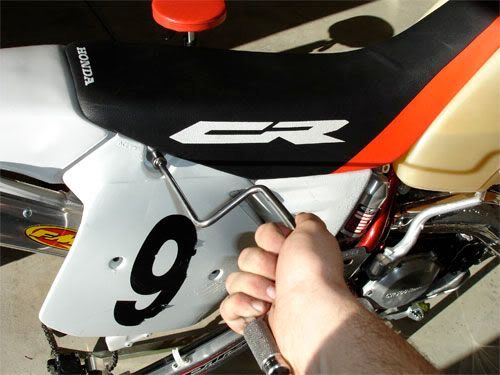
Disconnect Shift Lever on left side of the motor, then pull Gearshift Spindle and Washer free of motor...bag it....
Please be aware of the shifter collar...dont loose it! Tiny little bushing.
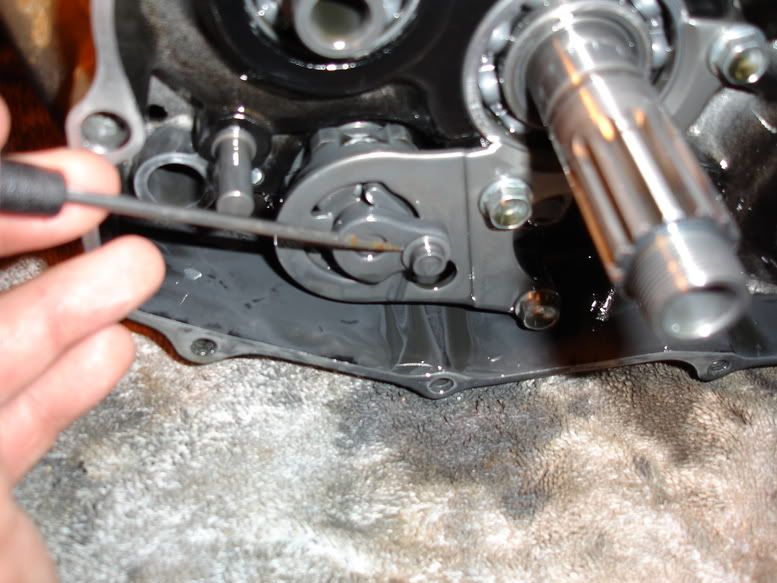
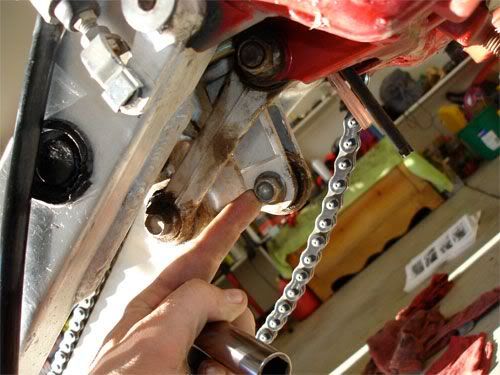
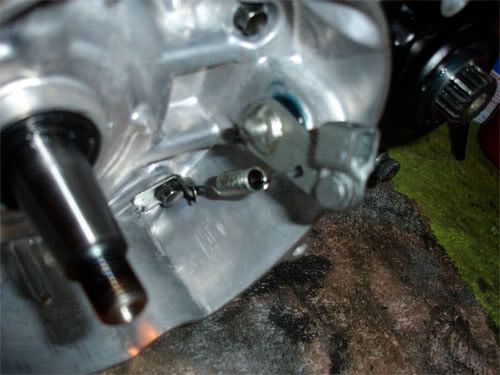
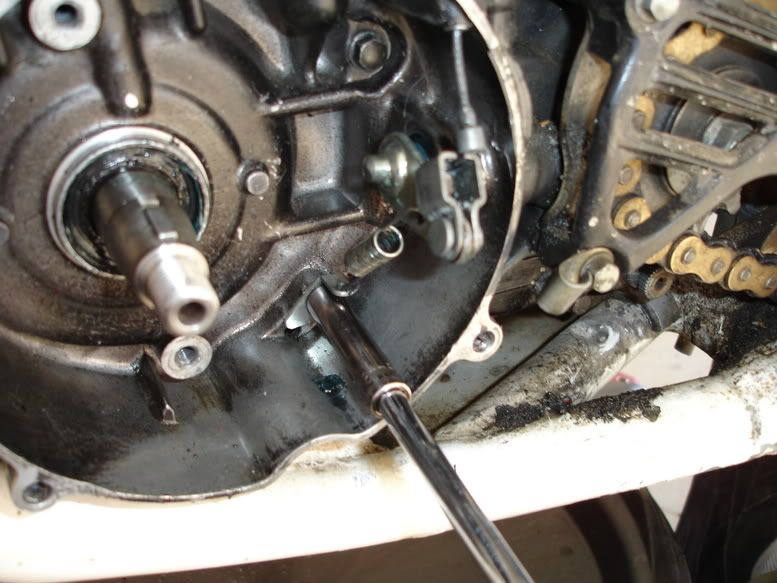
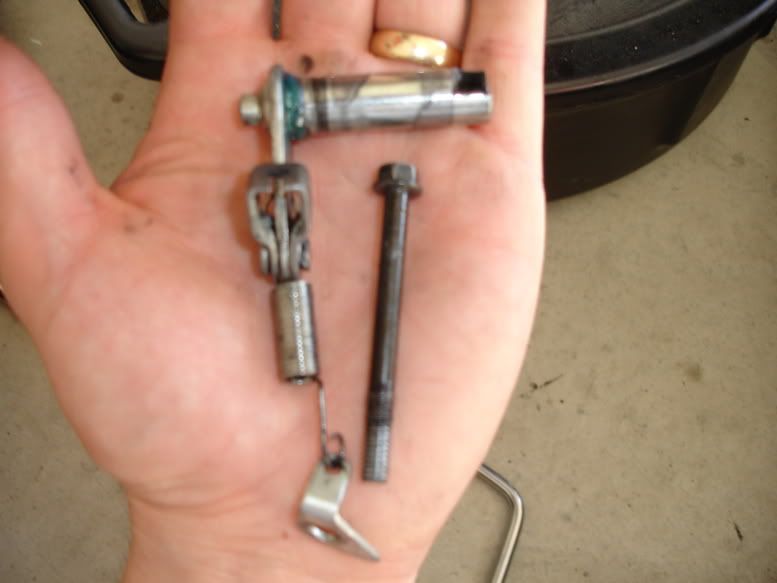
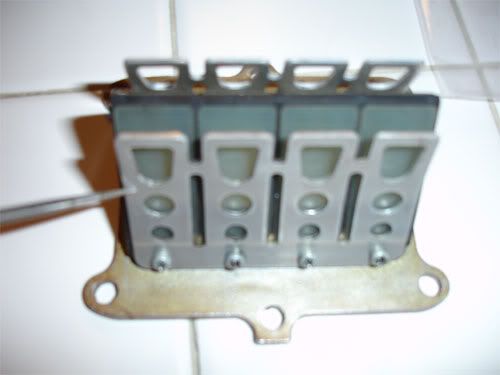
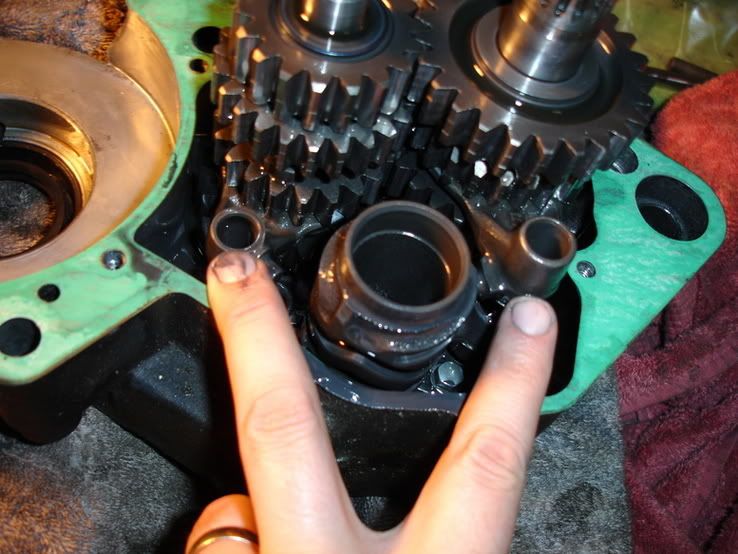
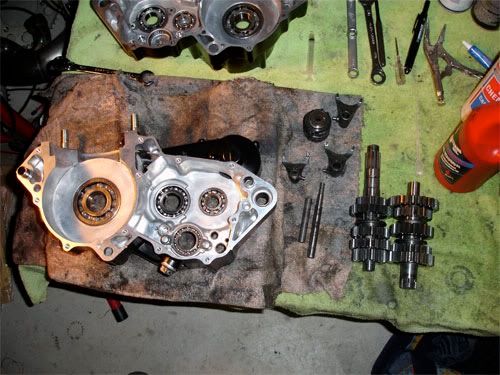
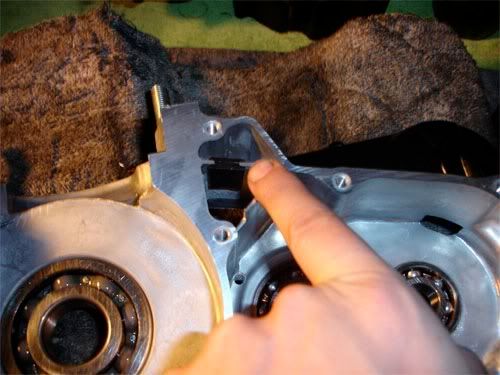
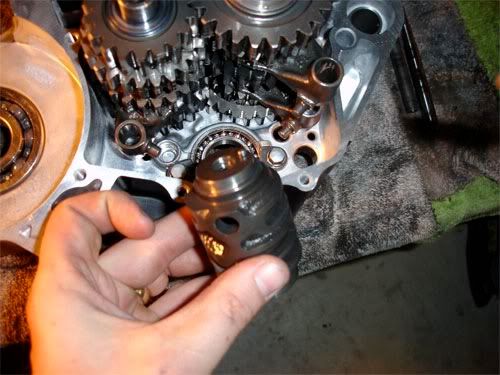
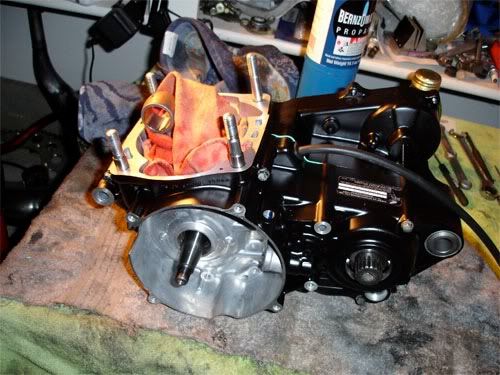
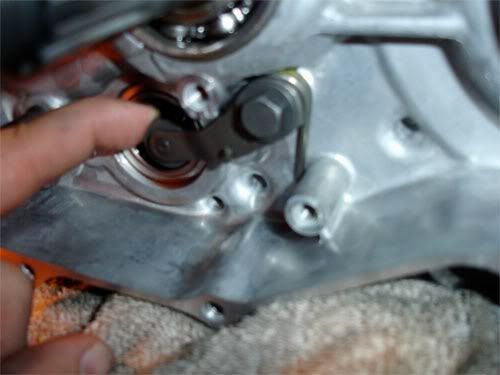
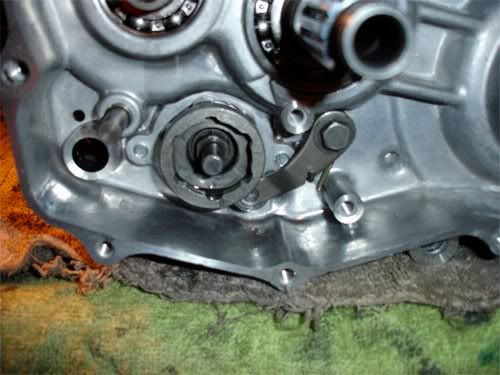
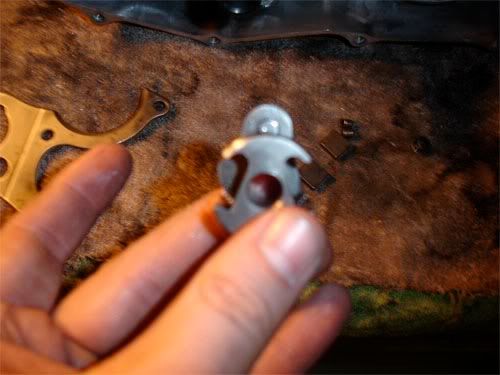
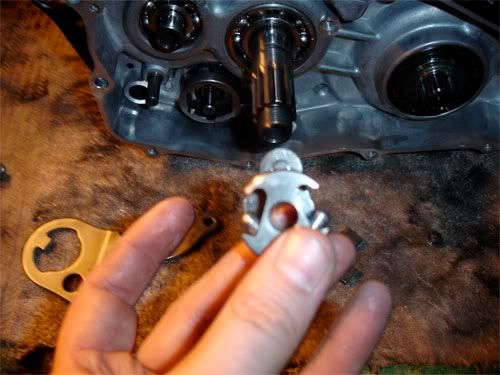
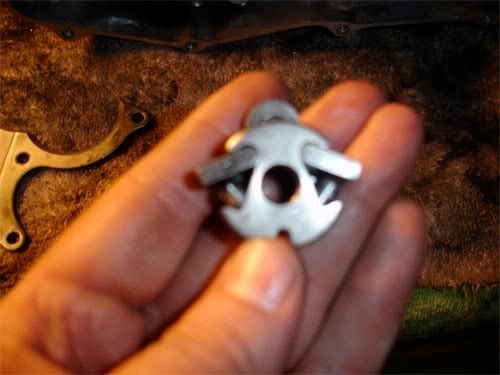
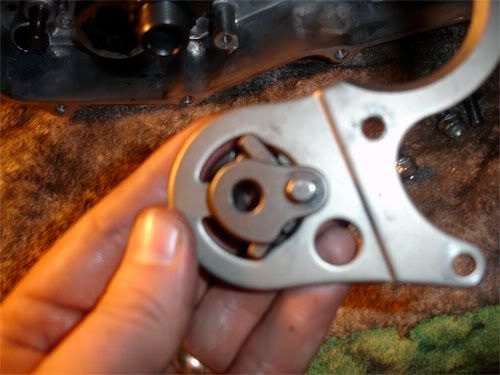
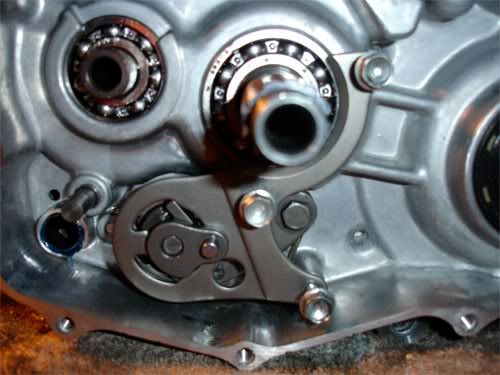
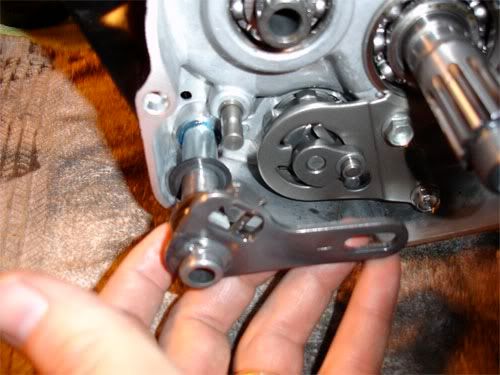
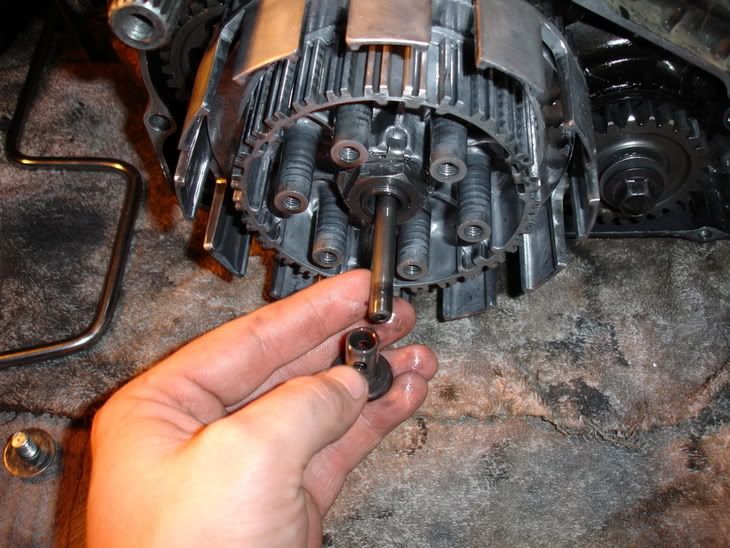
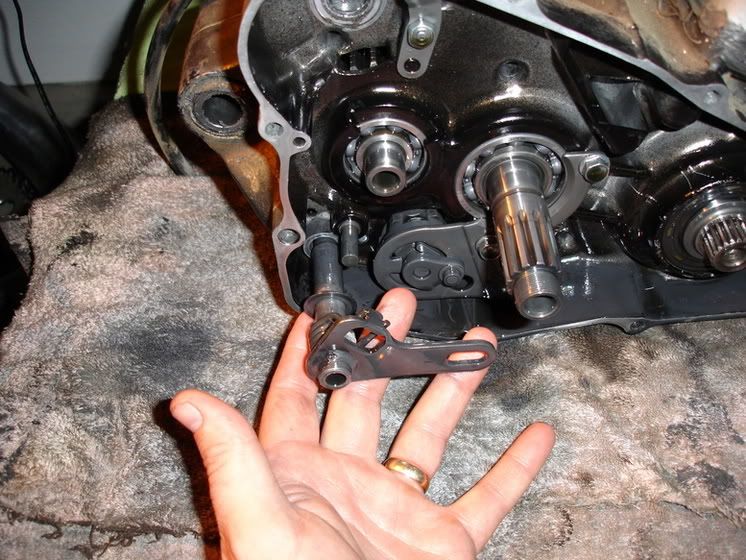
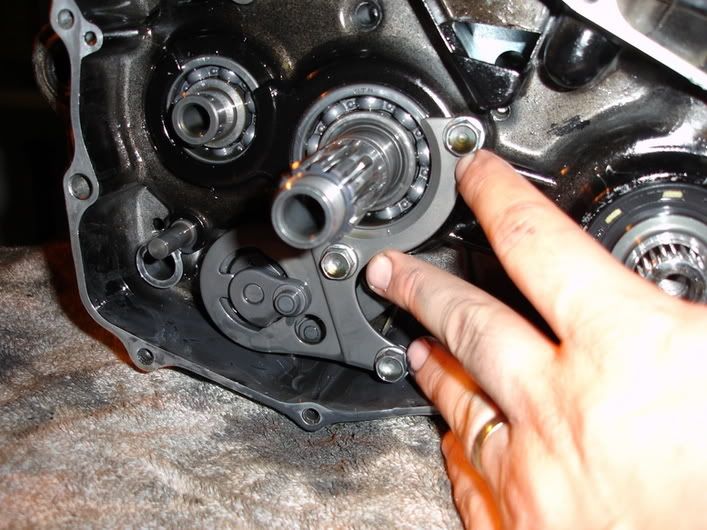
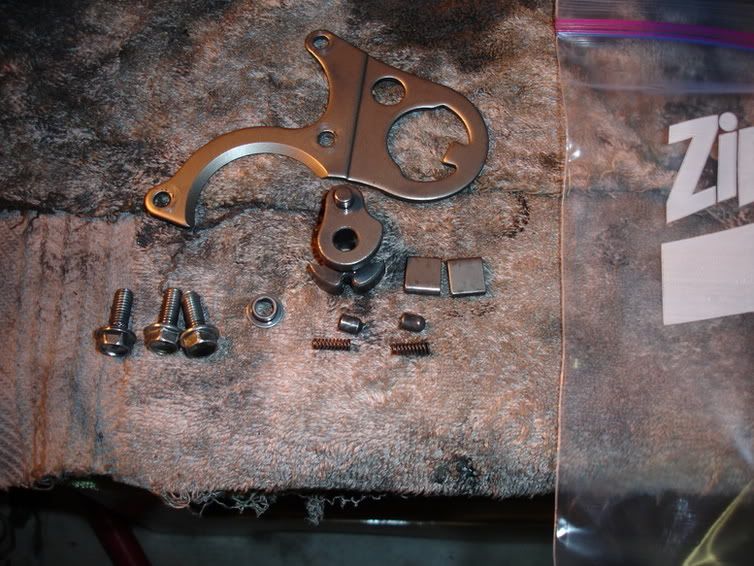
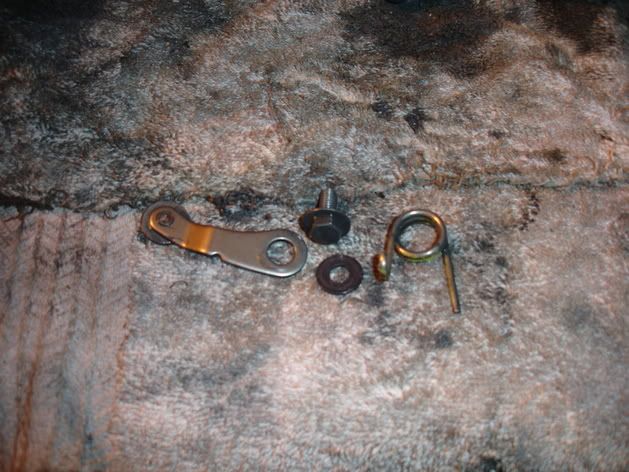
Remove Guide Plate via 3 bolts. During this step you will CAREFULLY remove Drum Shifter with Guide Plate. It has subparts that are easy to lose. Shifter Collar includes; Springs 2ea, Plungers 2 ea and Ratchet Pawls 2 ea...all of which are in second pic.
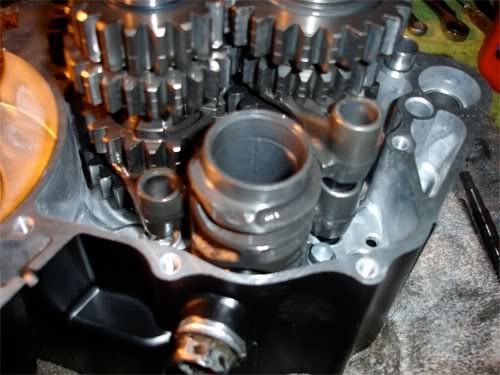
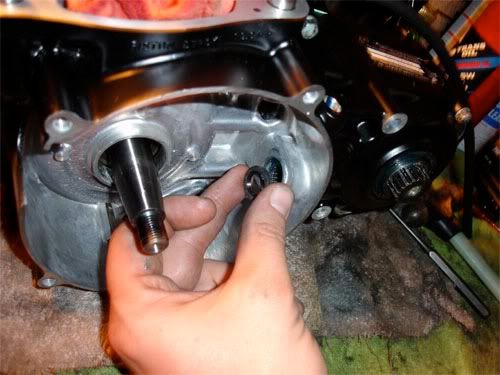
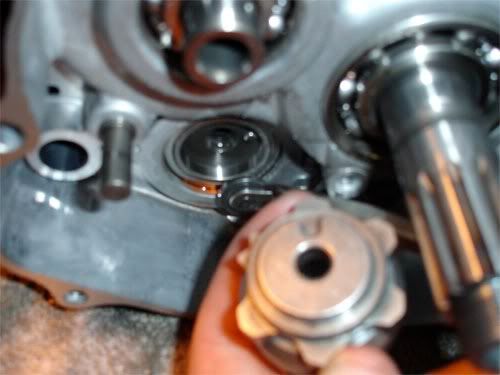
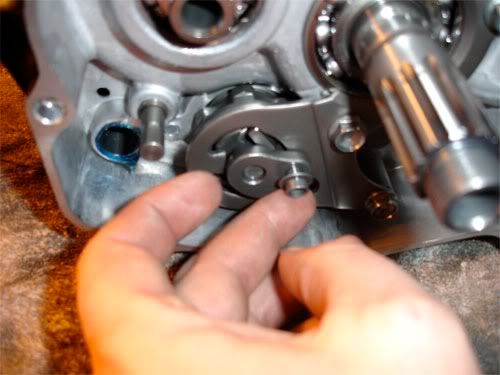
Remove center pin from Drum Center. Remove Drum Center.
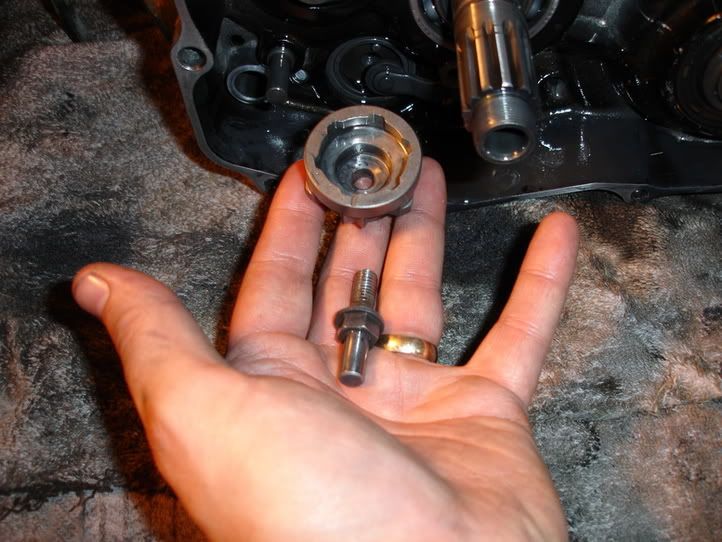
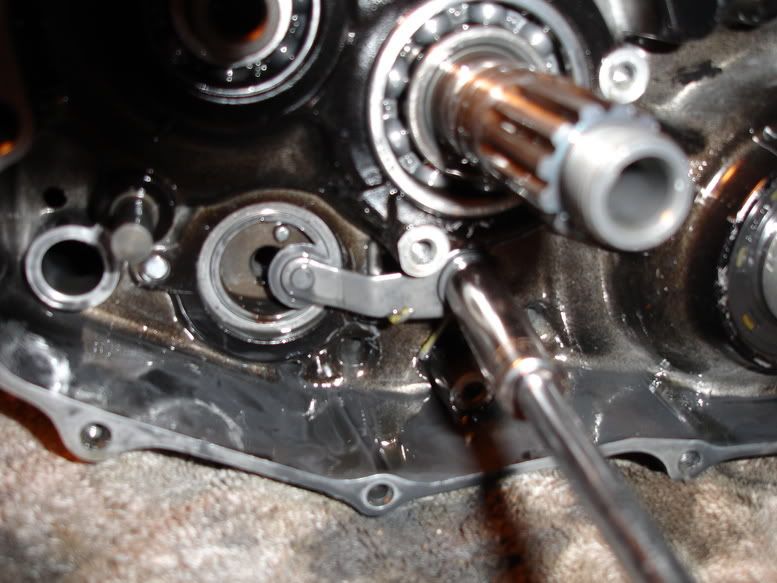
Remove Stopper Arm. Note that it is under spring pressure and has 1 bolt and washer.
 General Insp:
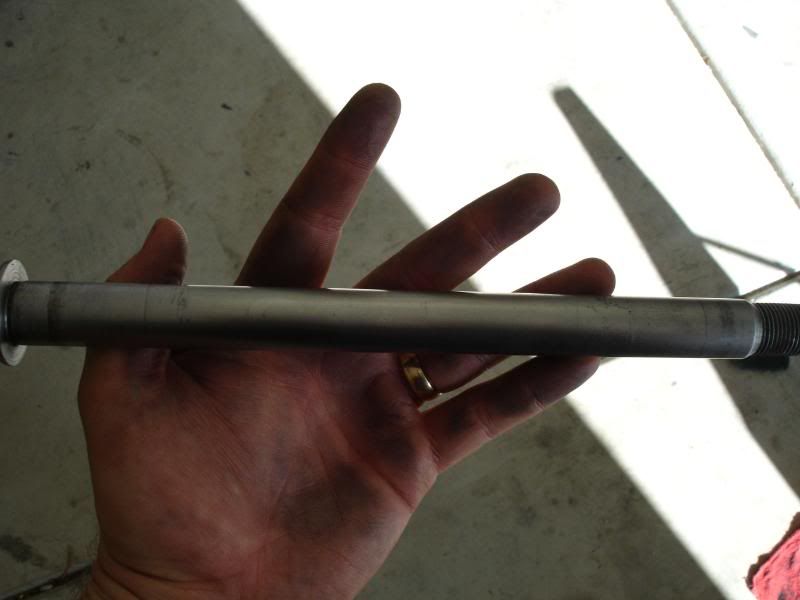
1) Inspect your Clutch Lifter Pushrod for straightness and or any damage. Roll it on a flat surface to ensure it not bent.
2) Check Lifter and Lifter needle bearing (as applicable) for damage and freedom of movement.
3) Clutch Lifter/Actuation Arm, look for damage and obvious wear.
4) Clutch Spring Inspection, you will need a Vanier Caliper. Spring Height should be as follows:
85-89 1.67 inches or 42.5MM
After 89 1.66 inches or 42.2MM
5) Clutch Disk, measure thickness with a vanier caliper for a minimum of 0.112 inch/2.85MM thickness.....replace if its less. Beware...this is for Honda Disks, aftermarket disks thickness may vary or be "slightly" different. Use your best judgement.
6) Clutch Plates, Check for warpage.....on flat surface, attempt to slide a 0.008 inch/0.2MM feeler gauge under disk with equal finger pressure applied on disk.
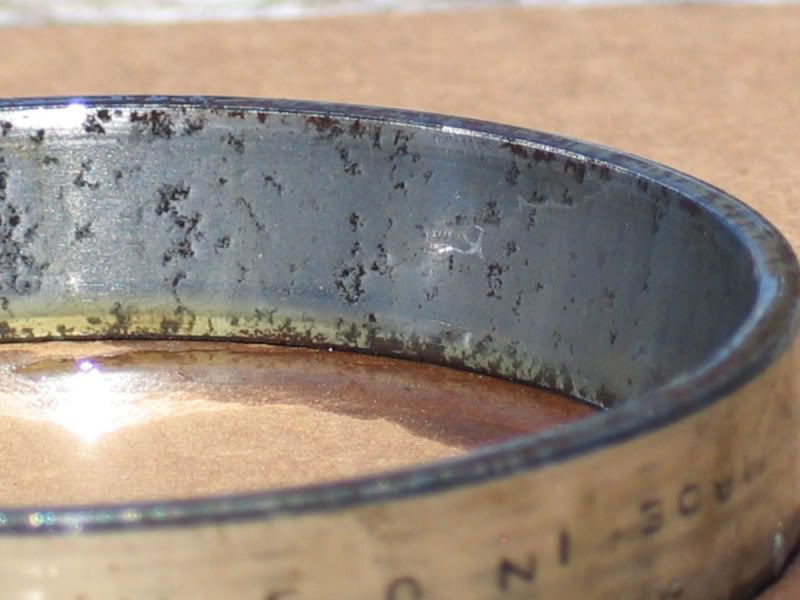
7) Clutch Basket, look for grooved fingers from clutch plates...there in no service limit....use your best judgement.
A) Measure ID (Inner Diameter) of Clutch basket with vanier caliper, service limit is 1.2620/32.054MM...if you exceed this....replace basket. This measurement is taken where the basket rides on the Clutch Outer Guide/Needle Bearings.
8. Clutch Outer Guide, this is what your Clutch Basket rides on. Looks like a simple flanged bushing. After 85 this applies, measure its OD (outer
diameter) service limit is 1.1013 inches/27.973MM, replace if its less than this...
9) Clutch Basket Needle Bearings...use your best judgement....are the needles frosted, pitted, galled, busted pins and freedom of rotation?
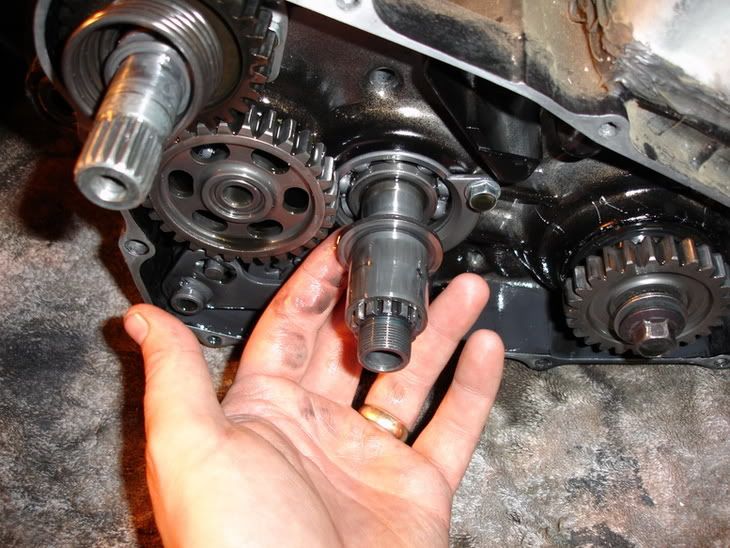
10) Kickstart Return Spring, check for weakness or general damage.
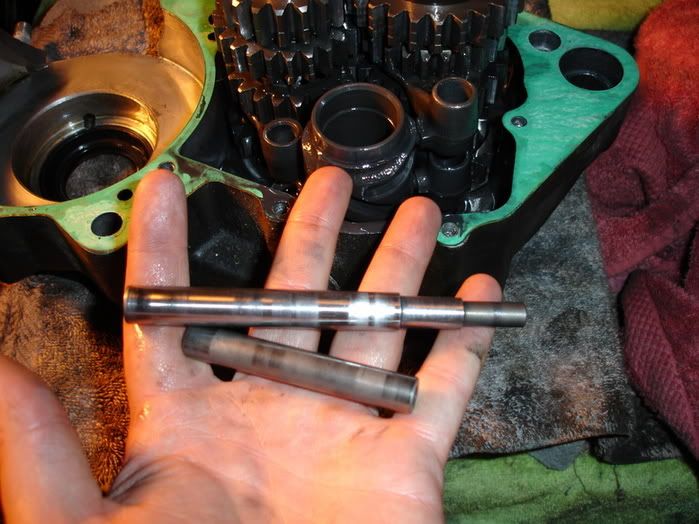
11) Kickstart Spindle OD, measure it with vaneir caliper or outside mic. Service limit is 0.864 inches/21.95MM..if its less...replaces. This measurement is taken where the Pinion Gear rides.
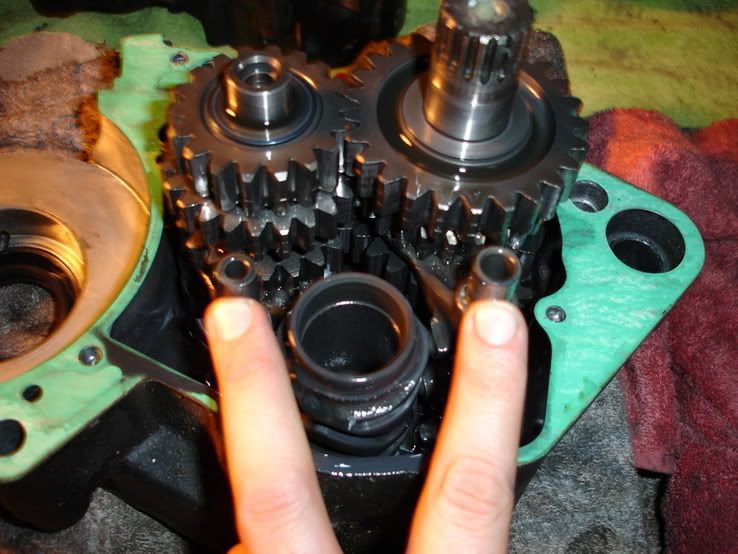
12) Kickstarter Pinion Gear, measure the ID (Inner Diameter) of where it rides on Kickstarter Spindle. Service Limit is 0.790 inches/20.06MM.
13) Idler Gear, measure its ID, Service Limit is 0.790 inches/20.07MM
14) Counter Shaft OD, where Idler Gear rides. Service Limit is 0.0667 inches/16.95MM
15) Idler Gear Bushing ID, Service Limit is 0.0671 inches/17.04MM
16) Idler Gear Bushing OD, Service Limit is 0.786 inches/19.96MM
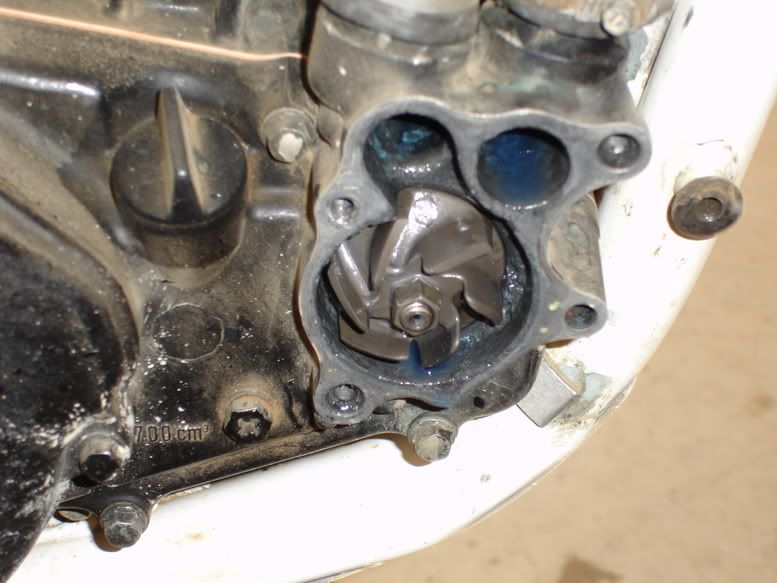
17) Water Pump Gear:
A) Look for cracks, fractures, worn teeth...etc
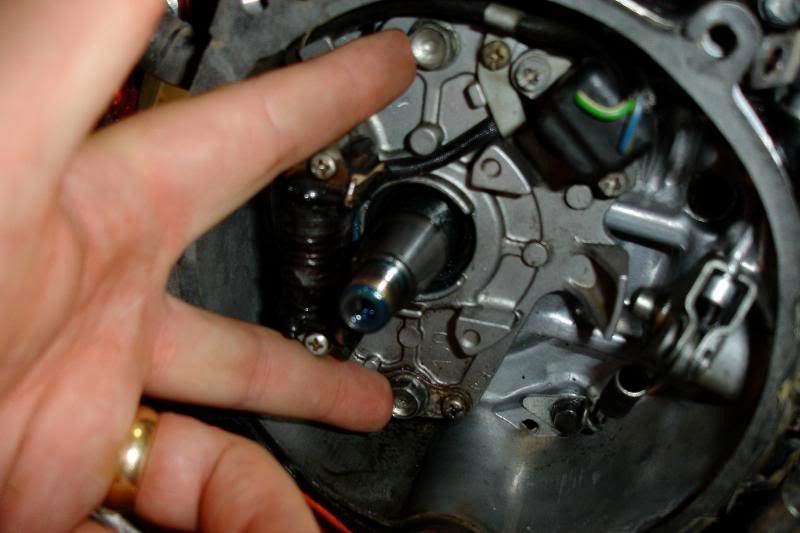
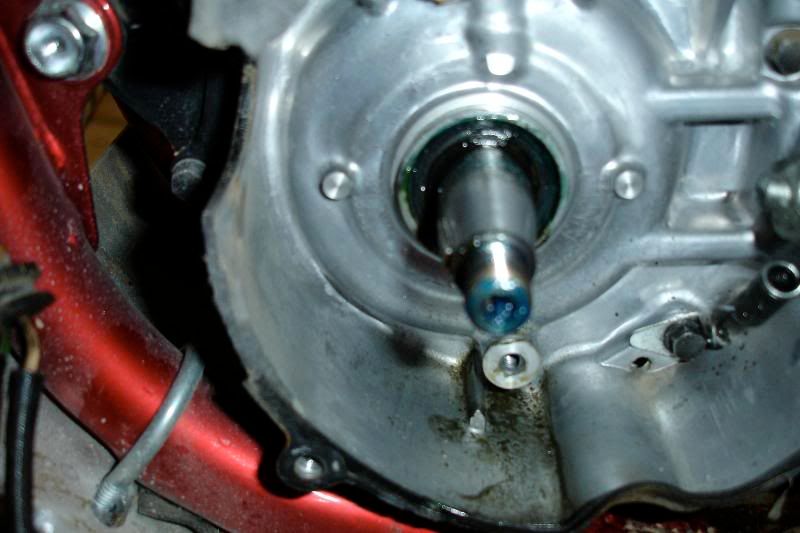
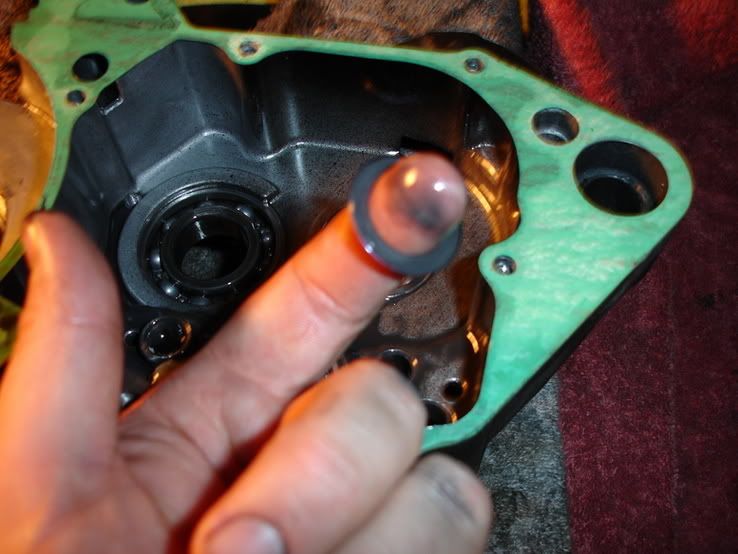
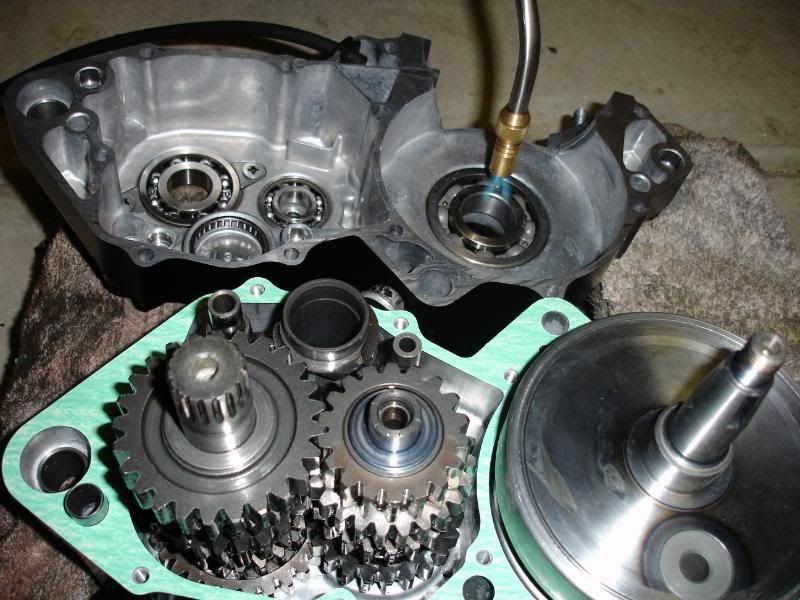
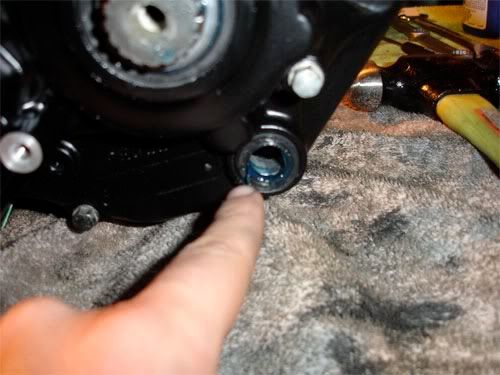
B) Observe Water Pump Gear Shaft for grooves from seals...if a fingernail can catch these grooves...REPLACE your Water Pump Gear Shaft.
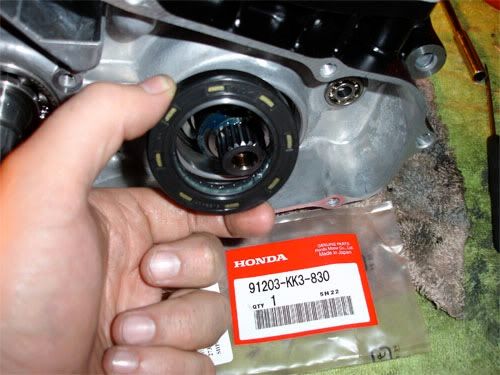
18. Plan on replacing both Water Pump Seals.......
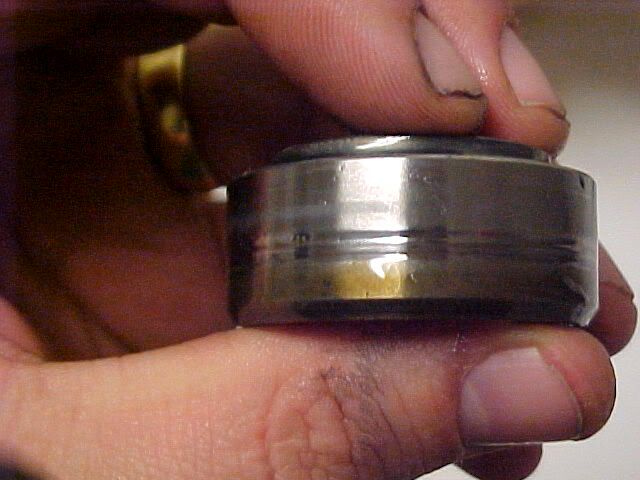
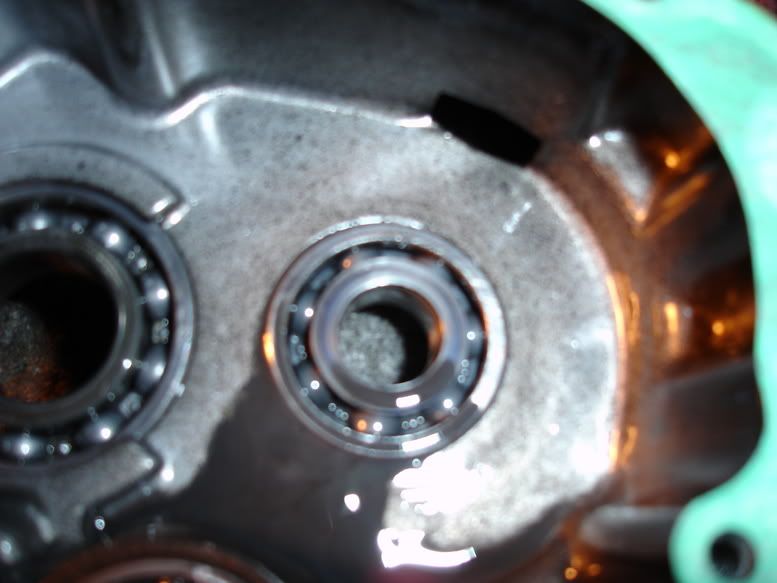
19) Water Pump Bearing, inspect for excessive wear, noisy movement...should spin freely and quietly. You insert the Pump Shaft into bearing...excessive up and down movement....replace it.
20) Water Pump Impeller, general damage, hosed up threads...etc. Ensure you retain the copper thrust washer...
End of section...ensure you have everything and all is bagged up per section.