Page 1 of 1
the dreaded pipe bush markings
Posted: October 21st, 2009, 4:41 pm
by Xylicon
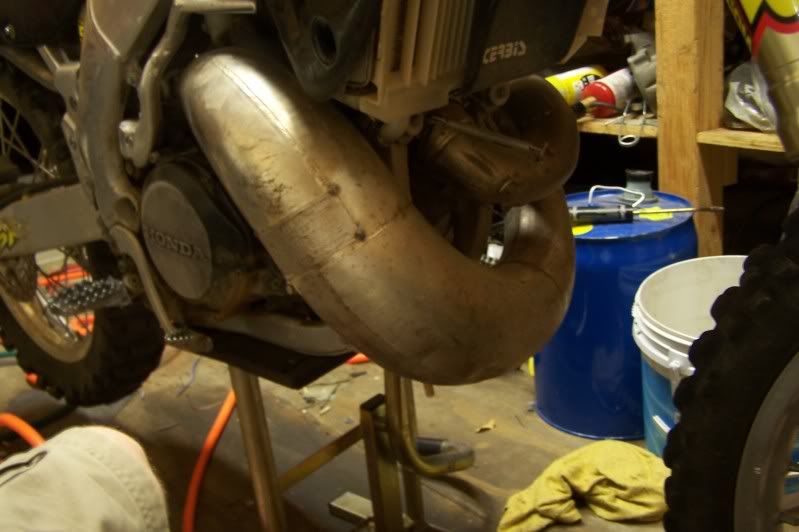
I get these every time I go out and I have no idea how to remove them without scratching up the pipe, so I just leave em there, any suggestions?

Posted: October 21st, 2009, 6:09 pm
by redrocket190
Buy a pipe guard?
Posted: October 21st, 2009, 6:20 pm
by NightBiker07
redrocket190 wrote:Buy a pipe guard?
dont see the point of that, then you beat up the pipe guard, still have the marks, and you have to look at an ugly pipe guard. unless you want to take the guard off when you want it to look pretty lmao!
Posted: October 21st, 2009, 8:12 pm
by caseyracing222
redrocket190 wrote:Buy an eline pipe guard?
you can sand and polish out the scratches on an eline, if you want your bike to look like a garage queen!


Posted: October 21st, 2009, 8:23 pm
by NightBiker07
caseyracing222 wrote:redrocket190 wrote:Buy an eline pipe guard?
you can sand and polish out the scratches on an eline, if you want your bike to look like a garage queen!
if you want a garage queen, dont ride! or buy a second bike haha
Posted: October 21st, 2009, 8:35 pm
by britincali
You would cry if you looked at mine.....
Posted: October 21st, 2009, 8:41 pm
by AlisoBob
Wheelie more...
Posted: October 21st, 2009, 8:44 pm
by britincali
AlisoBob wrote:Wheelie more...
Bobber come on now Ive seen you plow through plenty of crap

Posted: October 21st, 2009, 8:45 pm
by AlisoBob
I didnt say for me....
Posted: October 21st, 2009, 8:47 pm
by britincali
The new rules for here...
Everyone must RIGHT NOW! NOT LATER, NOW!!!!!! Go take a pic the same as the orig poster of the front lower of his bike.
Were gonna sort the riders from the posers right here right now
This is gonna be funny as fuk lol, bob rename this thread.....
Posted: October 21st, 2009, 9:08 pm
by britincali
AF....
Steelie....
Posted: October 21st, 2009, 10:32 pm
by redrocket190
Re: the dreaded pipe bush markings
Posted: October 21st, 2009, 11:46 pm
by CR500R7
Xylicon wrote:I get these every time I go out and I have no idea how to remove them without scratching up the pipe, so I just leave em there, any suggestions?
Get some rose colored glasses would help.
Posted: October 22nd, 2009, 1:41 am
by britincali
Stiles (redrocket) is rider representin

Posted: October 22nd, 2009, 1:43 am
by britincali
britincali wrote:
We're gonna sort the riders from the posers right here right now
Posted: October 22nd, 2009, 3:43 am
by CR500R7
NightBiker07 wrote:caseyracing222 wrote:redrocket190 wrote:Buy an eline pipe guard?
you can sand and polish out the scratches on an eline, if you want your bike to look like a garage queen!
if you want a garage queen, dont ride! or buy a second bike haha
You don't need 2 bikes, just a second pipe to rub up against when it is in the garage.
Posted: October 22nd, 2009, 3:43 am
by Chief Gunner
britincali wrote:britincali wrote:
We're gonna sort the riders from the posers right here right now
I'll play; Here is my daughters 2001 Husqvarna CR125.....yup the kid rides the hell out of it

I'd should be embarrassed & ashamed to post this but it had a new pipe on it when I bought it, I've only got 4 rides on it so far......I know; us Chief's are not supposed to make excuses, just produce results so I'll update the pics as I go
looks like a garage queen, but hopefully not for long


Posted: October 22nd, 2009, 3:48 am
by CR500R7
daughter is a chip off the old Chief.
Posted: October 22nd, 2009, 5:26 am
by bearorso
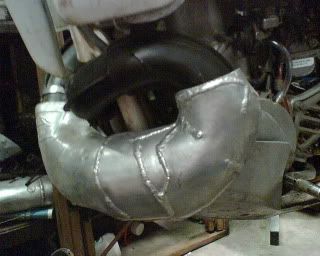
Here's mine,
Std CRE pipe guard + a cut , shut & reinforced Devol WR200 pipe guard ( a freebie that a shop couldn't sell) that has just had its regular panel beating session. The cable tie on the rad shroud is from a tree ripping the shroud off the other day. I swear, the bastard things move.............
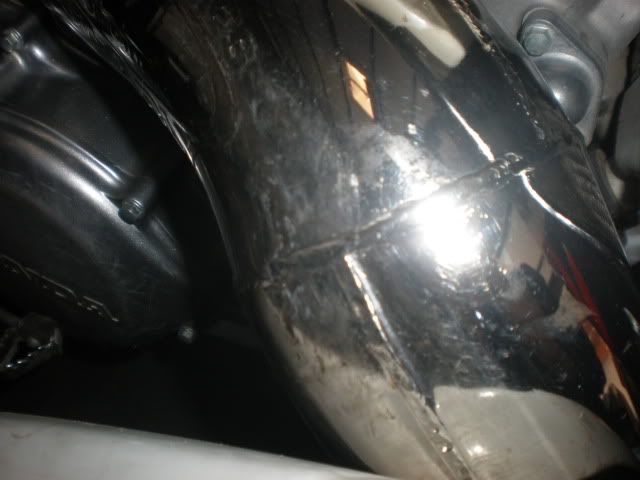
Here's the many times patched other side:
I don't think I've got a square inch of my bikes plastics that isn't scratched to hell. It's probably the scruffiest CRE around and covered in armour. Bikes are for riding, not polishing.
Posted: October 22nd, 2009, 3:52 pm
by caseyracing222
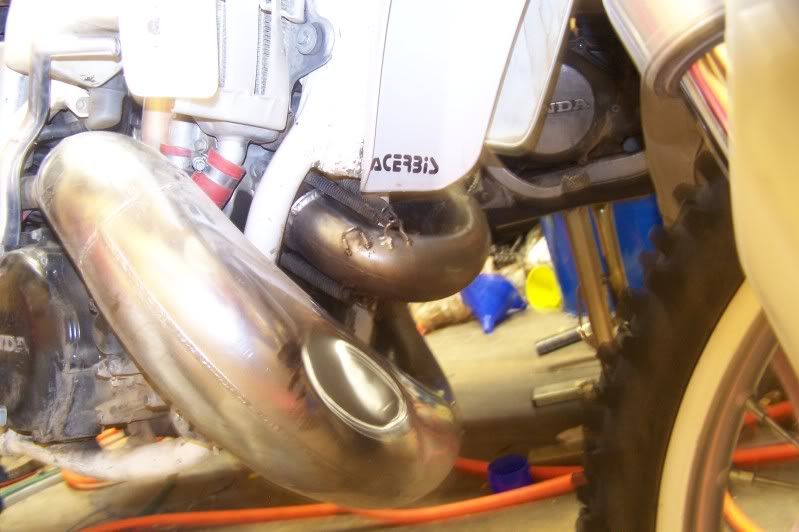
cr500 pipe, you should see the stock one
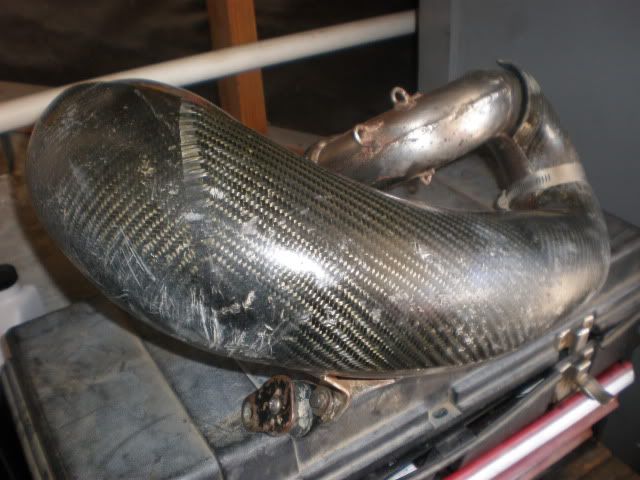
yz250 pipe, my main squeeze, its currently off of the bike because im putting a new water pump gear in
Posted: October 22nd, 2009, 8:56 pm
by CR500R7
Posted: October 23rd, 2009, 7:17 am
by bearorso
It's a Gas Gas KS - short little sucker. Short because my leg only bends to 90 degrees ( both the same actually). I also have an 89 CR125 one, modified to fit on a CRF knuckle, that's even shorter but I only keep it in my bum bag as insurance if the GG one breaks ( the GG ones post is only about 13.5 mm as against the std CR500 being 19 or 20mm, can't recall accurately) on longer rides. Though it's lasted almost 6 years so far. It is used in conjunction with my auto decompressor - I posted a thread on CR500riders a few years ago about the decomp. & it seemed to inspire AJ & (I think) Roostius to do their own , in head decomps - much better than the old, side of the barrel types.
It gives me a chance @ being able the kick the bike without being on a rock, log or step. Many times I still have to maneuver the bike into a low spot. To go with this, I have the LHRB, as I can't use a foot brake, lowered pegs (KTM std ones that are about 7mm lower- you just grind about 1mm off the thicker, forward tab & use KTM springs) or std CRs lowered 32mm, depending on how trashed my knees are each day. I also use one of 2 higher seats - Jack Van Velthoven or Ken De Dyker would fit my bike -, once again , depending on the state of my knees.
I developed my auto decompressor to go with the shorter KS, it makes it easy enough that a 7 year old could kick it - one day I'll post up a video of me starting it by hand (I've done this a few times in impossible situations, though it's bloody scary) - Murphy's Law will mean it chooses to kick back then and I'll destroy my hand, wrist or elbow

. A side benefit of a short KS, is you get the motor spinning quicker, which helps with 500s weak spark @ start up
.
Here's some pics of the lever:
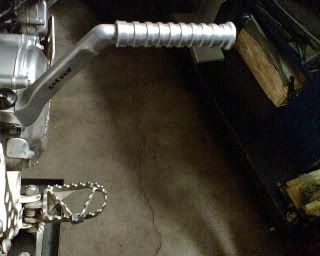
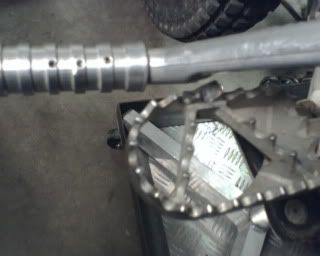
The long foot post I added so my foot won't slip off ( the GG one is very short, only 1/2 boot width), no matter what, and so I can "find" it in a hurry. You can see how short it is by the by how it hits the peg buffer at the foot post area of the KS.
Eventually, I intend to try to graft a KTM 2t Electric Starter on, I have the Ignition cover partially machined, but it's a long way off of me doing it fully.That will require a manual decomp. so you can hold it open whilst the motor spins up, but till then , bugger reaching for buttons or levers, with the auto decomp you just kick.
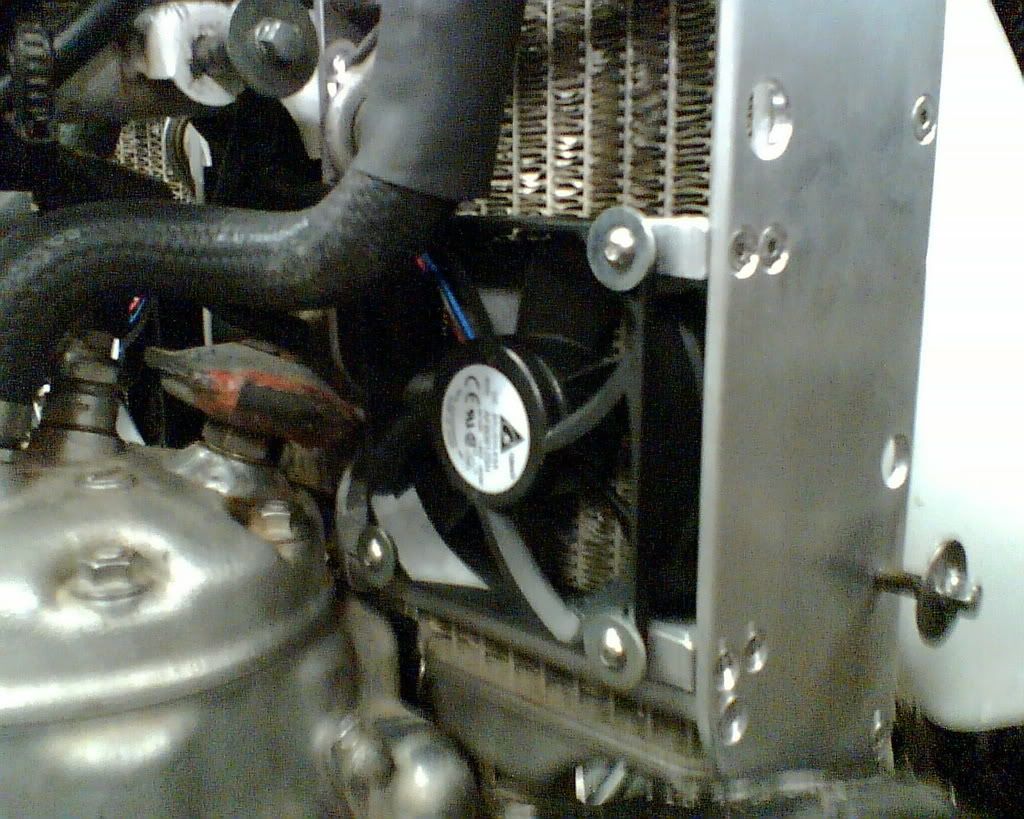
Here's pic of the decomp unit ( it looks a bit scuzzy as I RTV'd a rubber strip on initially just in case my IMS tank flexed into it), with my radiator cages & thermo fans in view as well:
I'm doing an all night-er & replacing my Hayes MTB ( with a lever blade that I machined up to give perfect hand/lever fit) master cylinder I've been using for 6 years with a new Brembo unit. The difficult part is modifying the mini clutch lever I've been using, to fit over/past the reservoir - what's the bet the new Brembo doesn't work as well as the one I have now?
I make all my bikes fit me, as I can make pretty much whatever I want. As I now work with children with disabilities, I seem to be making/ taking on even more projects as, even though I love it, it's pretty bloody stressful work.
Posted: October 24th, 2009, 3:16 pm
by eyesky2002
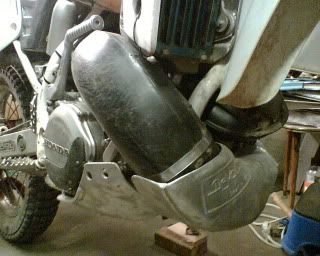
Here's mine....

How about the left side!!!

Posted: October 24th, 2009, 3:22 pm
by thestuz
ive got a gnarly that ive managed to keep in pretty good nic. my cr only gets used for mx tracks and i use bark busters so when i do slide out it doesnt get scratched up too much cos the weight of the bike is on the bars not the expansion chamber. but to buff your pipe up, use a metal polish and a cotton rag.
