Page 1 of 2
01 Gen2 Conversion - DONE!
Posted: August 4th, 2008, 2:48 pm
by hoofarted
Finally am starting my gen2 this week with the help of Danny Graves.
A little prologue first...
Early in my 500 experience, I was going to do the Gen1 conversion being that it was the most straightforward. So I bought a 98 gen1 roller last year. During this time, I rode my 92 steely 500 and my son rode a YZ80, then to the old 87 CR125. When the 125 gave out (after 3 months of riding it), I had him try my 01 CR250 - well he took right to it. Since the 01 has re valved suspension and slightly better handling characteristics, I decided that I was going to assemble the 98 gen1 roller and swap the 01 Gen2 engine into it - using the gen2 as my starting point for a 500 candidate. Well as he crashed pretty bad and hurt himself last week, I took the opportunity to get started. Still need a few small items to make the 98 Gen1 250 complete: headstays, fix radiator, and rear brakes.
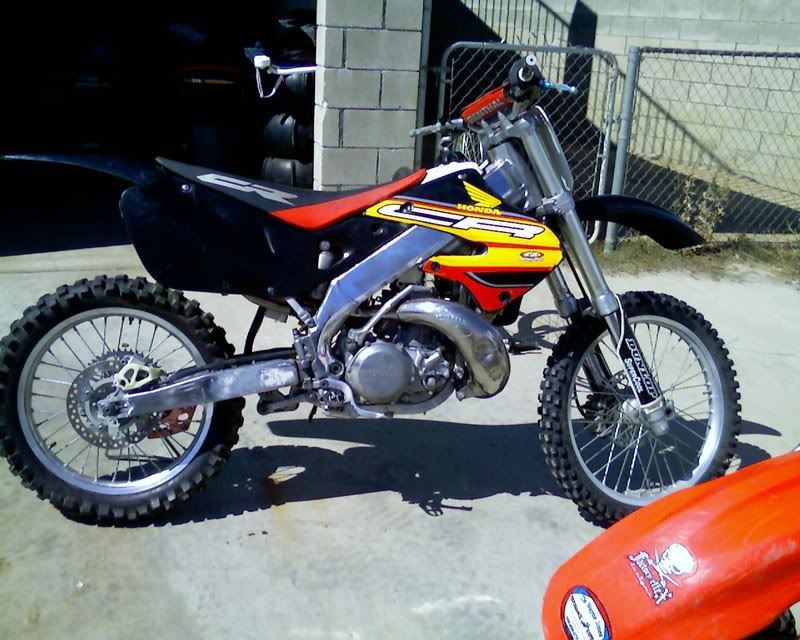
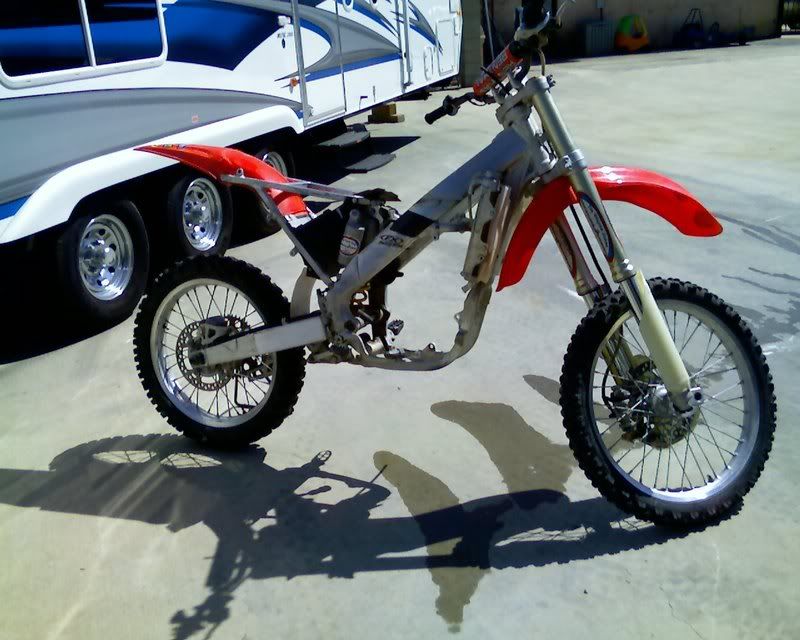
So, that phase I is nearing completion, here is the result:
98 CR250 with 01 Engine, etc...
01 Gen2 Roller
Now to tear down the 92 CR500 and prep for this weekend!
Posted: August 4th, 2008, 3:27 pm
by teemtrubble
cool cool
Posted: August 5th, 2008, 8:13 am
by dannygraves
ya boyeee!
plus I get to use a real welder this weekend

I think your lincoln will be a nice change from my chicago

plus we are swapping the trans gears, giving it the newer 4th and 5th using the gears we got from Clyde. should be fun, hopefully the kid will be good and give me some time to get 'er done.
Posted: August 5th, 2008, 10:06 am
by teemtrubble
You think?
Posted: August 5th, 2008, 10:09 am
by dannygraves
Posted: August 11th, 2008, 7:12 am
by hoofarted
Updates:
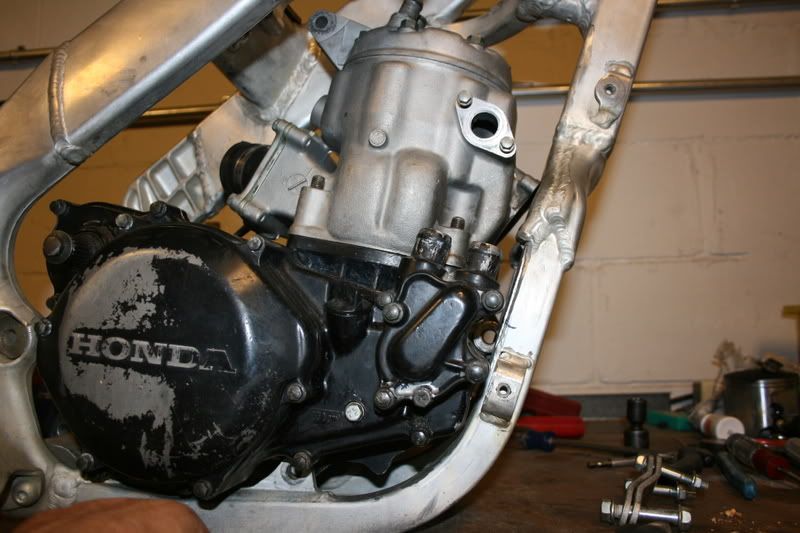
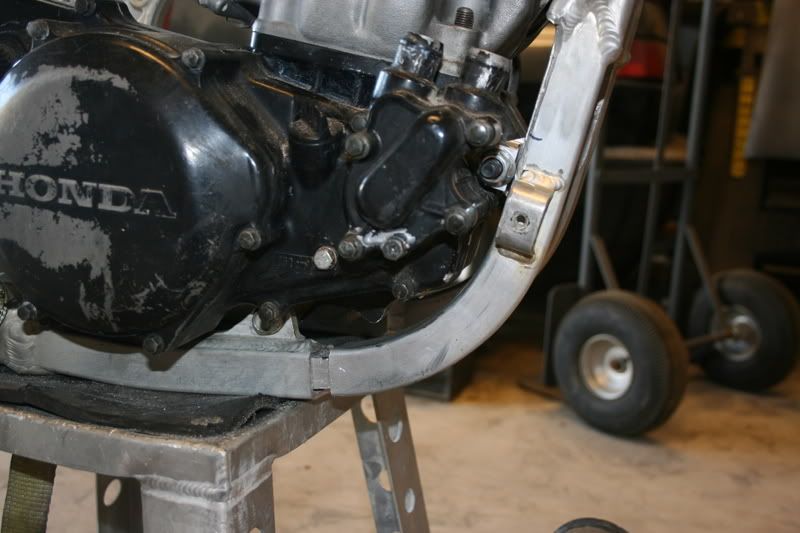
Removed 500 motor:

Stripped and prepped 250 frame, removed front mounts. Found that the 500 motor is a real tight fit!
Almost clears:
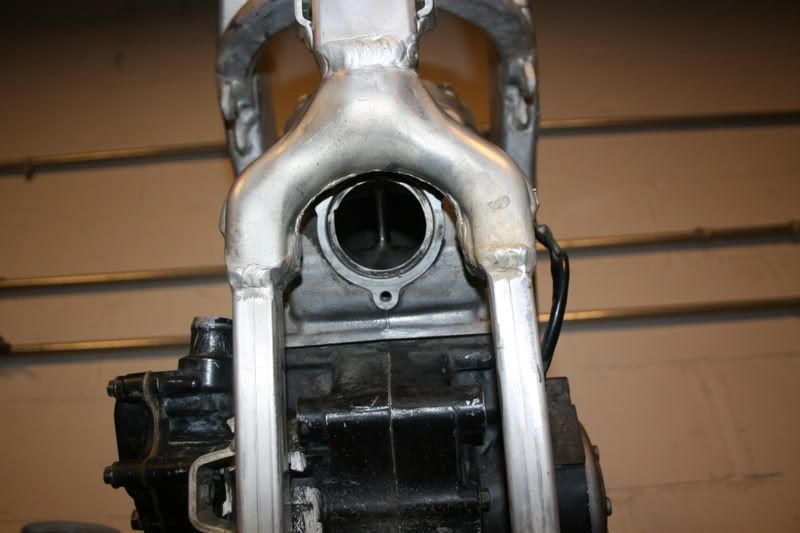
Now I am trying to decide between two methods: stretch with a bottle jack - have only seen one write up on this and am kind of nervous about it. Or, method two: cut lower tubes in front of lower mounts, extend, cut Y and shorten, and weld...thoughts? Anyone have the frame pieces for the lower frame tubes?
Posted: August 11th, 2008, 9:02 am
by AlisoBob
Your motor fits that frame surprizing well.... I'd just give it a little push.....
Posted: August 11th, 2008, 9:13 am
by sabreguy
AlisoBob wrote:Your motor fits that frame surprizing well.... I'd just give it a little push.....
I don't know about that bobber when you give things a little "push" they end up in the woodpile!

Posted: August 11th, 2008, 9:13 am
by hoofarted
I thought the same thing, Bob. Since I have a 12-ton bottle jack thats on my press, I welded (more like soldered!) some square tubing to each end of the jack...tried pushing on it but it made me nervous, then one of the tubes came loose and I gave up.
Posted: August 11th, 2008, 9:22 am
by AlisoBob
I only used a little mechanical bottle jack from a Trundra.
Jacked it a little, let it sit, jacked it a little more let it sit.....
Jacked it once more, I think Cracker hit the frame with some Mapp gas... let it sit.
Took the jack out....done.
http://www.bannedcr500riders.com/board/ ... .php?t=889

From Mik's build
http://www.bannedcr500riders.com/board/ ... php?t=1203

Crackers after final gussetting....
Its a simple way to do it.
Posted: August 11th, 2008, 9:24 am
by 100hp honda
danny take photo of those gears when you pull them out and send them to me. if i have enough cash i might be interested if your not using them for something else
Posted: August 11th, 2008, 9:27 am
by hoofarted
100hp honda wrote:danny take photo of those gears when you pull them out and send them to me. if i have enough cash i might be interested if your not using them for something else
Danny pussed out and didnt show this weekend. Something about a herniated vaginal wall or something. I think its serious! So I excused him.
Anyhow, I may attempt the case splitting myself and gear install. He swears its simple. So we'll see. I'll let you know when I get it done. Should be soon!
Posted: August 11th, 2008, 9:49 am
by 100hp honda
its easy if you done it before. but it can be a slow process if pins are corroded together. take it slow, go straight up with the puller alittle at a time and dont pry with screwdrivers on the gasket surfaces
Posted: August 11th, 2008, 9:50 am
by hoofarted
AlisoBob wrote:I only used a little mechanical bottle jack from a Trundra.
Jacked it a little, let it sit, jacked it a little more let it sit.....
Jacked it once more, I think Cracker hit the frame with some Mapp gas... let it sit.
Took the jack out....done.
From Mik's build
http://www.bannedcr500riders.com/board/ ... php?t=1203
Its a simple way to do it.
I recall that build - seems simple too for the front mount. I see the way the frame can stretch - I am just unsure about the gutting out of the Y then gusseting from the top afterwords. Is the lower tube spec the same as the ones you carry? Or did it change from Gen2 to Gen4? I've seen other builds where the y gets hacked to bits and really looks ugly. I did see AlGava's Gen3 build and that looked clean IMO. He had cut the Y and extended the lower frame tubes.
Posted: August 18th, 2008, 7:22 am
by hoofarted
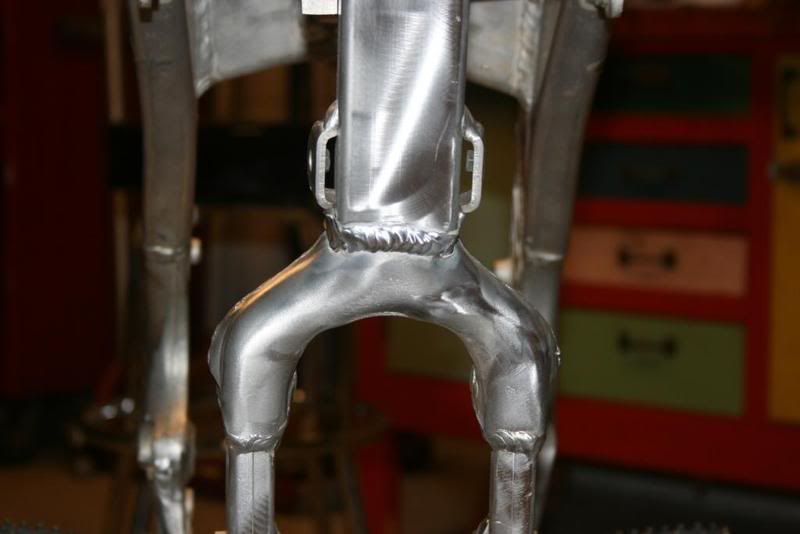
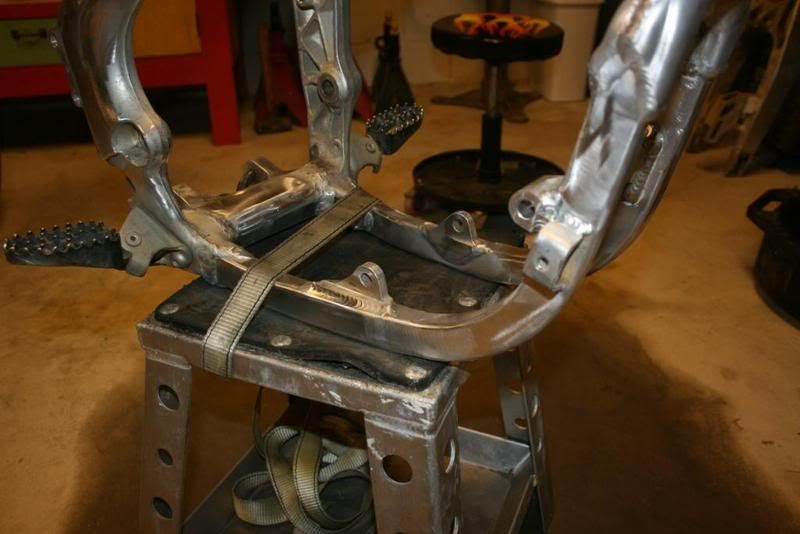
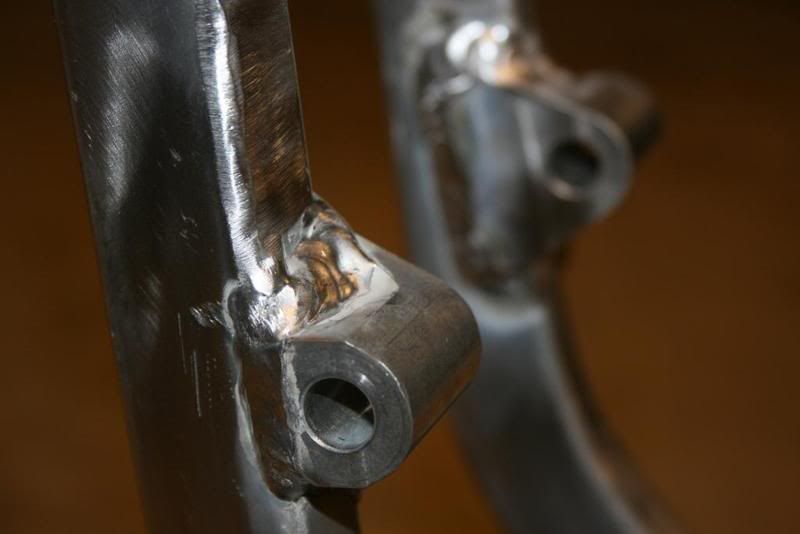
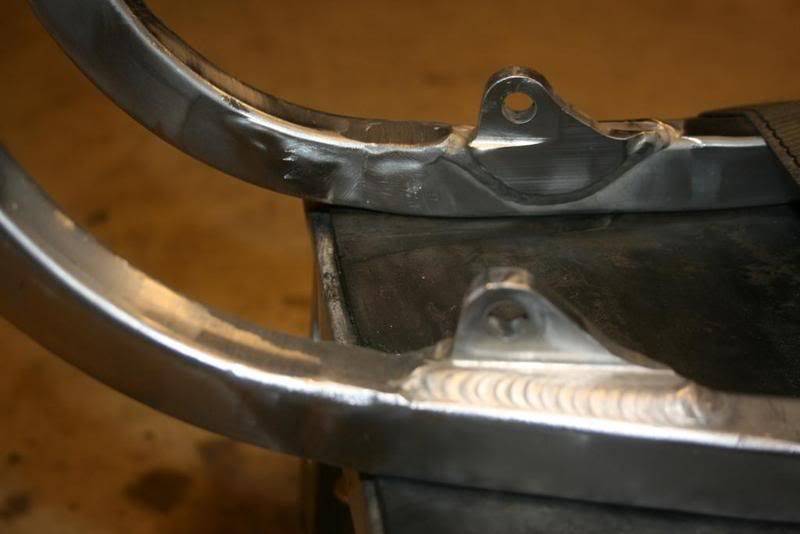
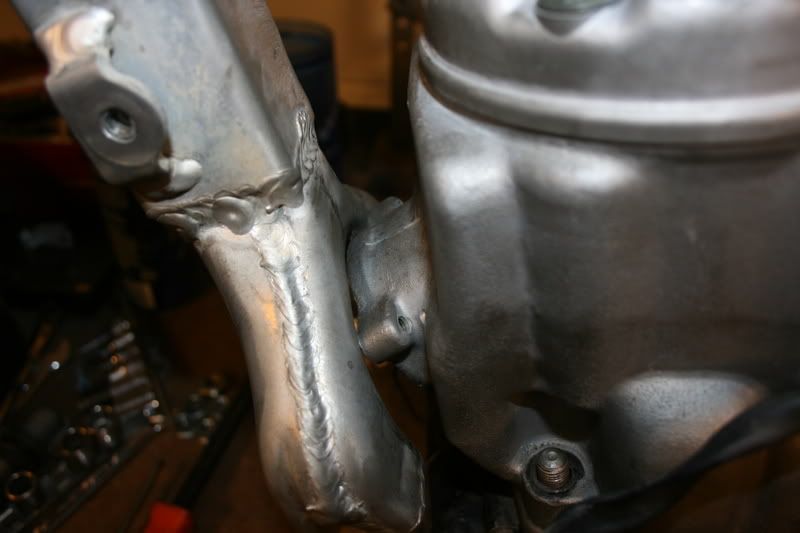
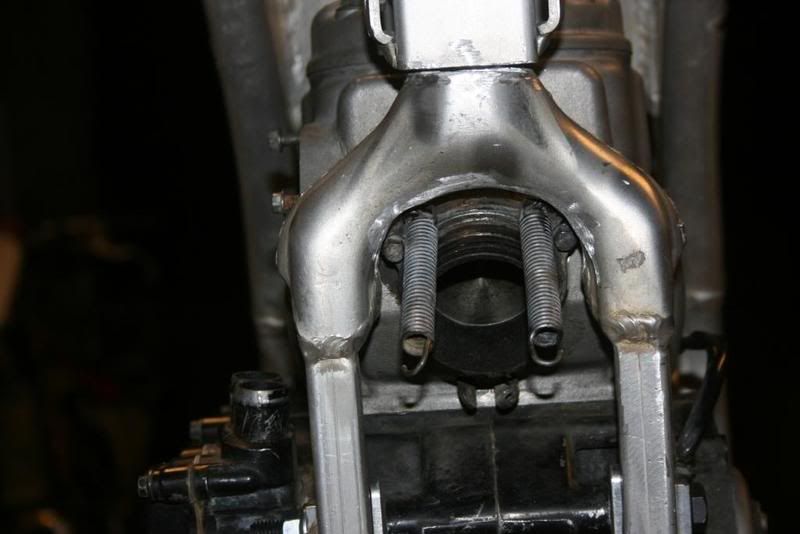
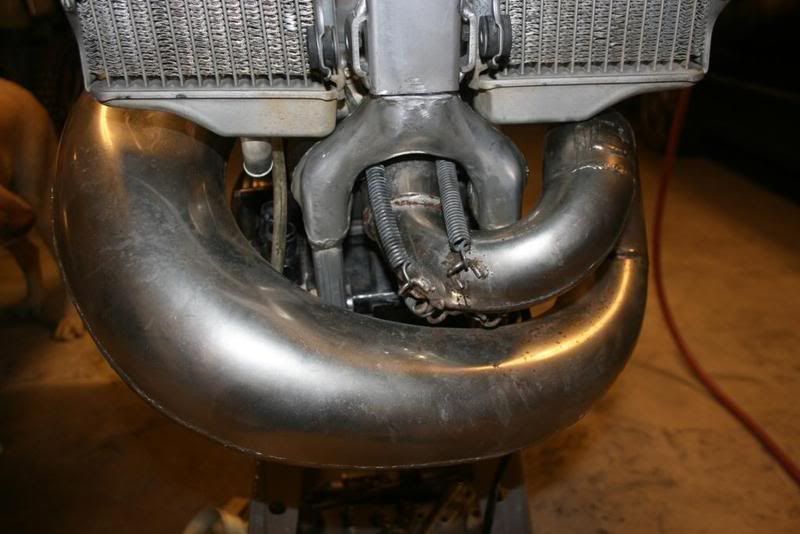
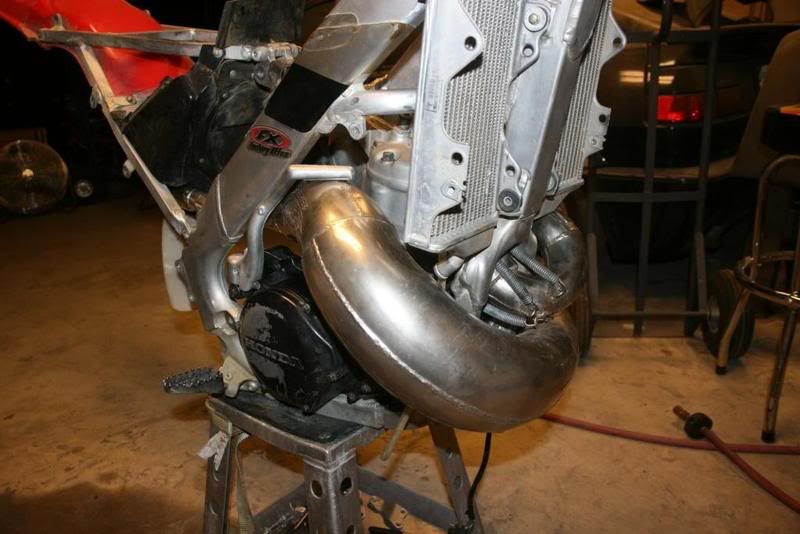
Update: So I opted not to stretch the frame. Instead, I decided to cut the welds at the Y and the lower frame tubes and extended them. Here's a couple pics:
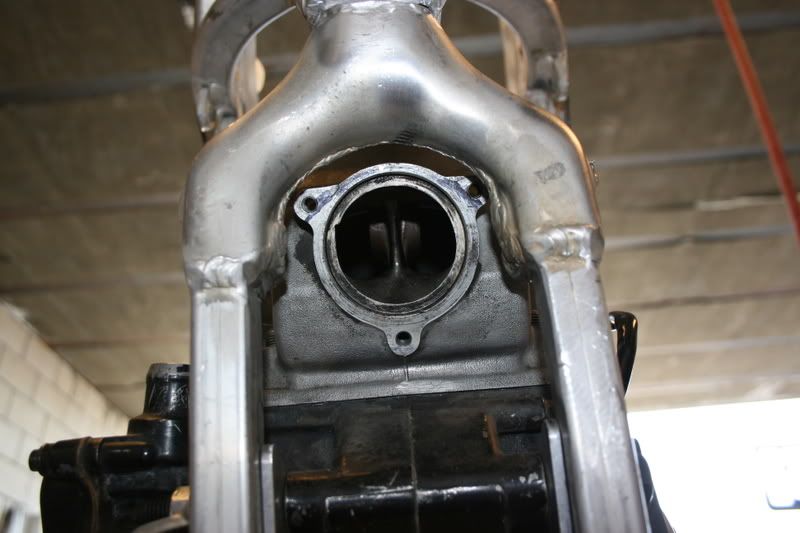
I am almost thru with it. I just need to shorten the upper downtube by about .25" and it should clear the springs and manifold. Then its off to the welder.
Posted: August 18th, 2008, 7:58 am
by dannygraves
cool, finish that beast up so I can bring the gen-4 over and we can ride your backyard like old times
Posted: August 26th, 2008, 7:38 am
by hoofarted
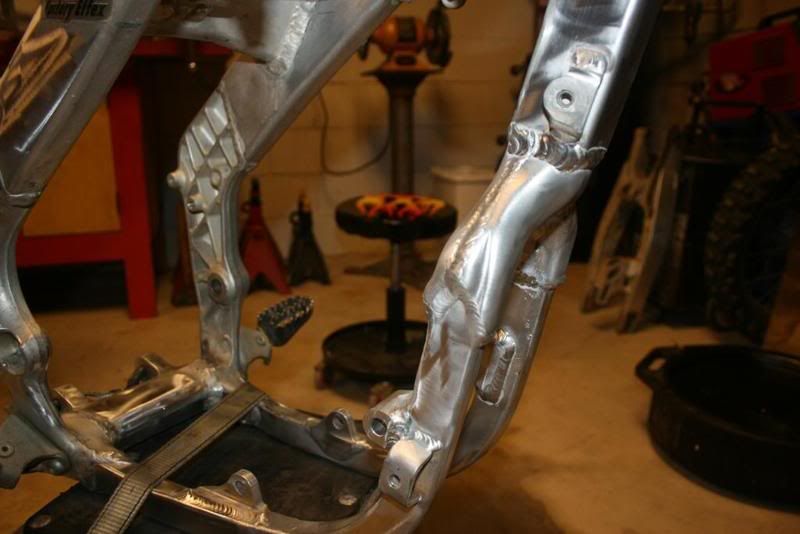
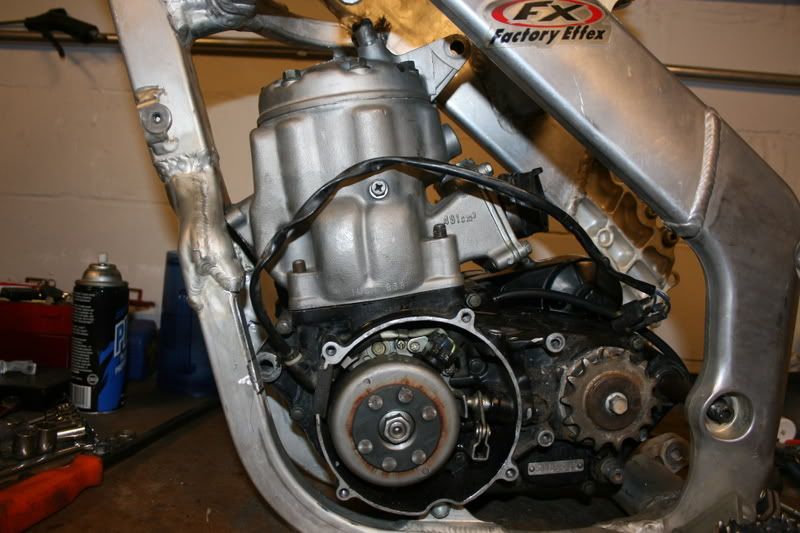
Here's an update. Finally had some time last night to work on fitting.
All clear:
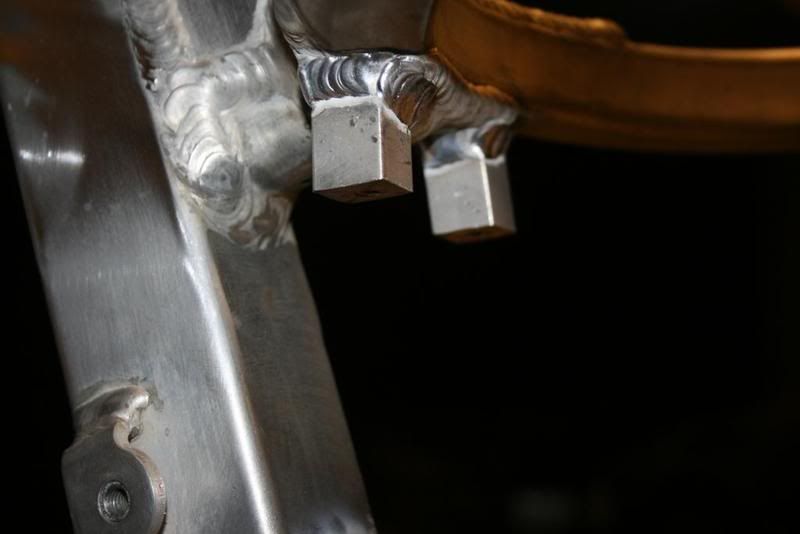
Proposed coil location/mount:
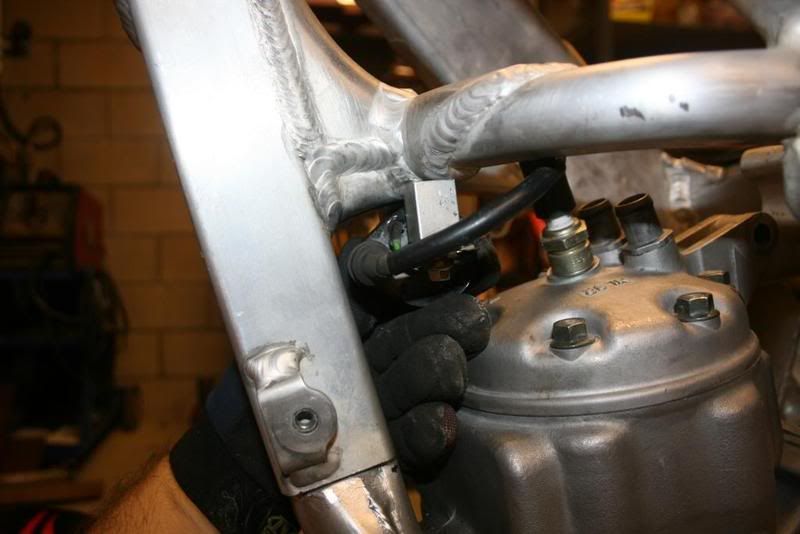
Lookin' good:

...now to get welded up....
Posted: September 2nd, 2008, 10:17 am
by hoofarted
Posted: September 2nd, 2008, 10:20 am
by dannygraves
very nice!
damn dude, that caoil aint goin' no where!
Told you the case splitting wasn't too bad
Posted: September 2nd, 2008, 10:38 am
by AlisoBob
hoofarted wrote:.DTS (Danny Tech Support) was on hand to give advice where needed

Posted: September 2nd, 2008, 11:10 am
by HrcRacing
Looks awesome man. Nice welds.

Posted: September 2nd, 2008, 11:16 am
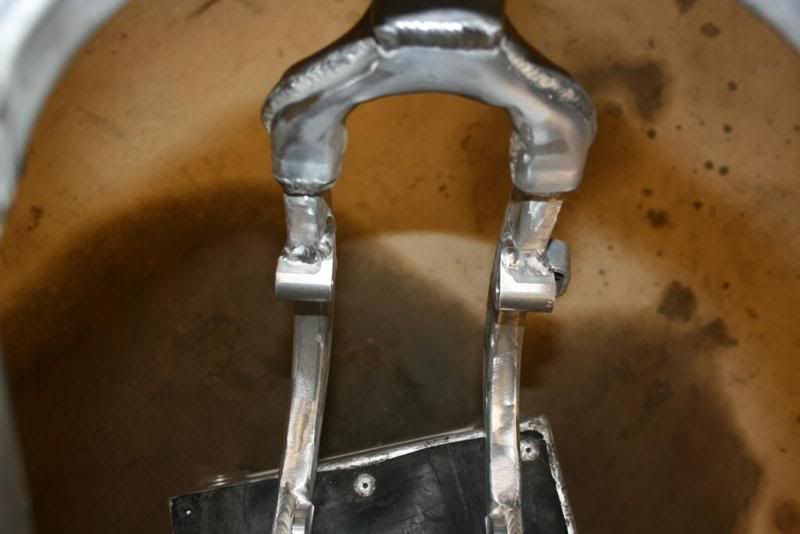
by AlisoBob
Looks like he welded the coil mounts last, after the frame had some heat in it.
Posted: September 2nd, 2008, 12:04 pm
by hoofarted
AlisoBob wrote:Looks like he welded the coil mounts last, after the frame had some heat in it.
Not sure. But I made sure all was in place and tacked prior. I test fitted it afterwards and it still fit...but it came out great for the price!
Posted: September 2nd, 2008, 12:38 pm
by lewisclan
nice
Posted: September 2nd, 2008, 12:39 pm
by dannygraves
hoofarted wrote:AlisoBob wrote:Looks like he welded the coil mounts last, after the frame had some heat in it.
Not sure. But I made sure all was in place and tacked prior. I test fitted it afterwards and it still fit...but it came out great for the price!
I told you that dude did some good work! I think he charged me like $20 when he welded up the griffin radiator for the starion