Page 1 of 1
Ryan's Gen 1
Posted: March 17th, 2008, 9:46 am
by jfckelly
Guys...Things are starting to roll now on my Gen 1. I bought a 99 Cr250 the other day, an 86 500 motor, and received the conversion kit from Danny Graves. So far I have the old mounts and the "x" cut out. Just got to pick up the motor. Hopefully tomorrow.
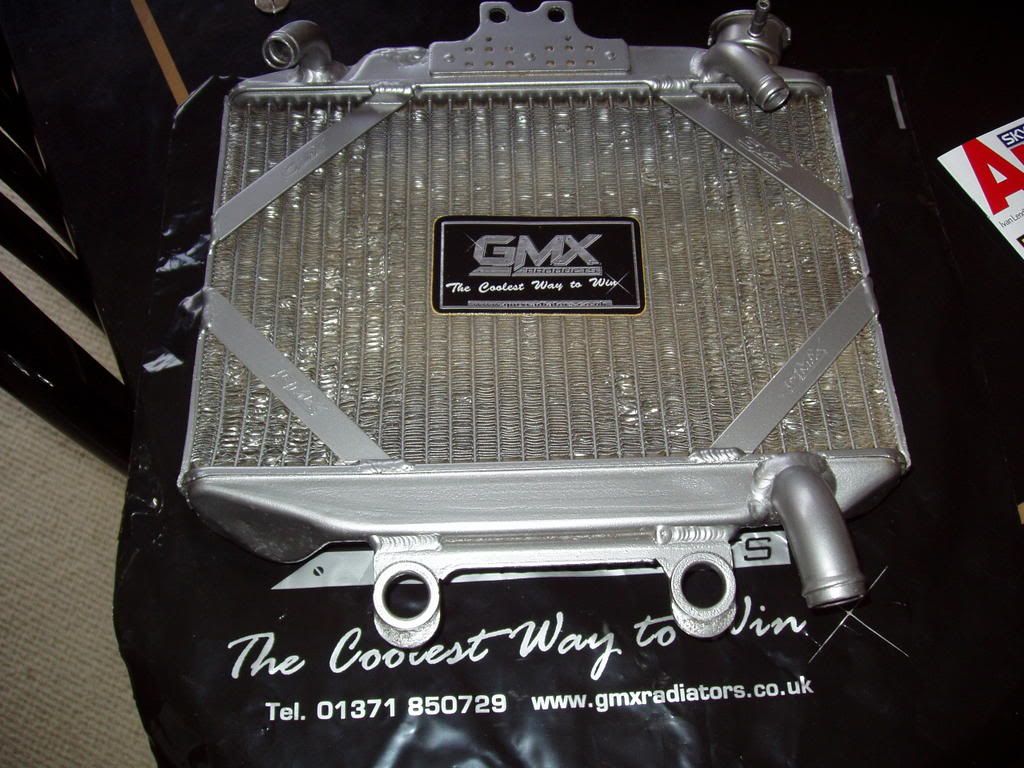
I was wondering if anyone has put another outlet on the rad for the second rad hose to tie into coming from the cylinder head. If anyone has , where? I was thinking top right, if there is room. Or is a y splitter set up good enough?
Being a taller, heavier guy(fatter) I would like to hear any opinions on ergonomics, as far as bars, risers etc go.
SDG seat, and new black plastics are on order, any ideas on graphics kits that wouldn't look to goofy, I'm not really into skulls.
Thanks for any info
Cheers
R.D.
Posted: March 17th, 2008, 9:51 am
by britincali
The Y splitter works fine for me, I dont run an overflow bottle and mines never overheated once.
Posted: March 17th, 2008, 9:52 am
by jfckelly
Thanks for the quick reply Brit, what exactly did you use for a splitter?
R.D.
Re: Ryan's Gen 1
Posted: March 17th, 2008, 10:04 am
by ugly1171
jfckelly wrote: I was wondering if anyone has put another outlet on the rad for the second rad hose to tie into coming from the cylinder head. If anyone has , where? I was thinking top right, if there is room. Or is a y splitter set up good enough?
Yeah i have had the radiator modified. I had two done as a just in case.
Ugly
Posted: March 17th, 2008, 10:07 am
by britincali
Mines just a plastic Y that I got with the roller, Ive seen some made out copper pipe fittings that worked good.
Posted: March 17th, 2008, 10:39 am
by dannygraves
Posted: March 17th, 2008, 10:41 am
by dannygraves
oh, one more thing, the '86 coil has the same bolt pattern as the 250 one, so you don't need the cail adaptor. you HAVE to use the ;86 500 coil though because the resitance is different and you could fry the stator using the wrong coil. all of the '87+ coils are the same though.
Posted: March 19th, 2008, 5:43 pm
by Caseys500
Hmm...i didnt switch to the 89-newer intake...Is it much easier to get the carb on and off? Purty slick 3 way too...mines kinda ugly!

Posted: March 19th, 2008, 8:48 pm
by dannygraves
Caseys500 wrote:Hmm...i didnt switch to the 89-newer intake...Is it much easier to get the carb on and off? Purty slick 3 way too...mines kinda ugly!
the boot makes a big difference. Thank, lowes $3 Tee and stock cr500 hoses.. I love getting things done well without spending any $$$. Like I've seen a lot of better setups, but none have yet to be cheaper and easier than mine

Posted: March 21st, 2008, 10:28 am
by jfckelly
Well, a bit of a progress report, Mounts are in, as is the engine, unfortunately , the base gasket got ripped in shipping so I am waiting on that. The pipe the guy sent isn't even for a 500, so I am waiting on that too. The engine I bought is a full rebuild and has been ported, it came with the top end off of it. Is there anyway to identify the piston make. and how would I tell if the exhaust bridge has been relieved?
Posted: March 21st, 2008, 10:56 am
by AlisoBob
jfckelly wrote: how would I tell if the exhaust bridge has been relieved?
Place the ring in the bore, right at the bridge, and shine a flashlight up from the bottom.
You should see light passing through, right at the bridge.
Posted: March 21st, 2008, 12:22 pm
by jfckelly
Thanks for the tip Bob. I figured out that its a second over Wiseco piston, Can't really say for sure if it has been relieved. I will wait until its dark out and take a gander at it. Anyone know off hand what the ring end gap should be? I might as well do this right. If the relief hasn't been done is this something that can be done by hand, with emory cloth? Before anyone says it, yes it is not the first time I have had to give myself hand relief.
Posted: March 21st, 2008, 1:34 pm
by dannygraves
LOL
yeah, I used a flapper wheel and a power drill to releive, others had done by hand with a stone. you wshould be able to tell with your fingers, just rub it and feel if it goes in at all (wow, that sounded dirty!

). gap should be about .012, if its more, don't stress.
Posted: March 26th, 2008, 7:41 am
by jfckelly
Hey guys I have a service manual on the way, but I need to know the torque values for the base, and head nuts. Any help would be appreciated.
Cheers.
R.D.
Posted: June 22nd, 2008, 10:20 am
by jfckelly
Well, a bit of a progress report. Just got back from a 2 month hitch in Indonesia, waiting on pressure plate for clutch. Hopefully it arrives tomorrow, and with any luck I will have it running tomorrow night.
Cheers
R.D.
Posted: June 30th, 2008, 3:50 pm
by jfckelly
Well, finally got the bike running, and took it for a test ride. The thing would climb trees if the bark would stay on. I am impressed to say the least. Big thanks to everyone on this site for all info and good laughs. Just need to go over everything, and double check everything for tightness, then I will take it out for a real shakedown run.
Cheers
R.D.
Posted: June 30th, 2008, 6:21 pm
by teemtrubble
Where's the pic's dude?
Posted: June 30th, 2008, 7:20 pm
by jfckelly
Ill post some up tomorrow, I need to give it a bit of a douche, Its cosmetically challenged at the moment.
Kick starter still slips every once in awhile. Not sure why, the gear is in minty shape, and I replaced all the springs. Have to get it fixed though, I would rather have a chainsaw stuffed up my ass than scrape the meat off my shin on the foot peg .....again.
Nice to have it running though, especially since I blew up my yz 490 the otherday.
Brit, do you still own a 490?
Cheers
Posted: June 30th, 2008, 7:25 pm
by dannygraves
the spring that pushes between the case and the ratchet assembly sucks, even new, I just grabbed mine and stretched it by hand so it was a few inches longer, then crammed it in place... good solid clicks and good solid grab now.
wow, that all sounded really dirty

Posted: June 30th, 2008, 7:33 pm
by AlisoBob
dannygraves wrote:I just grabbed mine and stretched it by hand so it was a few inches longer, then crammed it in place...
wow, that all sounded really dirty

Dude, seek help...

Posted: June 30th, 2008, 7:35 pm
by aloha450x
dannygraves wrote:the spring that pushes between the case and the ratchet assembly sucks, even new, I just grabbed mine and stretched it by hand so it was a few inches longer, then crammed it in place... good solid clicks and good solid grab now.
wow, that all sounded really dirty
now you say something you mother trucker. haha wait im good i dont have the waterpum case side on yet. waiting on the seals. damm your lucky
Posted: June 30th, 2008, 7:40 pm
by jfckelly
Yeah, I tried stretching the old spring out, same thing. Sad part is, its a fairly simple mechanism, and I am going by a shop manual, so im sure it assembled right. Maybe im not letting the kicker return high enough, cuz it never slips on the first stab.
R.D.


