Page 2 of 2
Posted: June 19th, 2014, 1:30 pm
by Hondadug
Posted: June 19th, 2014, 1:36 pm
by Hondadug
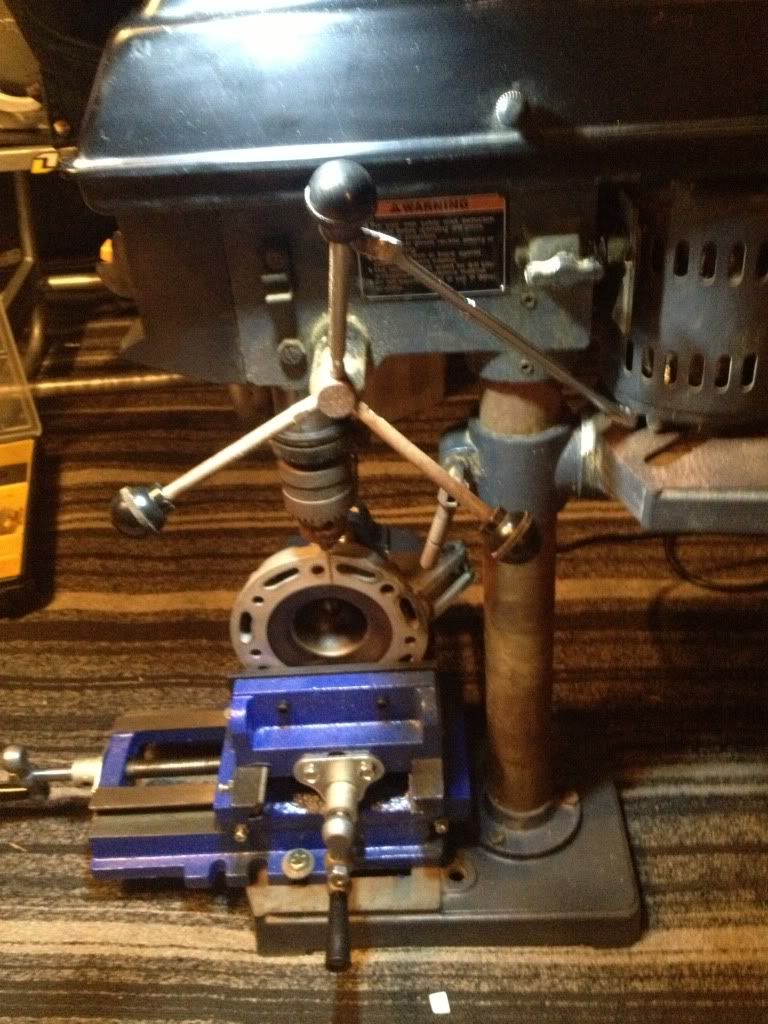
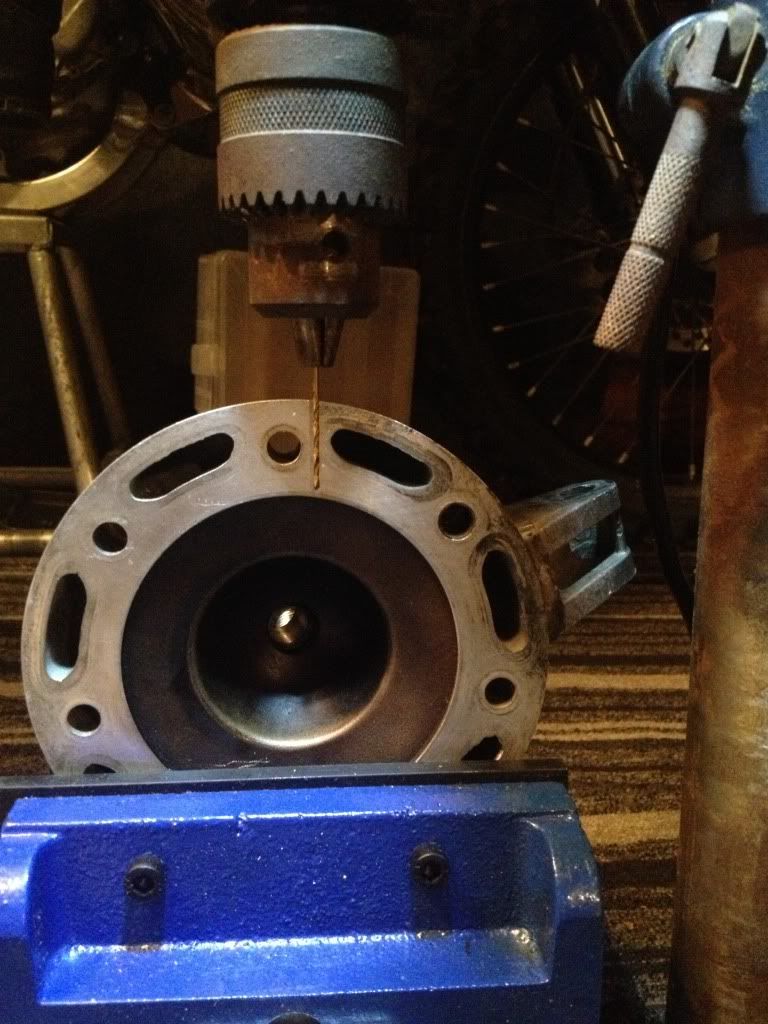
Posted: June 19th, 2014, 1:41 pm
by Hondadug
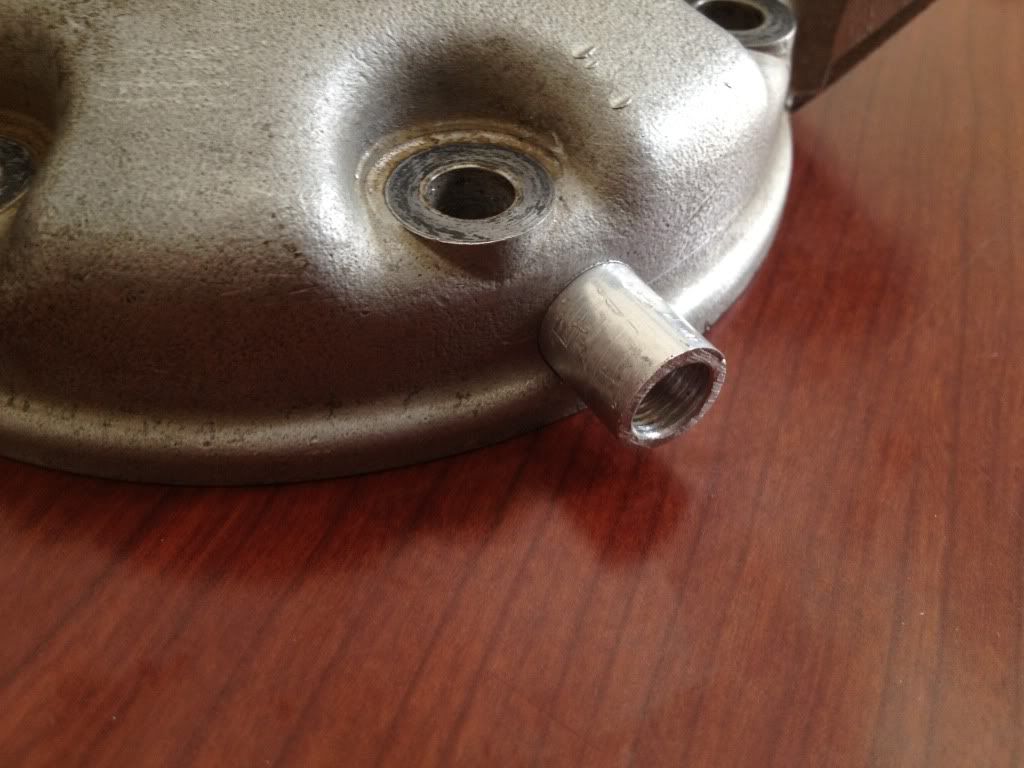
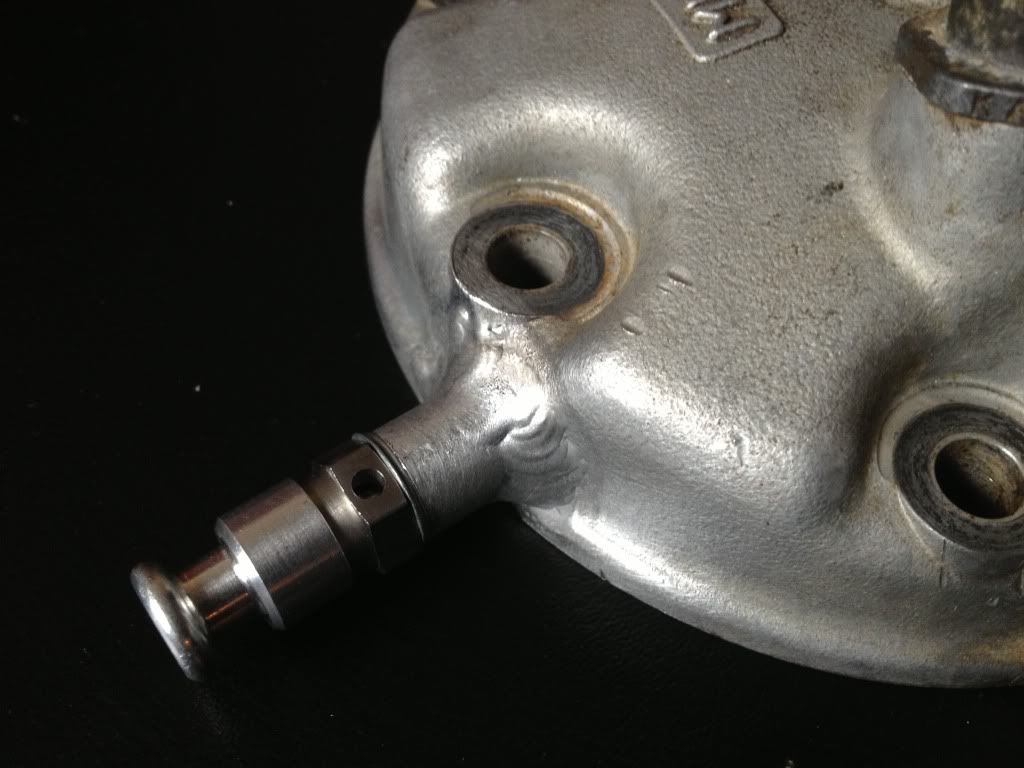
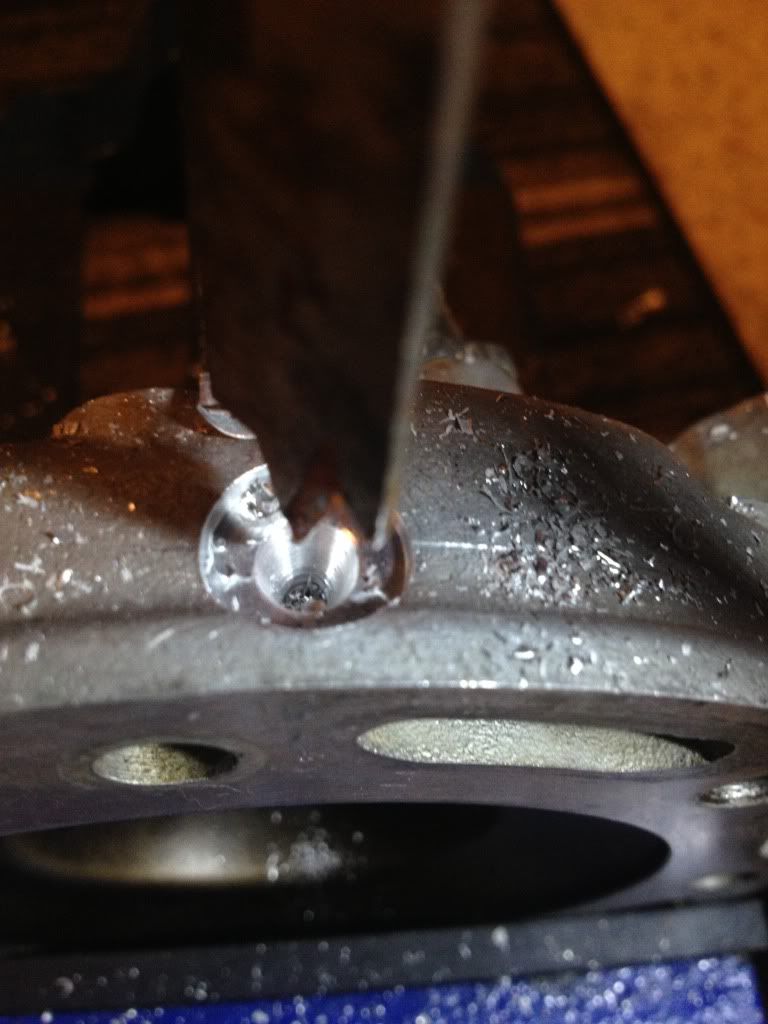
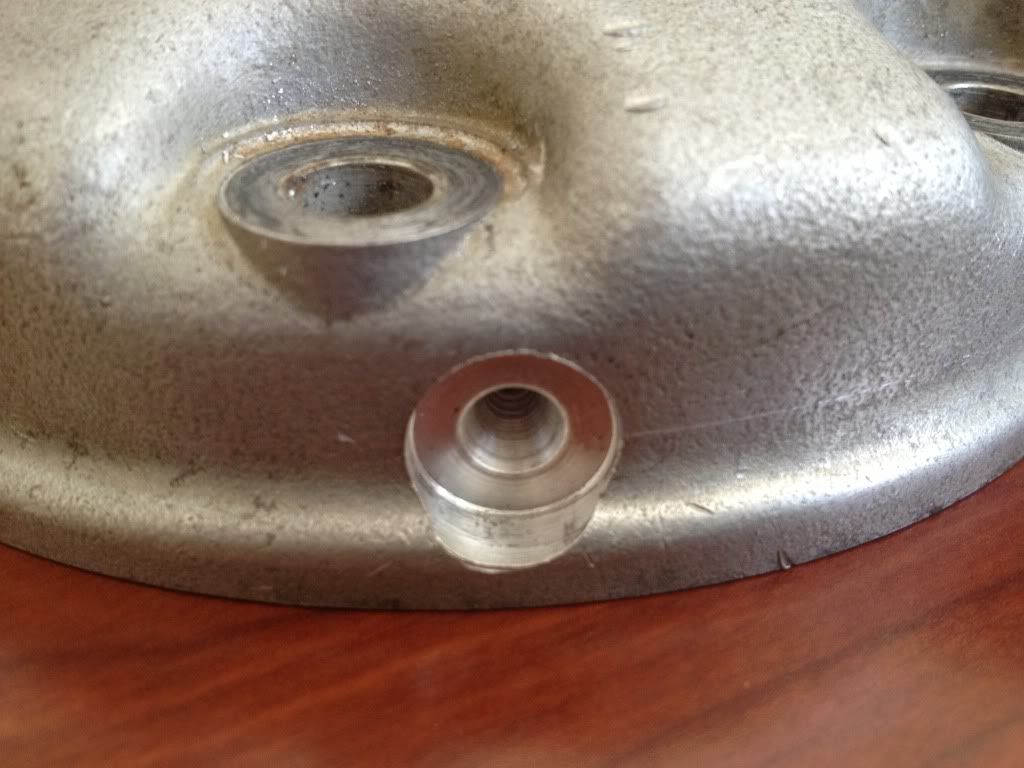
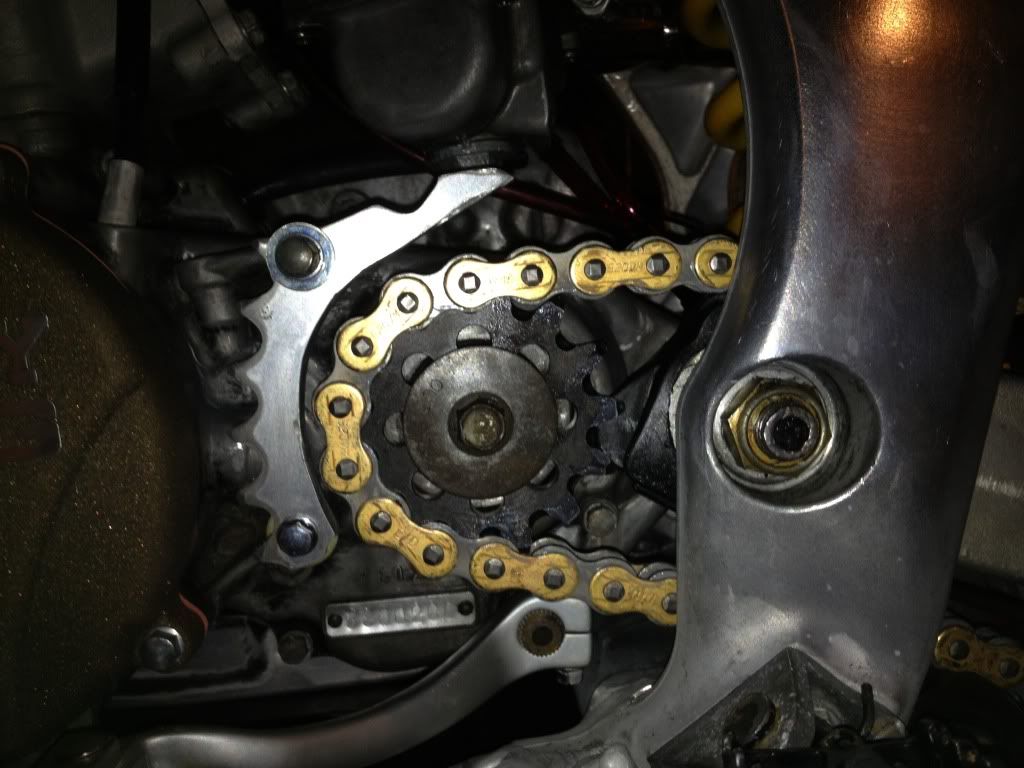
I reused an aluminum rear sprocket
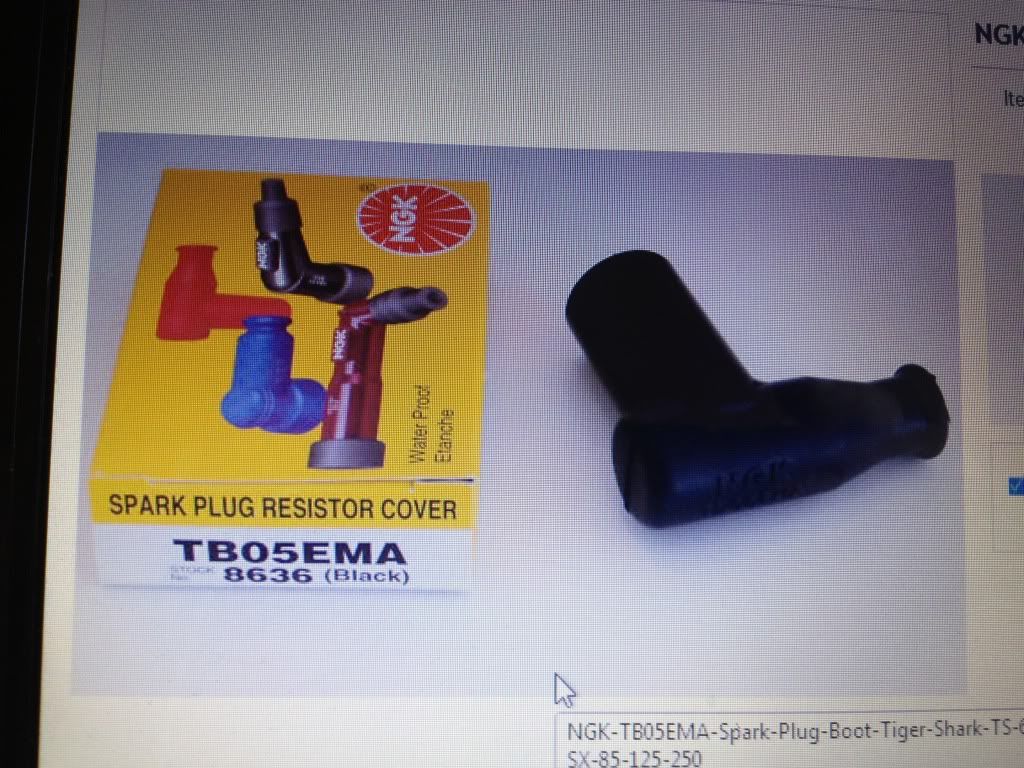
From reading other posts, I got that this was the correct spark plug cap. If I'm wrong please let me know. It runs good but it still seems to have a weaker spark than I expected.
AN
FINALLY DONE
Posted: June 19th, 2014, 1:53 pm
by Hondadug
Posted: June 19th, 2014, 2:46 pm
by AlisoBob
Fantastic!!! I love the case-saver....

Posted: June 19th, 2014, 7:48 pm
by CR525Bruce
cool bike......... great bike transporter

Posted: June 20th, 2014, 7:40 am
by Kuma
like the bike and the truck!
Time to sell
Posted: February 11th, 2015, 12:20 pm
by Hondadug
Well Hoons,
I think it may be time to sell the 500. I hate to say this, but I'm thinking about moving over to the thumper world. Any thoughts on prices? You guys can see the whole build so you know best. I've seen prices all over the map, but I don't think 4500 is out of the question. It's a strong runner.
Posted: March 3rd, 2015, 3:13 pm
by AlisoBob
Hondadug wrote:Here is possibly another controversial method: my headstay.
I'm not feeling this at all...
Search for the "Add a Block" method, then use conventional 2 piece headstay brackets.
The one you created is a bunch of problems waiting to happen....
Posted: March 3rd, 2015, 3:28 pm
by Hondadug
Bob, I know what you are talking about adding the block. He wasn't making them when I did this. With that said, I understand the problem with using the side mounts for the original 450 alone will break due to lack if front to back support. In this case, I use the side mounts and a rear mount just below where your block would weld. Therefore, it seems to me that'll would be at least as strong due to three mount points instead if one at the back.
You are definitely more experienced at this than I am and I'm not arguing with you, but where do you see the failure? Do you think it may fail because with he block you use gets more weld area? The tabs I welded on for the rear mount were lower engine mounts for the 500 conversion. Is it too rigid?
Posted: April 14th, 2015, 6:44 pm
by Jercs
Hondadug,
Which adjustments did you make from our Y-piece? By the looks of it, you made it so it could weld nicely with the rectangular rails? Also, you had mentioned that the attached motor mounts didn't work out so well? We are starting to receive a lot of requests for this kit so depending on the differences in the Y-piece from our current design, our engineers/product development team may design a kit for this conversion once the 2010+ CRF250R kit is complete.
Thanks for sharing!
CP500
www.conversionparts500.com
Posted: April 20th, 2015, 12:03 pm
by Hondadug
,
Posted: April 20th, 2015, 12:04 pm
by Hondadug
Jercs wrote:Hondadug,
Which adjustments did you make from our Y-piece? By the looks of it, you made it so it could weld nicely with the rectangular rails? Also, you had mentioned that the attached motor mounts didn't work out so well? We are starting to receive a lot of requests for this kit so depending on the differences in the Y-piece from our current design, our engineers/product development team may design a kit for this conversion once the 2010+ CRF250R kit is complete.
Thanks for sharing!
CP500
www.conversionparts500.com
Hey Jercs,
He basically made the receptacles bigger to accept the rectangle tubes. To error on the side of caution, he made them square to allow side to side adjustment of the frame rails. To take up the extra space, I had to put small plates in to fill the gap. You can see that in the pics. The problem with his design is that the receptacles were too far back by about a 1/4" so it rubbed on the motor on the right side so I had to sand it down. It is close to being awesome, but still needs a couple small adjustments to the program. The front motor mounts were not the problem. The problem is that my buddy didn't want to drill the holes because he was afraid that the changes would make it different from where you drilled them. Keep in mind that we did all this through phone calls and email. He has never seen any of this before.
BTW, I was one of the many people who bugged you about the conversion for the 02-05 450 frames. I got this rolling chassis with tons of stuff on it for $400 so I figured I had to try it. Your kits are awesome and I was bummed you didn't make it for my year.
If you want to discuss this more over the phone, PM me and I can talk to you about it.
Posted: April 20th, 2015, 12:07 pm
by Hondadug
AlisoBob wrote:Hondadug wrote:Here is possibly another controversial method: my headstay.
I'm not feeling this at all...
Search for the "Add a Block" method, then use conventional 2 piece headstay brackets.
The one you created is a bunch of problems waiting to happen....
Bob, I know what you are talking about adding the block. He wasn't making them when I did this. With that said, I understand the problem with using the side mounts for the original 450 alone will break due to lack if front to back support. In this case, I use the side mounts and a rear mount just below where your block would weld. Therefore, it seems to me that'll would be at least as strong due to three mount points instead if one at the back.
You are definitely more experienced at this than I am and I'm not arguing with you, but where do you see the failure? Do you think it may fail because with he block you use gets more weld area? The tabs I welded on for the rear mount were lower engine mounts for the 500 conversion. Is it too rigid?