Swedish CR550 Liger build
-
johnnytheswede
- Posts: 158
- Joined: April 22nd, 2011, 3:40 pm
Thanks! I finally got to try it a little on the ice this Sunday. The weather has been bad with first snow, then rain, but we took a chance and my friends plowed a short track, which suited me for a first test on ice and check some jetting and other stuff.
The bike is great! It starts easy, not harder to start than a regular 500, it doesn't vibrate much at all. In fact much less than my other icebike. Smooth power from the bottom, and when it hits the pipe there is a rush of power that i have to get used to, and that i guess i can smooth out with gearing and maybe a fly wheel weight if i feel the need for it.
I still haven't given it full throttle and i didn't want to rev it too much the first time, but i hit 7800 rpm without noticing.
The whole bike feels very good and like new, which i guess isn't so strange after all:=). I am glad i listened to Dave and choosed the 550cc kit. Very satisfyed!
Here is a short bad movie from my Iphone:
http://www.youtube.com/watch?v=3CtcIA5K9AQ
-
johnnytheswede
- Posts: 158
- Joined: April 22nd, 2011, 3:40 pm

-
johnnytheswede
- Posts: 158
- Joined: April 22nd, 2011, 3:40 pm
Hi again guys! After some discussion with Adam (Roostius) he suggested that i should put up some more info about how the build of my Liger 550 went through. I have a lot of pictures from the build, and i also did some small movies where i show and explain the procedure with the frame mods that was needed. Remember i am from Sweden so my accent and explaining is not the best! Anyway, i will put up what i have and maybe Adam can sort it out together with the CPI/Liger thread where also Dave's (RSSS396) engine build is. as some of you know Dave supplied me with all the parts for this build.
-
johnnytheswede
- Posts: 158
- Joined: April 22nd, 2011, 3:40 pm
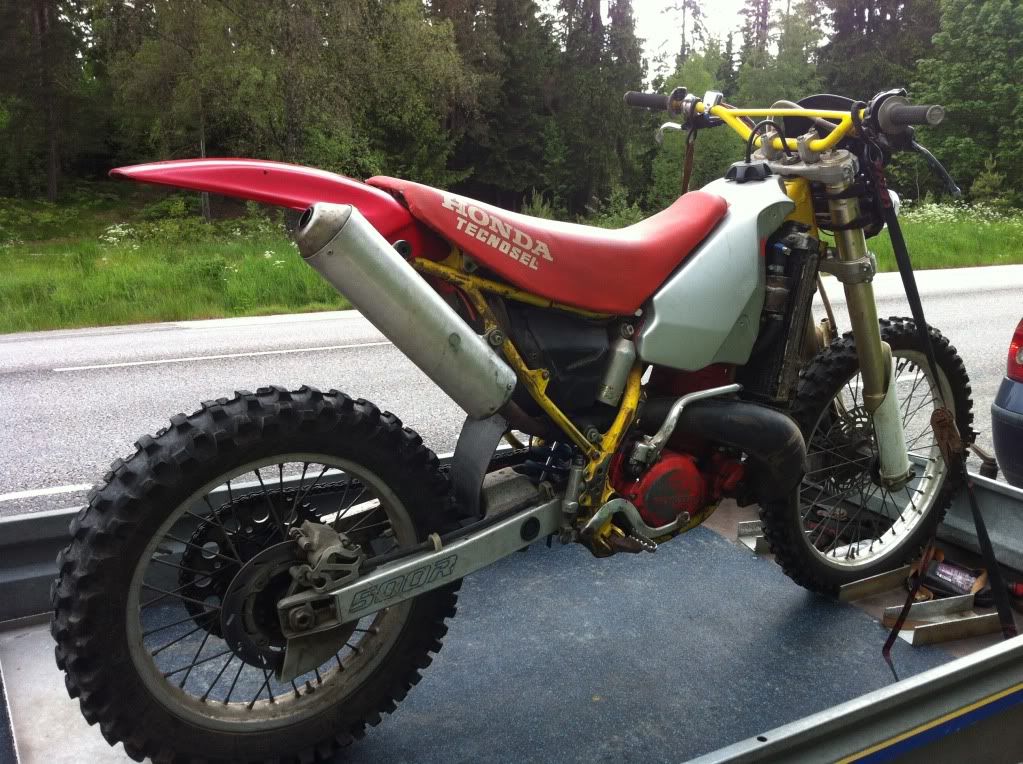
It all started with a crappy but registered 1990 500. Today the frame is all that remains from that bike. Beautiful, isn't it  ?
?
Last edited by johnnytheswede on July 16th, 2014, 3:28 pm, edited 1 time in total.
-
Roostius_Maximus

- Site Admin
- Posts: 4641
- Joined: November 16th, 2007, 3:24 pm
- Location: Mt Nebo, Manitoba, Canada
- Contact:
Thanks Johhny, I've added a link to this thread in the original liger sticky.
http://www.youtube.com/user/500bigbore
My CR500 Tech Reference... http://sdrv.ms/1a0CIiz
MRE Components... http://sdrv.ms/1bs2zhd

My CR500 Tech Reference... http://sdrv.ms/1a0CIiz
MRE Components... http://sdrv.ms/1bs2zhd
-
johnnytheswede
- Posts: 158
- Joined: April 22nd, 2011, 3:40 pm
This is the parts that were used during the build:
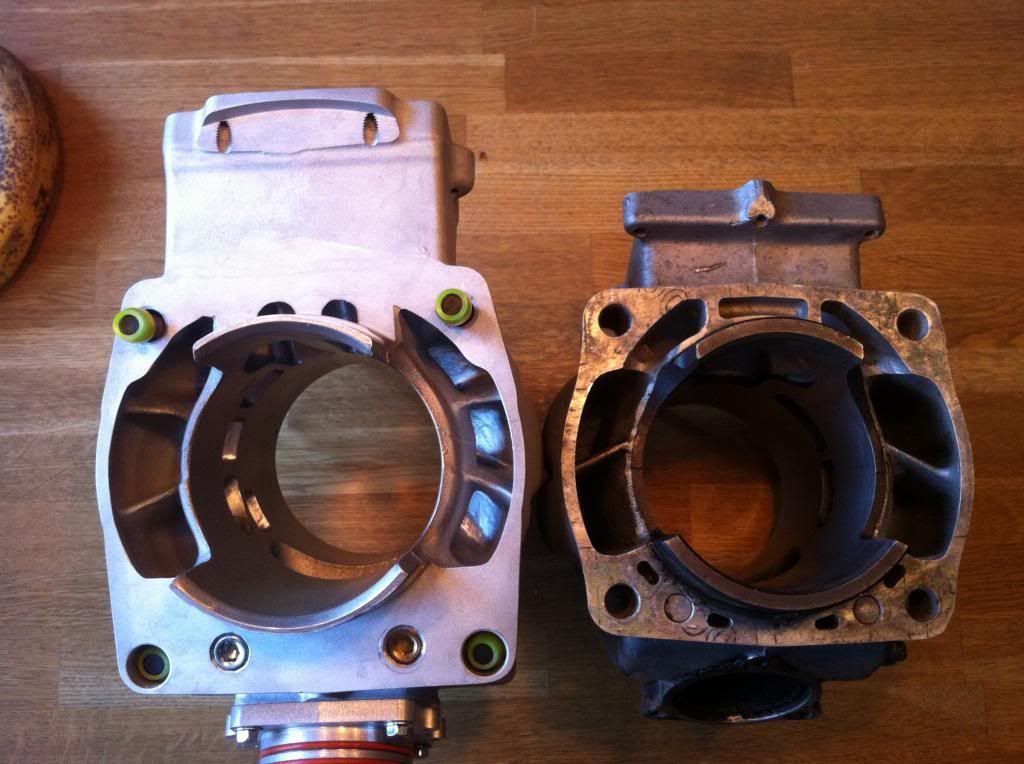
Liger 550cc cylinder (94mm bore) with adaptor plate.
Modified engine cases to match cylinder and adaptor plate. There is also some matchporting with Epoxy in the transfer area to do which is not done here.
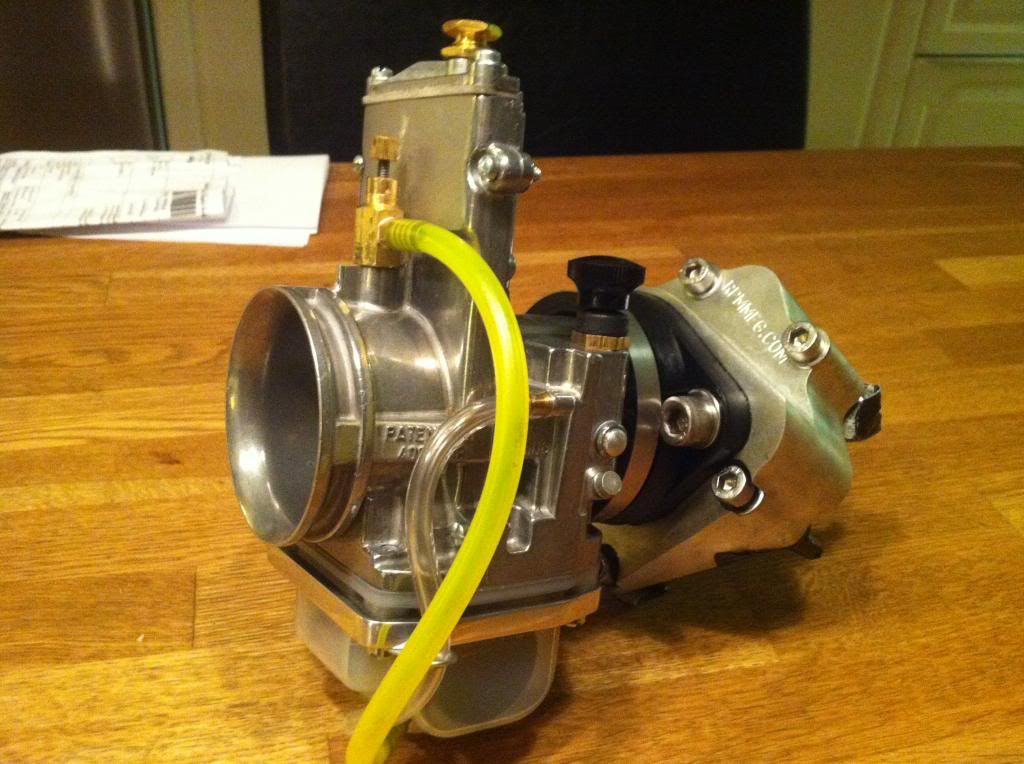
A lectron 48mm carb was ordered together with a RPM intake manifold, but this was not used because of clearance problems and not the right angle for the airbox to carb fitment.
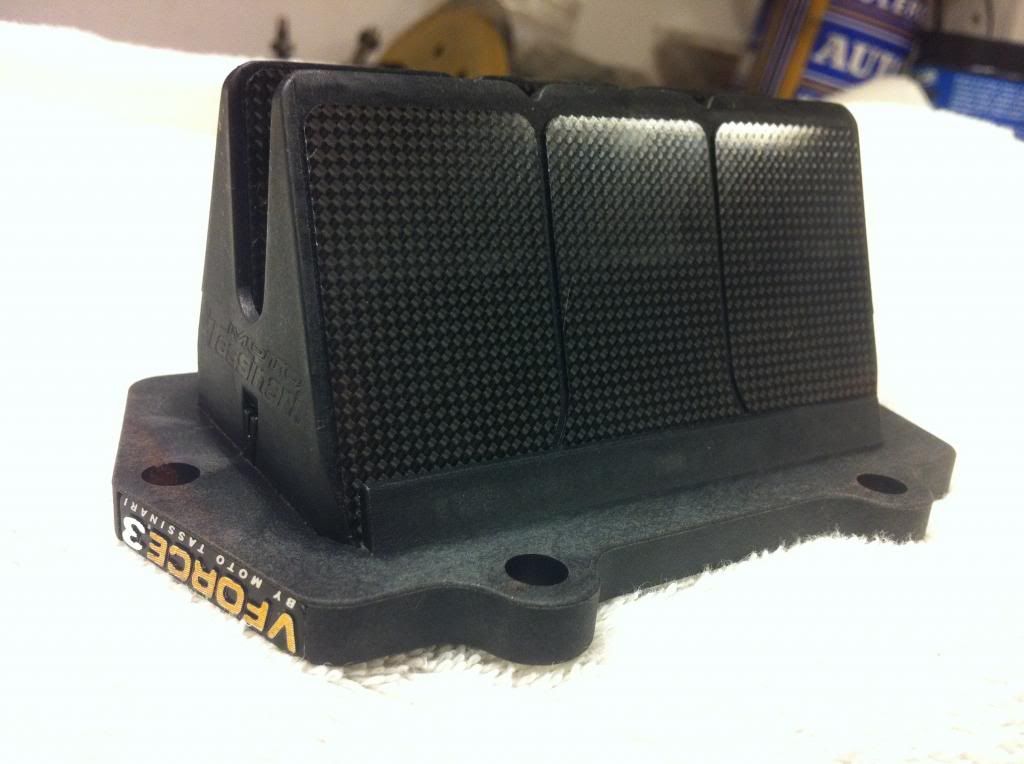
A V-Force3 is also included in the top end kit, but this was changed to a thinner Vforce2 for better clearance.
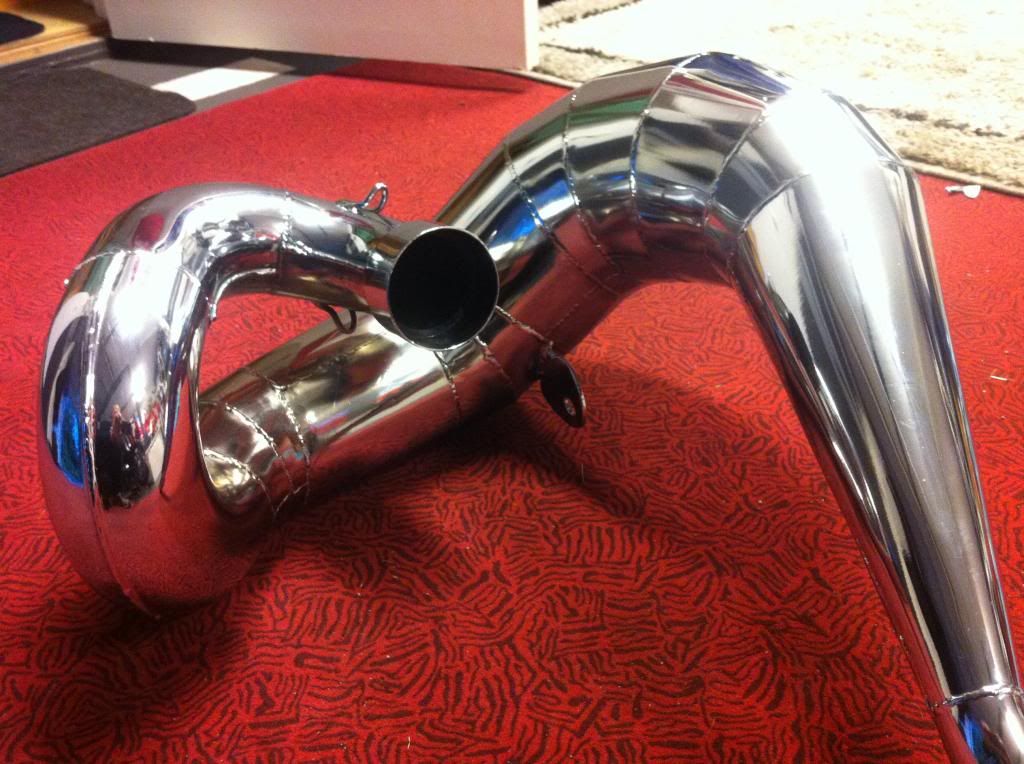
Mike at CPI Racing got the job of making a pipe for the build, designed for mid/high powerband.
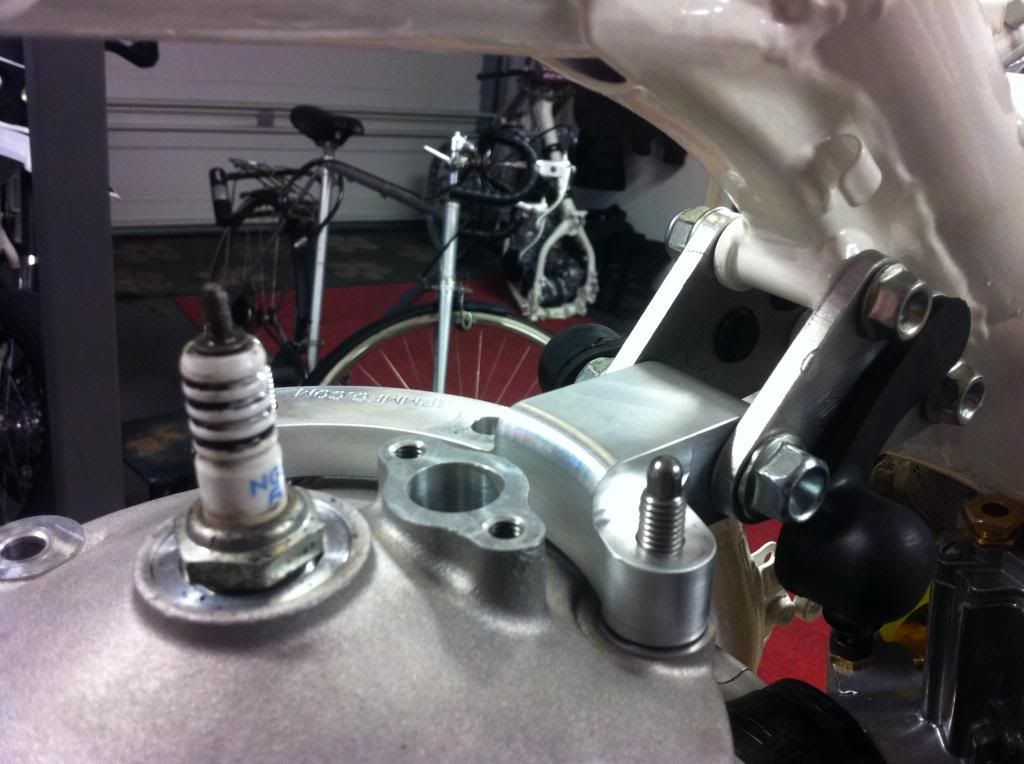
Dave also ordered a RPM headstay. This was a wild guess that this would actually fit a stock CR500 frame with a liger head, but lycky i was when it was a direct fit! never whould have guessed that!
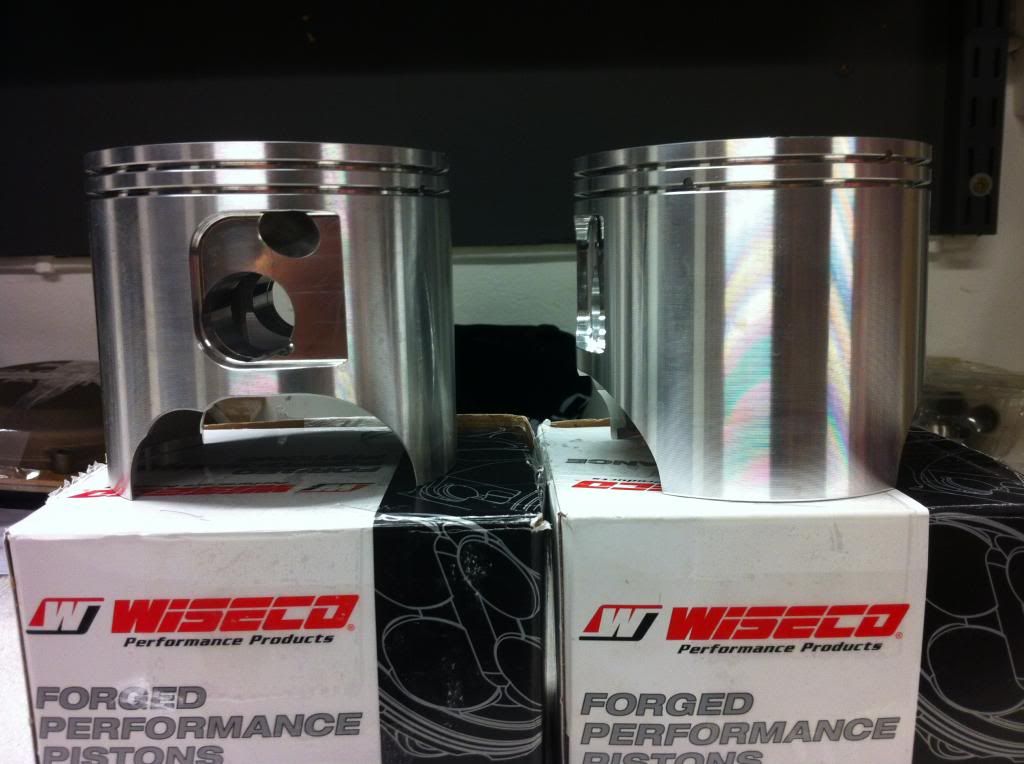
Two Wiseco pistons was orderd. One is included in the kit and i wanted a spare as i live quite a bit away from you guys.
The cylinder head has a removable chamber, sealed with an o-ring around the sparkplug. The head was machined by dave before he sent the parts over to me.
This is what's included, together with gaskets and o-rings for the cylinder to head sealing. I will put up more pictures of some obstacles i had to handle and find solutions to during the build.
Johnny.
Liger 550cc cylinder (94mm bore) with adaptor plate.

Modified engine cases to match cylinder and adaptor plate. There is also some matchporting with Epoxy in the transfer area to do which is not done here.

A lectron 48mm carb was ordered together with a RPM intake manifold, but this was not used because of clearance problems and not the right angle for the airbox to carb fitment.

A V-Force3 is also included in the top end kit, but this was changed to a thinner Vforce2 for better clearance.

Mike at CPI Racing got the job of making a pipe for the build, designed for mid/high powerband.

Dave also ordered a RPM headstay. This was a wild guess that this would actually fit a stock CR500 frame with a liger head, but lycky i was when it was a direct fit! never whould have guessed that!

Two Wiseco pistons was orderd. One is included in the kit and i wanted a spare as i live quite a bit away from you guys

The cylinder head has a removable chamber, sealed with an o-ring around the sparkplug. The head was machined by dave before he sent the parts over to me.

This is what's included, together with gaskets and o-rings for the cylinder to head sealing. I will put up more pictures of some obstacles i had to handle and find solutions to during the build.
Johnny.
-
johnnytheswede
- Posts: 158
- Joined: April 22nd, 2011, 3:40 pm
So, to the bottom end then;
Here i used a Hot rods crank. I knew this COULD be a bit of a gamble, but as they re updated not long ago i decided to try it.
Stock bearings are used everywhere.
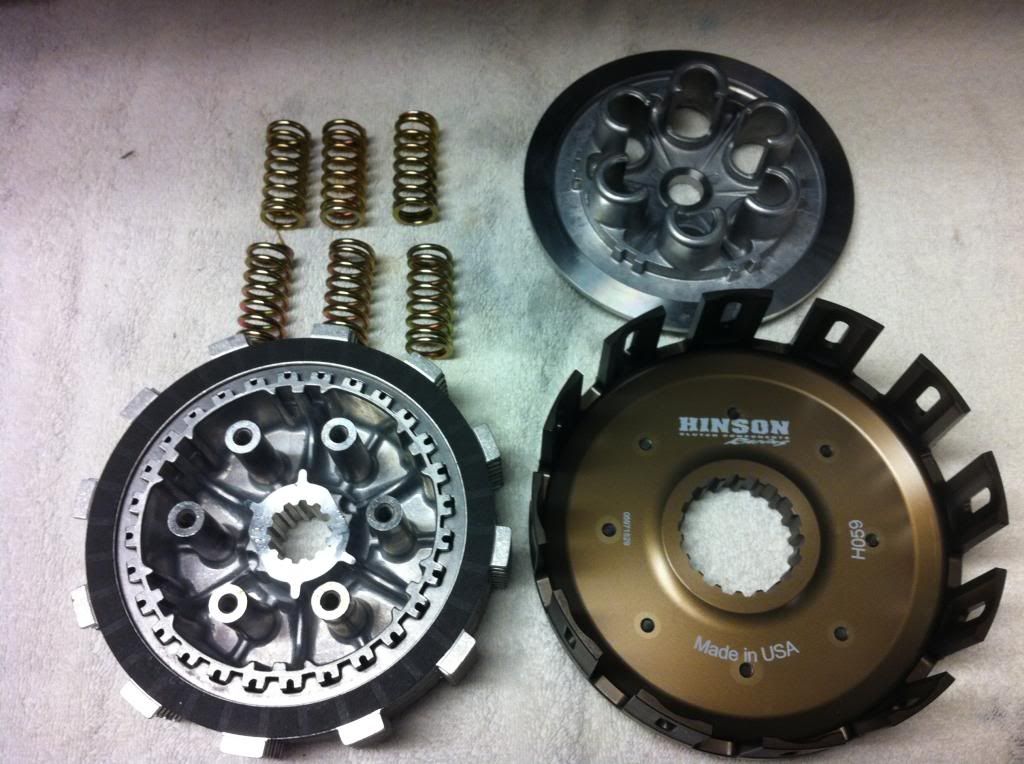
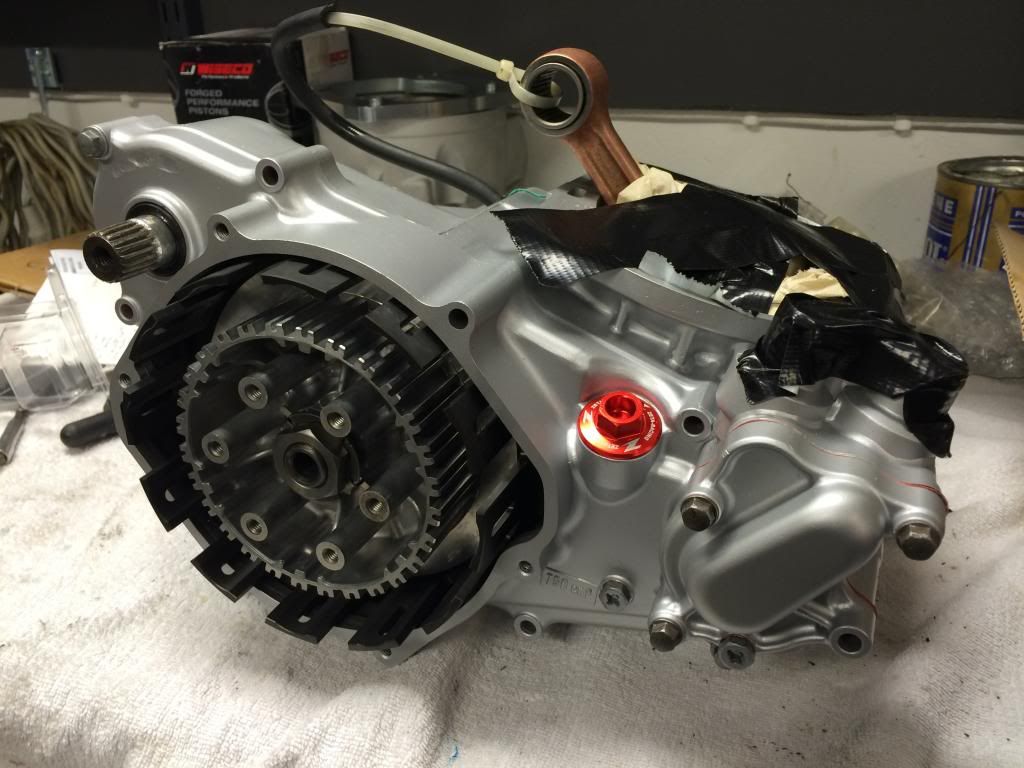
I went for a Hinson clutch basket with a stock inner hub and pressure plate together with barnett carbon discs and steel plates and the toughest springs i got with the package from Dave.
 .
.
I also bought a very fresh gearbox from Adam (Roostius) from a 2000 model. that gearbox was sent to Motospeed here in Sweden for back cutting of the gears to avoid gears coming apart under heavy load.
Everything in the bottom end was put together by a friend of mine who is better than me on this and have all the tools needed for a good job.
 .
.
Here i used a Hot rods crank. I knew this COULD be a bit of a gamble, but as they re updated not long ago i decided to try it.
Stock bearings are used everywhere.
I went for a Hinson clutch basket with a stock inner hub and pressure plate together with barnett carbon discs and steel plates and the toughest springs i got with the package from Dave.
 .
.I also bought a very fresh gearbox from Adam (Roostius) from a 2000 model. that gearbox was sent to Motospeed here in Sweden for back cutting of the gears to avoid gears coming apart under heavy load.
Everything in the bottom end was put together by a friend of mine who is better than me on this and have all the tools needed for a good job.
 .
.-
johnnytheswede
- Posts: 158
- Joined: April 22nd, 2011, 3:40 pm
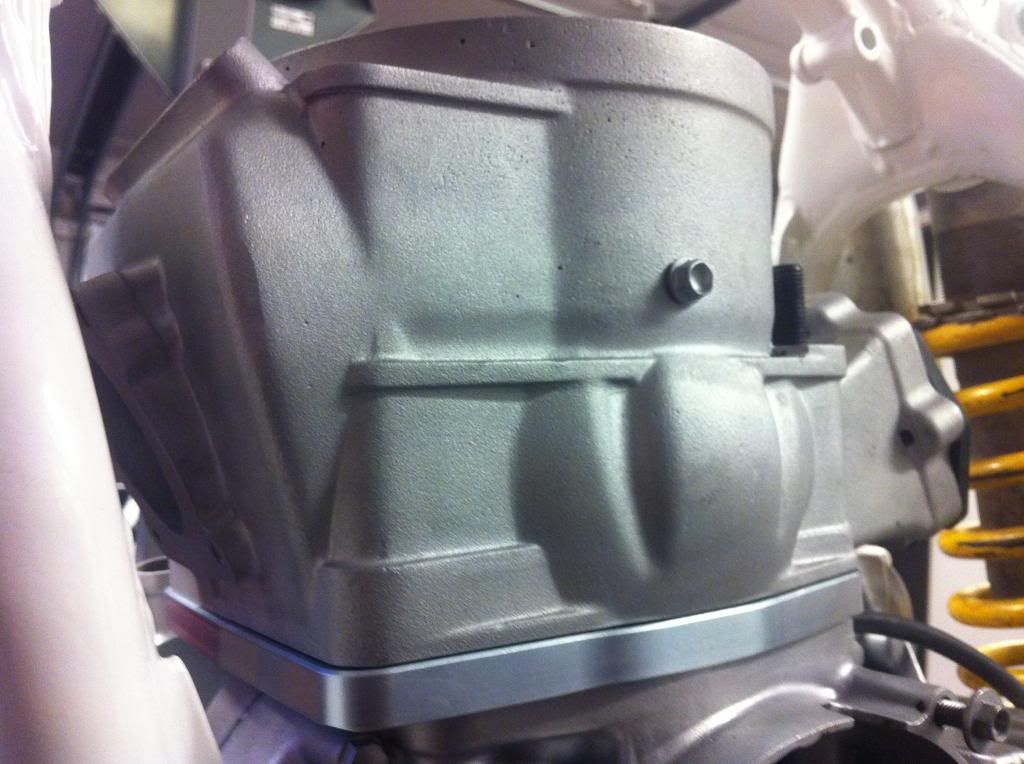
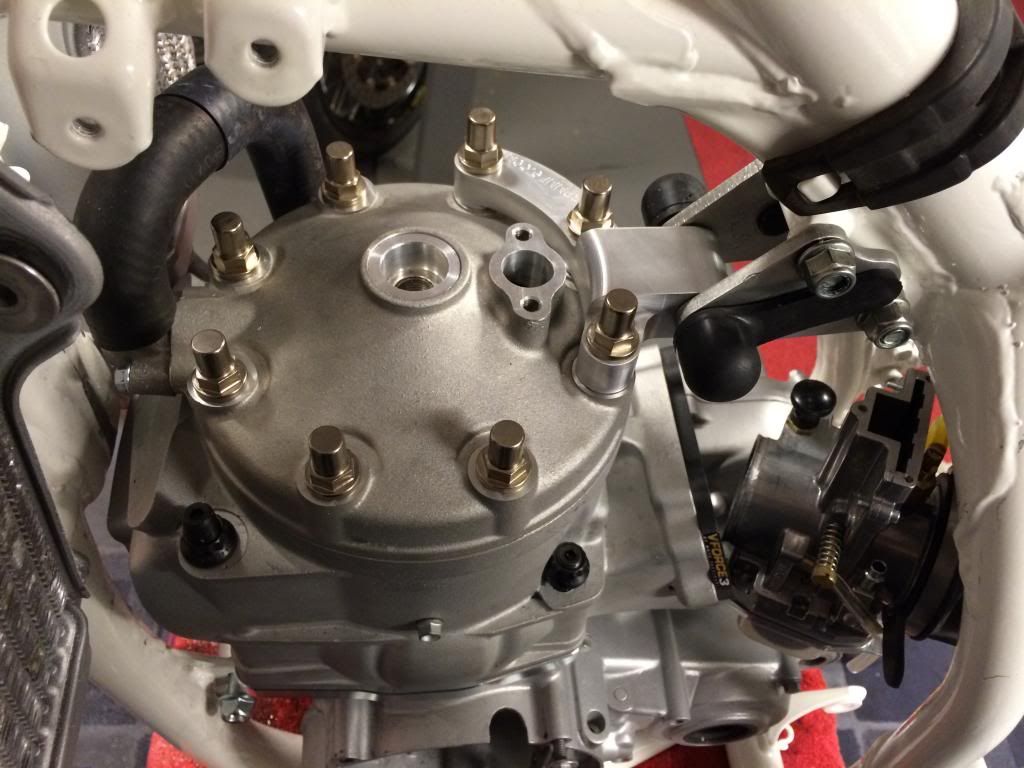
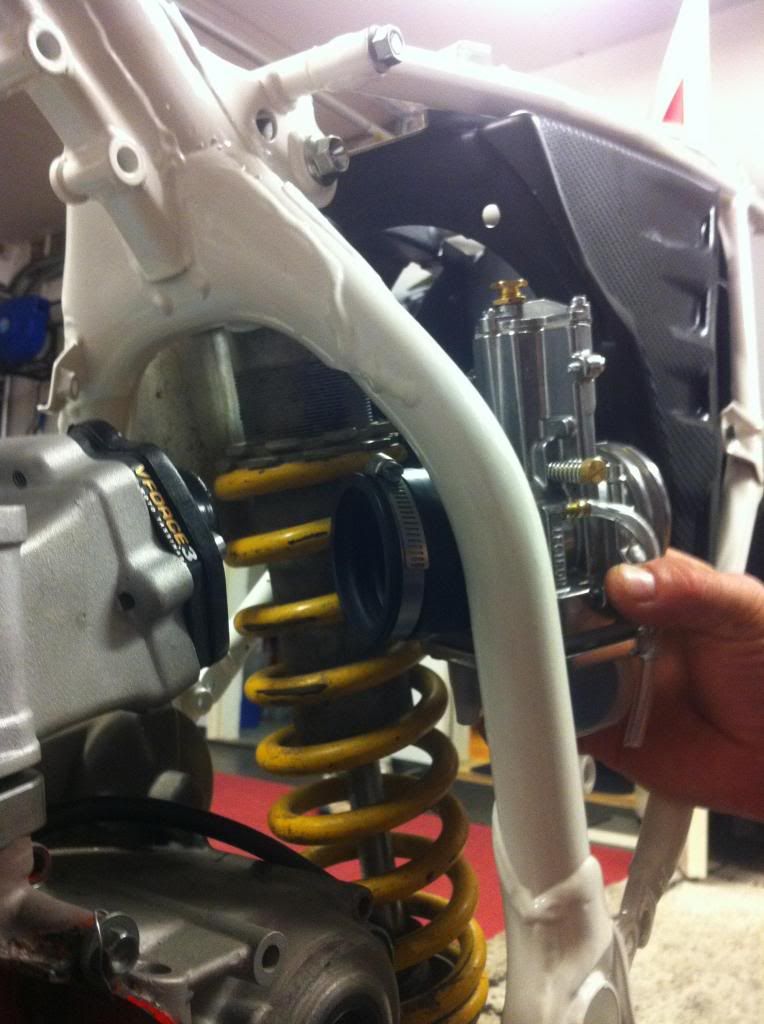
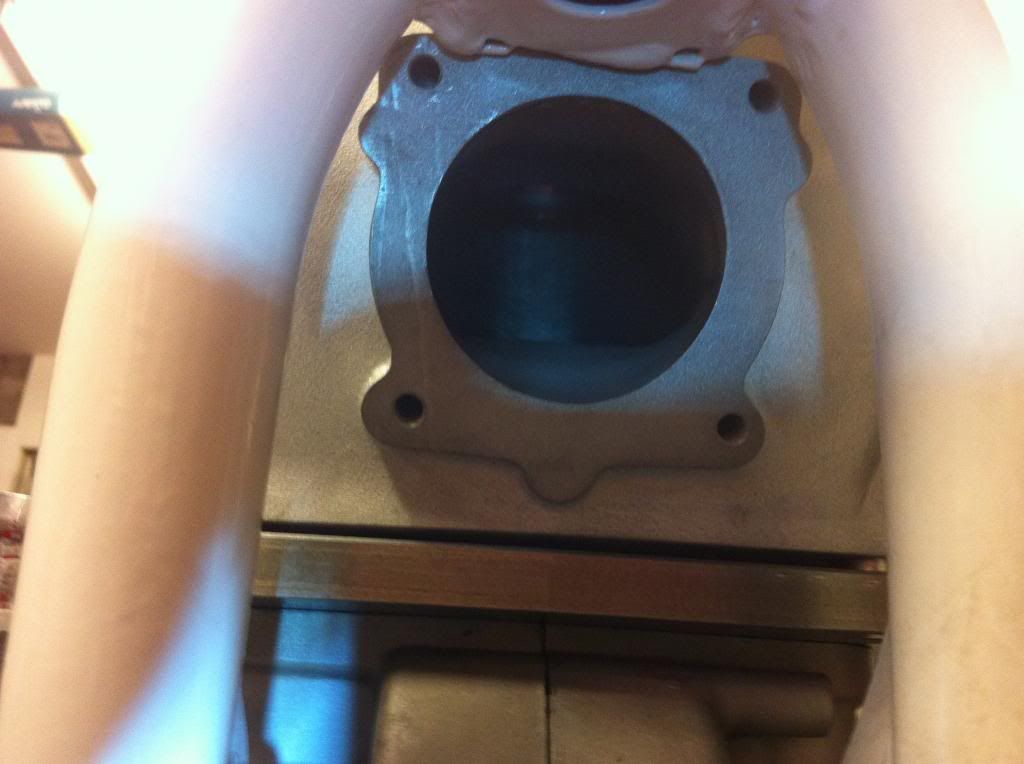
then the most complicated part: All measuring and testing to solve the clearance problems with this big cylinder in a stock frame. Remember that the cylinders are made for bores over 100mm so the are big! Not only the casting in the bore area, but also the length of the intake side plus that the exhaust side also is further forward compared to a stock CR500 cylinder.
This pictures gives you an idea of how much work is required to everything around the intake and exhaust area to get everything in there.
There was a lot of head scratching and thinking of solutions between Dave and me with different ideas of how to solve the problems with getting a 48mm Lectron, reedcage, intake in there, and make it match up to the airbox. we looked at different ways to mount the carb, and we weren't even sure that i would use the stock airbox.
This pictures gives you an idea of how much work is required to everything around the intake and exhaust area to get everything in there.

There was a lot of head scratching and thinking of solutions between Dave and me with different ideas of how to solve the problems with getting a 48mm Lectron, reedcage, intake in there, and make it match up to the airbox. we looked at different ways to mount the carb, and we weren't even sure that i would use the stock airbox.


-
johnnytheswede
- Posts: 158
- Joined: April 22nd, 2011, 3:40 pm
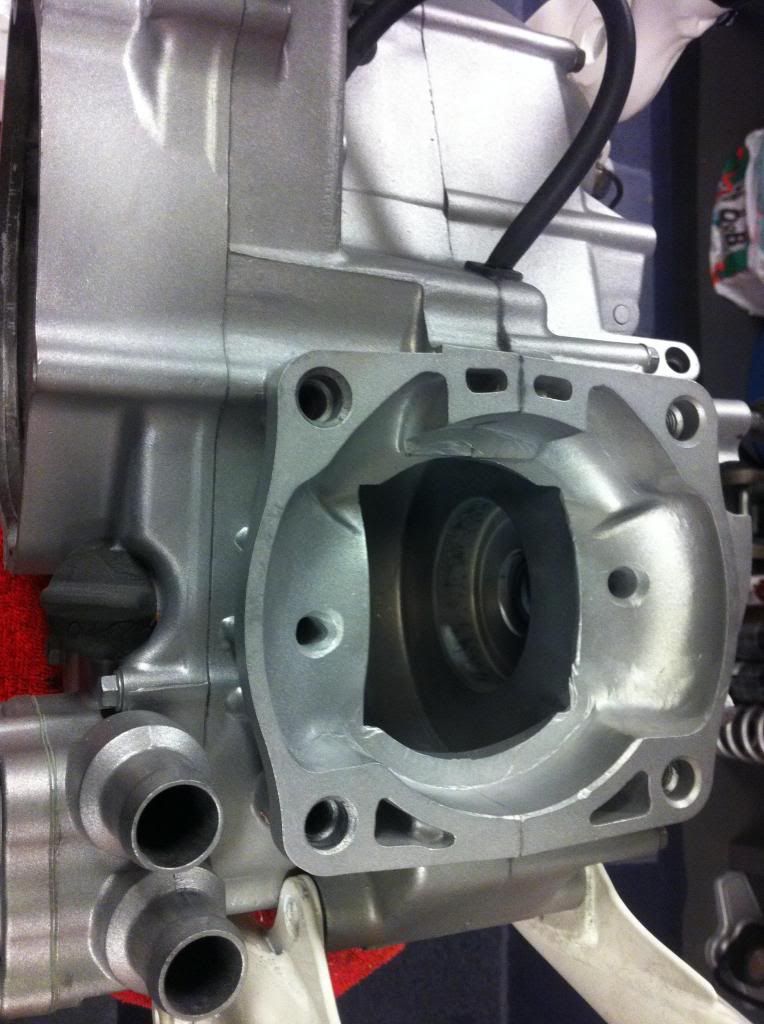
Another problem area was the exhaust side. I was both lucky and unlucky here. As the cylinder is further forward i didn't know if it was possible to retain the stock front frame rail, but the cylinder slipped in with minor work. What i had to do was to slightly polish the weld in the middle of the rail and i also removed the CDI mounts to make it easier to slip it down on the block.
 .
.
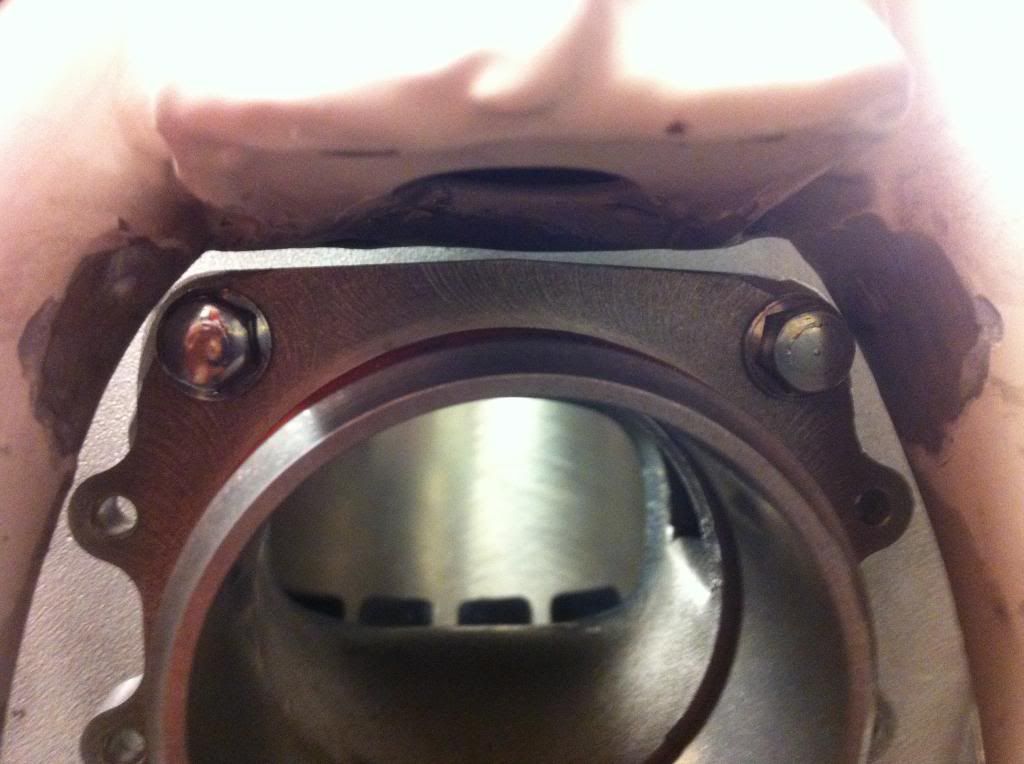
When this was solved i went to the next problem area. The exhaust outlet. Also here i was both lucky and unlucky as i could keep the stock frame rails with some modifications. I had to grind off the lower edge of the frame rail to make clearance for the flange, plus i had to slightly dent the lower frame rail sections in the "Y" area to make room for the flange and also be able to get the bolts, tools and exhaust springs in there.
 .
.
Here is the flange mounted up, but still very tight. More work needed!
 .
.
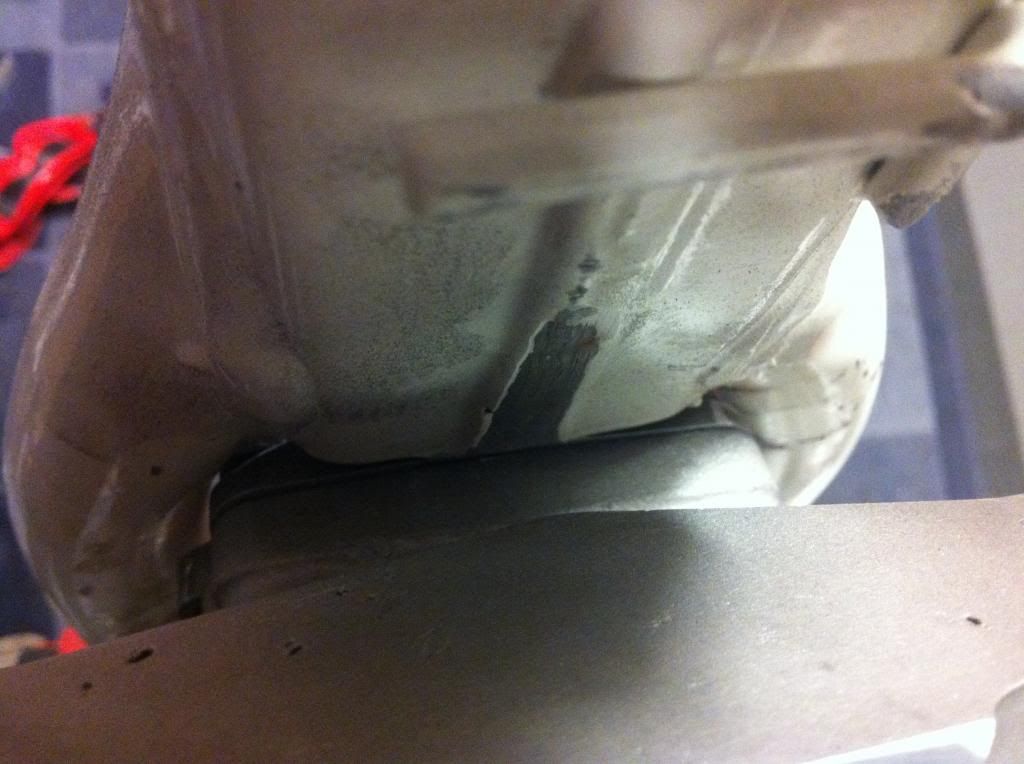
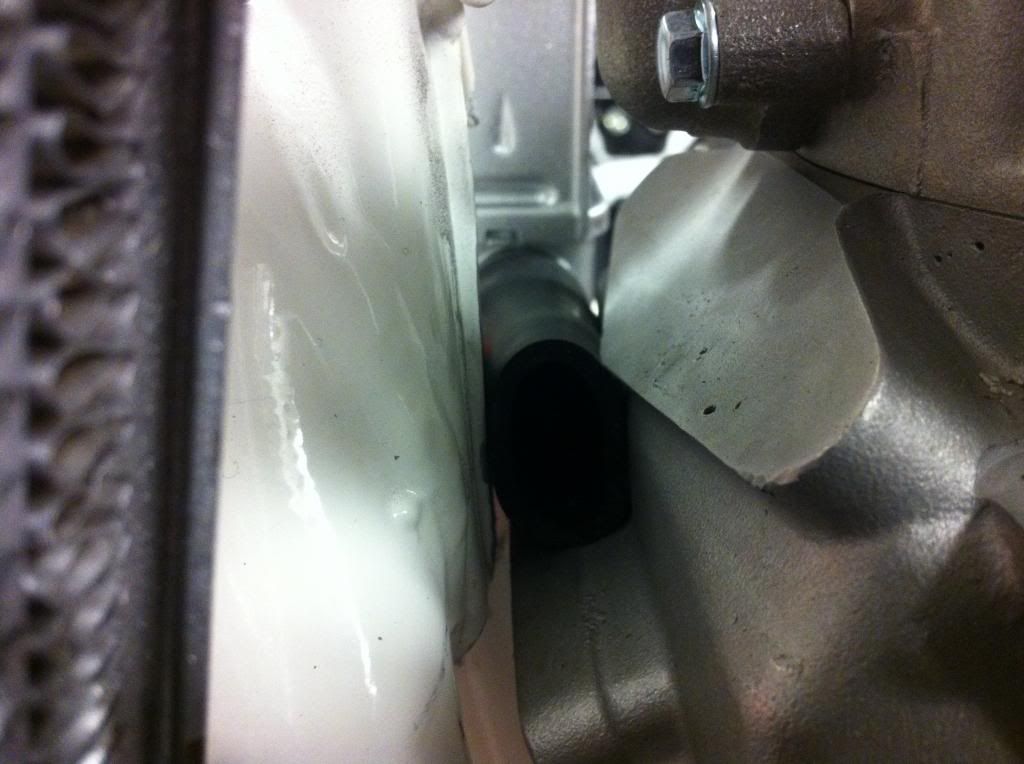
As there is a water hose going between the rads you can guess what the next problem was.. What to do with that hose when the cylinder is so far forward? Smaller hose? No, bad flow. Route it over the head? No, risk of air pockets and lots of bends. More head scratching. This is how it looked:
 .
.
 .
.When this was solved i went to the next problem area. The exhaust outlet. Also here i was both lucky and unlucky as i could keep the stock frame rails with some modifications. I had to grind off the lower edge of the frame rail to make clearance for the flange, plus i had to slightly dent the lower frame rail sections in the "Y" area to make room for the flange and also be able to get the bolts, tools and exhaust springs in there.
 .
.Here is the flange mounted up, but still very tight. More work needed!
 .
.As there is a water hose going between the rads you can guess what the next problem was.. What to do with that hose when the cylinder is so far forward? Smaller hose? No, bad flow. Route it over the head? No, risk of air pockets and lots of bends. More head scratching. This is how it looked:
 .
.
Last edited by johnnytheswede on July 26th, 2014, 9:02 am, edited 1 time in total.
-
johnnytheswede
- Posts: 158
- Joined: April 22nd, 2011, 3:40 pm
Later it was decided to make a cutout in the frame and weld in a halfpipe to make room for the hose, then make some strengthening on the rails.
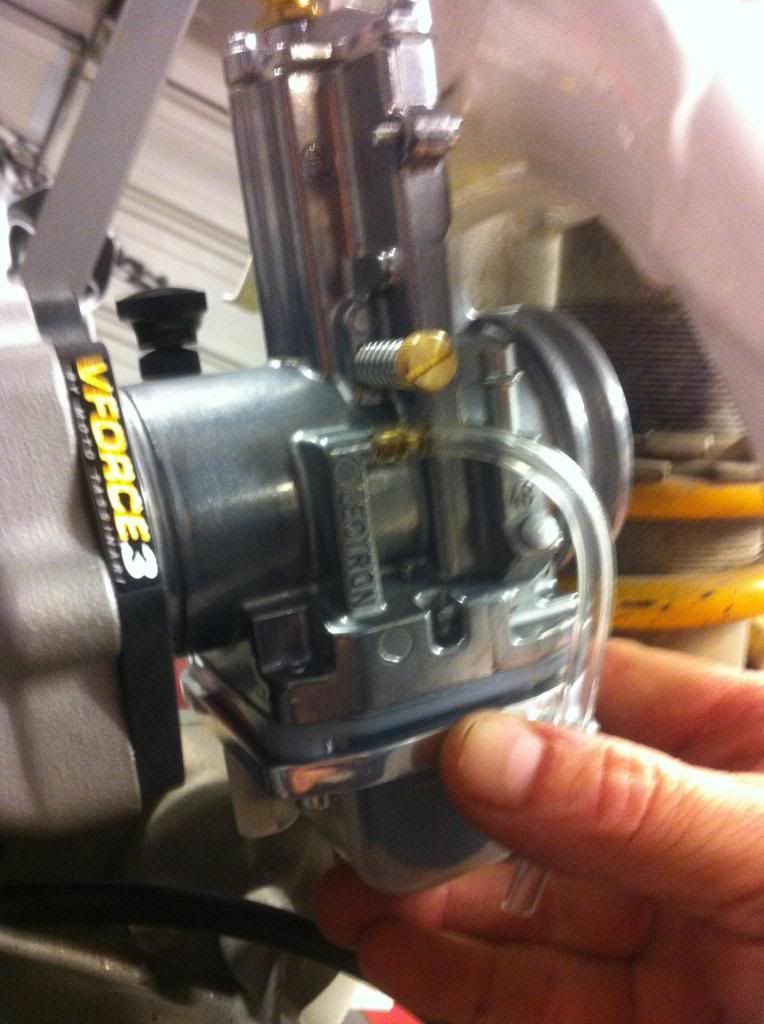
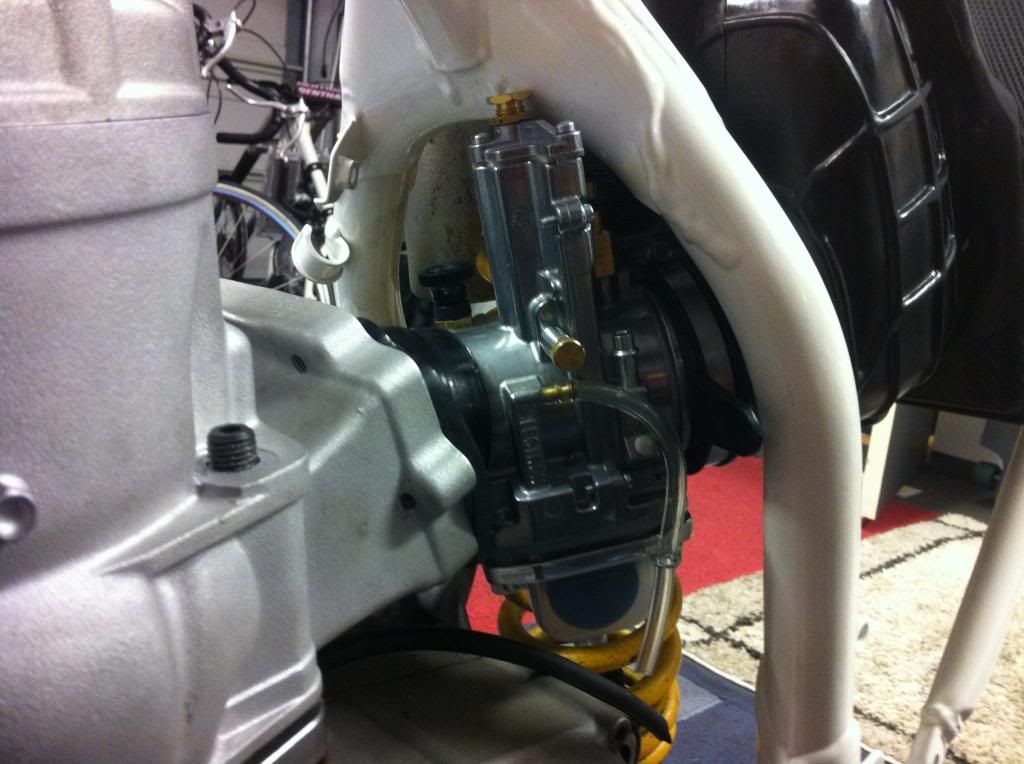
We also had to modify the frame at the back left rail to make more room for the carb. Everything was done to make everything as short as possible. The intake was machined by Dave, even the reedcage was machined. Dave supplied me with intake parts he made for me to weld and angle right. Great help! I had to use a very short intake rubber and the carb needed to be lowered as much as possible. Every millimeter was important.
Here is a movie i made with the different mods we had to do. Remember, i am from Sweden so sorry for my bad accent and explanation!
https://www.youtube.com/watch?v=mWFip5ZqVB0
We also had to modify the frame at the back left rail to make more room for the carb. Everything was done to make everything as short as possible. The intake was machined by Dave, even the reedcage was machined. Dave supplied me with intake parts he made for me to weld and angle right. Great help! I had to use a very short intake rubber and the carb needed to be lowered as much as possible. Every millimeter was important.
Here is a movie i made with the different mods we had to do. Remember, i am from Sweden so sorry for my bad accent and explanation
https://www.youtube.com/watch?v=mWFip5ZqVB0