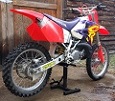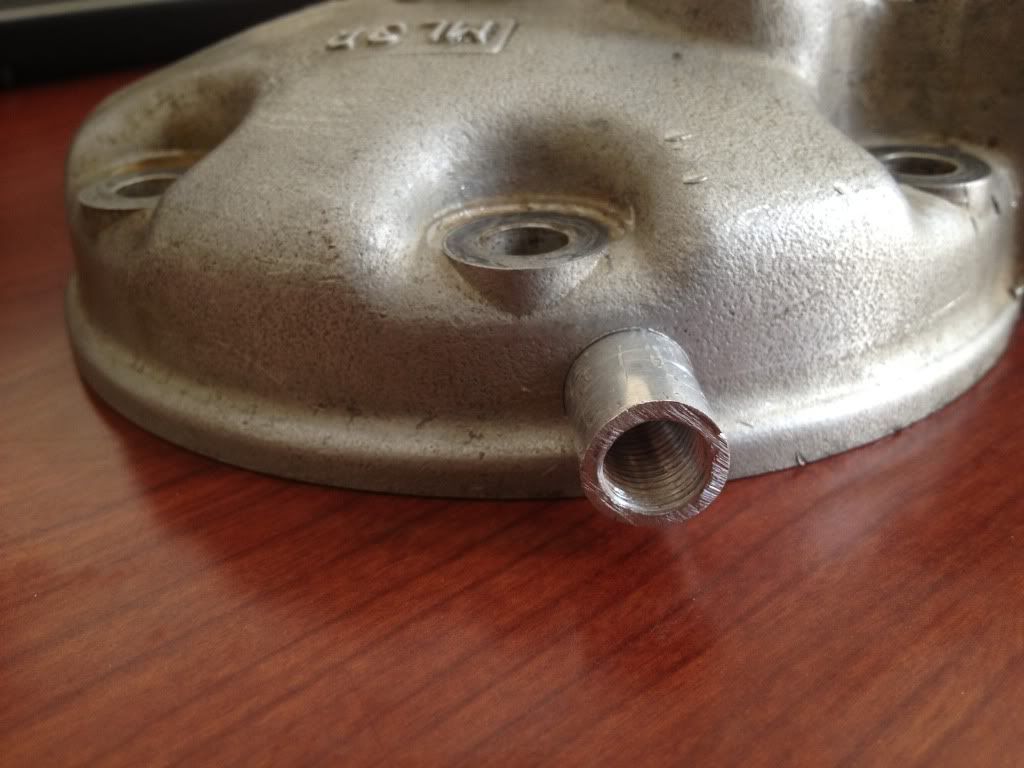

I then found a 1990 CR500 for $900. The motor had been completely gone through by the local Honda shop but the guy put it in such a rough looking bike, folks didn't really want it. It didn't even have grips and the pipe was barely hanging on. It ran like a beast so I took it. He kept saying "all these guys keep calling and just want to destroy it by taking out the motor." Felt it was a good time to keep my mouth shut.

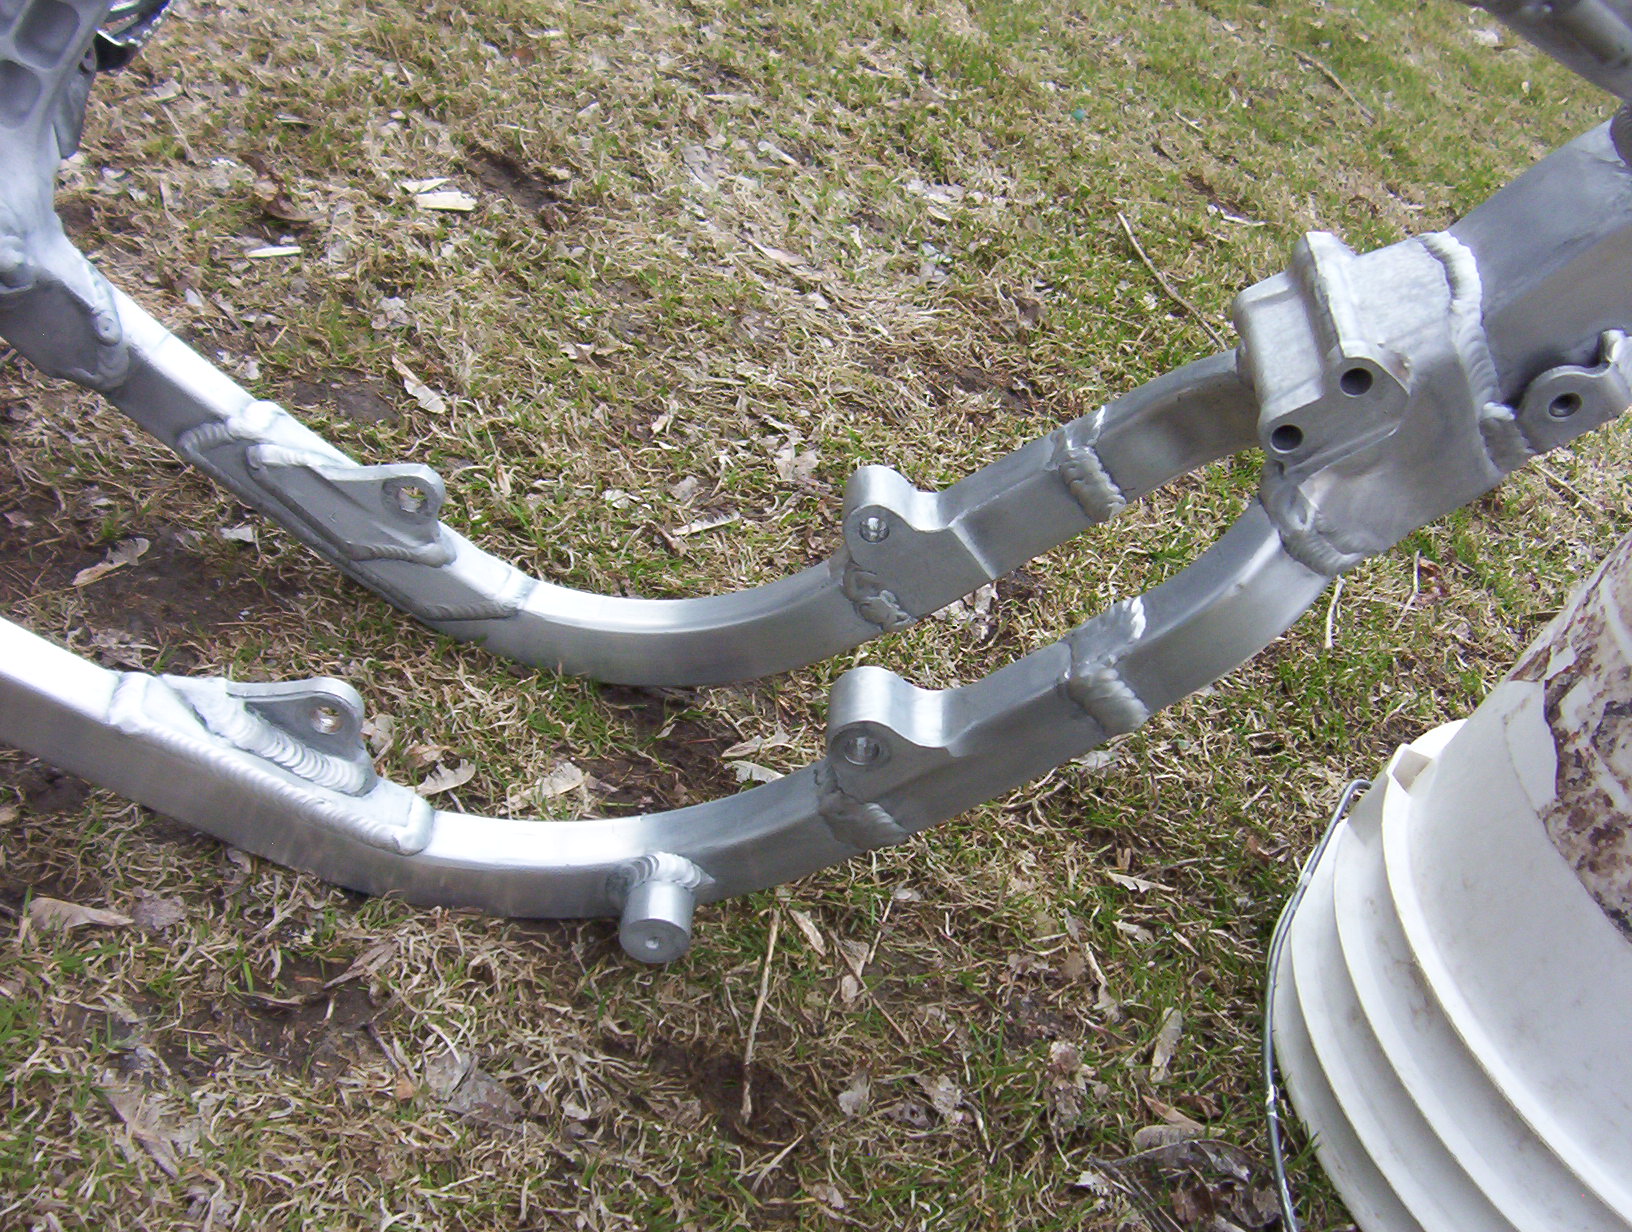
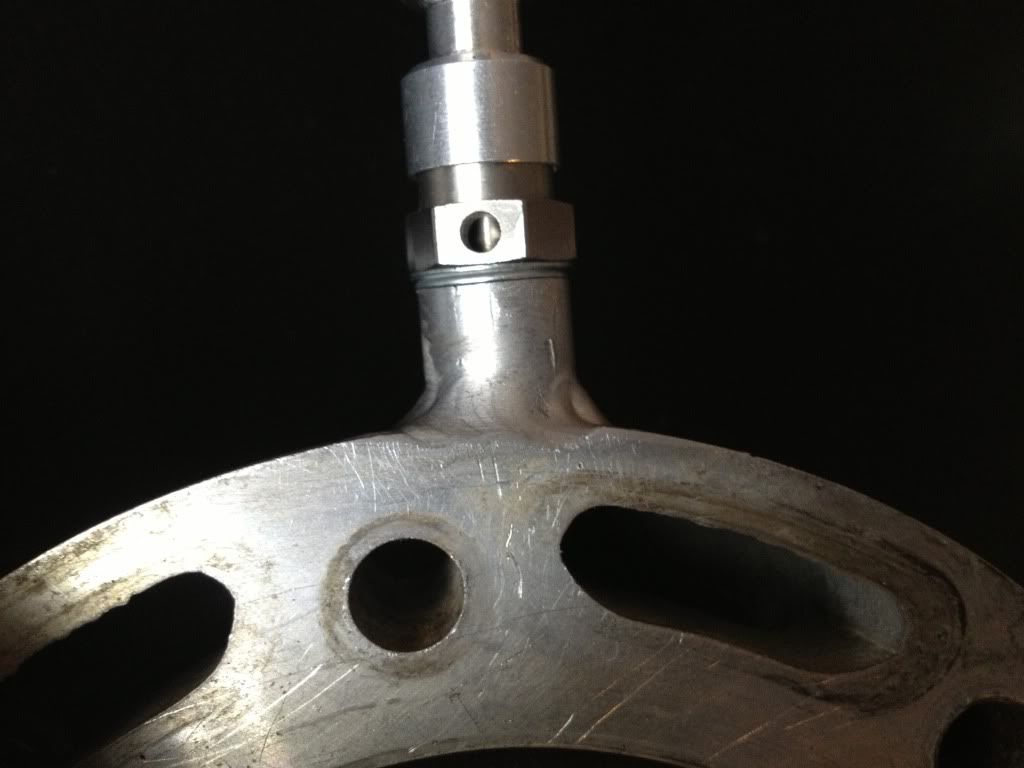
I really liked that the other frame options have billet Y's available so we made one similar to one available for a different frame. They said there was little interest in my year bike so I figured I'd make one. I wish I could tell you where it was made, but prob shouldn't. I will tell you that my bike will be all it can be. My buddy and I pretty much designed it over the phone so there was a couple things that can be improved the next time.