Grabbed these quickly tonight....
http://www.ebay.com/itm/251249668598?s ... 97.l2649
http://www.ebay.com/itm/251249668077?ss ... 1497.l2648
Only need one. PM if interested.
Gen 5 CR500AFX build started on 01.12.2012
-
Redbull500

- Posts: 62
- Joined: August 3rd, 2012, 6:44 pm
- Location: Ottawa
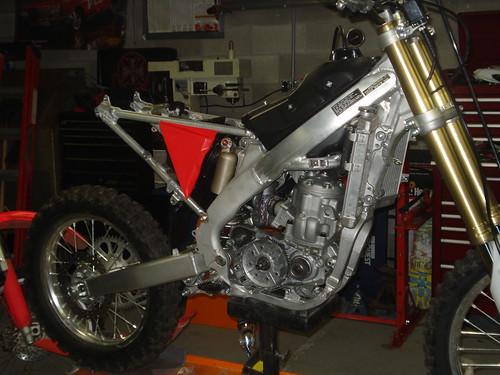
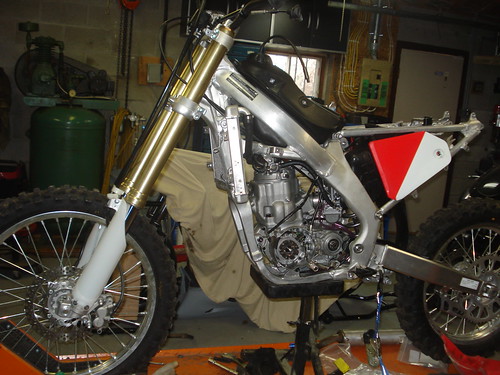
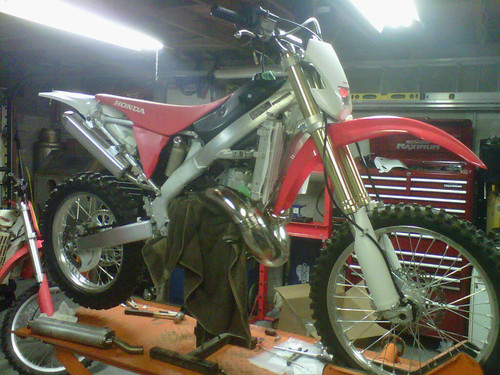
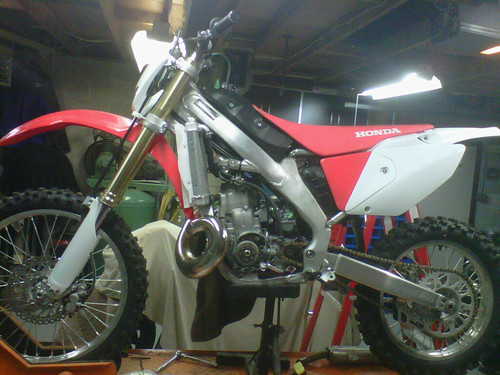
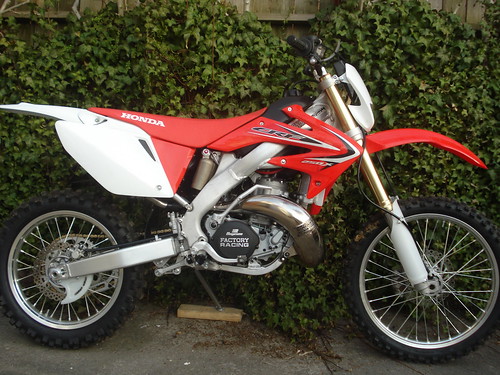
A little more progress...
IMG00204-20130416-2033 by fmikhele, on Flickr
IMG00205-20130416-2034 by fmikhele, on Flickr
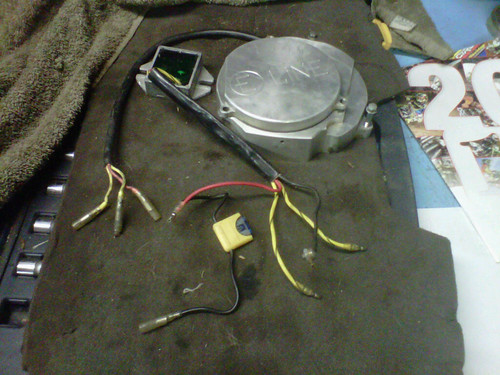
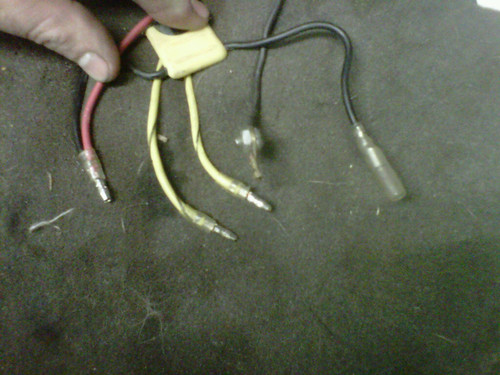
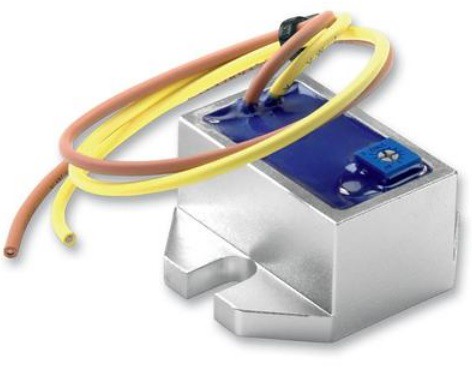
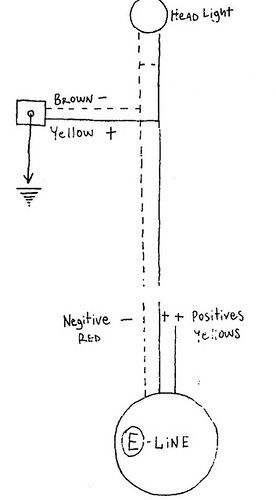
Here is the E-line and rectifier, been reading through the forms and cant find any wiring diagrams. Going to keep it simple, no battery, possibly a switch for the high/low beam? (not sure if its worth it)... Any advice, diagrams or a link to someones post regarding this would be greatly appreciated.
IMG00201-20130416-2021 by fmikhele, on Flickr

IMG00202-20130416-2021 by fmikhele, on Flickr
IMG00203-20130416-2022 by fmikhele, on Flickr
IMG00204-20130416-2033 by fmikhele, on Flickr
IMG00205-20130416-2034 by fmikhele, on Flickr
Here is the E-line and rectifier, been reading through the forms and cant find any wiring diagrams. Going to keep it simple, no battery, possibly a switch for the high/low beam? (not sure if its worth it)... Any advice, diagrams or a link to someones post regarding this would be greatly appreciated.
IMG00201-20130416-2021 by fmikhele, on Flickr
IMG00202-20130416-2021 by fmikhele, on Flickr
IMG00203-20130416-2022 by fmikhele, on Flickr
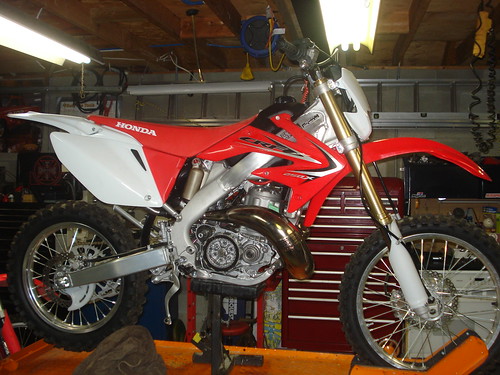
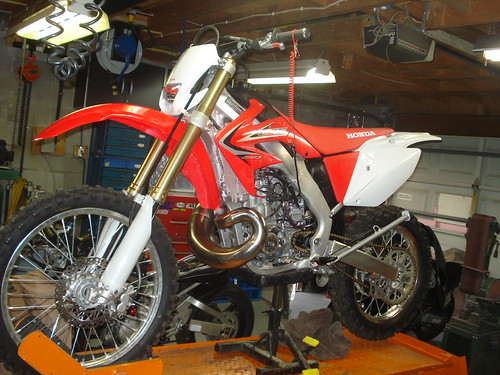
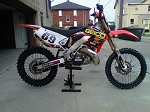
She's a runner!  Fired right up, decompression head works good. Little trickle of coolant coming from the waterpump between one of the gaskets and the separator plate. I installed a new separator plate during the rebuild and I think I should have put just the plate in there first and tighten down the waterpump cover to "take the shape" of the sealing surface and then re-assemble with the gaskets...
Also a little bit seepage at the cylinder head near two of the stud bolts in the cross bike direction (side to side) Had to do new studs with the new cylinder so its the first time the cylinders had a head torqued on it... I've heat cycled the bike a few times hoping it seals up!?!
Also a little bit seepage at the cylinder head near two of the stud bolts in the cross bike direction (side to side) Had to do new studs with the new cylinder so its the first time the cylinders had a head torqued on it... I've heat cycled the bike a few times hoping it seals up!?!


-
Gravel Scratcher

- Posts: 278
- Joined: September 20th, 2009, 8:45 pm
- Location: Australia, Central QLD
-
JohnnyAirtime
- Posts: 6
- Joined: January 1st, 2015, 11:58 am
Sorry to hear you sold this gem... but am thankful you documented the work as you did. As I'm about to embark on the same journey.
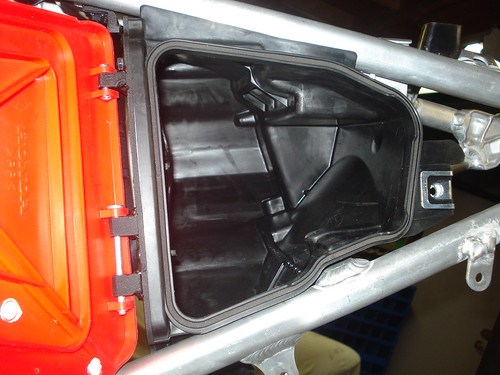
... have to ask; Why not use the original adapter plate and the OEM plastic hinges that you were first trying out? Did it not work as planned?
Also, any reason you chose this kit... and not CP500's kit? I'm going to buy a kit, but want to make sure it's as close to accurate as possible.
Thanks!
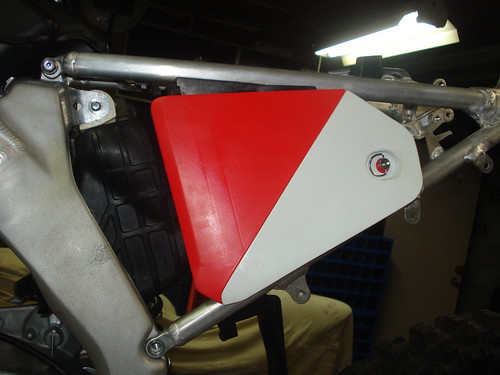
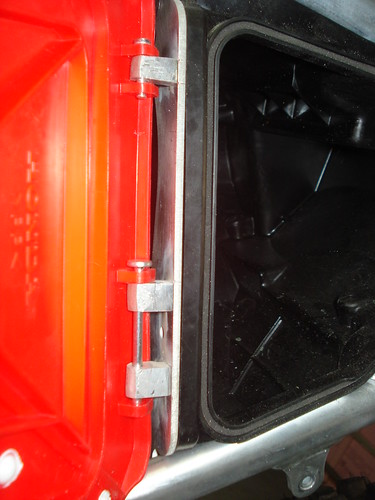
Both methods worked, but in the end I felt like the second design was more of an OEM look.Sorry to hear you sold this gem... but am thankful you documented the work as you did. As I'm about to embark on the same journey.
... have to ask; Why not use the original adapter plate and the OEM plastic hinges that you were first trying out? Did it not work as planned?
Also, any reason you chose this kit... and not CP500's kit? I'm going to buy a kit, but want to make sure it's as close to accurate as possible.
Thanks!
This build was using CP500 parts if you look at the build pics...
Good luck with your build
-
JohnnyAirtime
- Posts: 6
- Joined: January 1st, 2015, 11:58 am
Awesome... thank you for the replies!!
I bought the CP500 kit, and am acquiring parts now. Have almost all I need, and am like a kid in a candy store. Trying to be patient!!
The newer air box mod with the mini alum hinges. How did you secure them? They don't look welded to the plate. Epoxy maybe?
Again... thanks, your thread is helping me immensely!!!