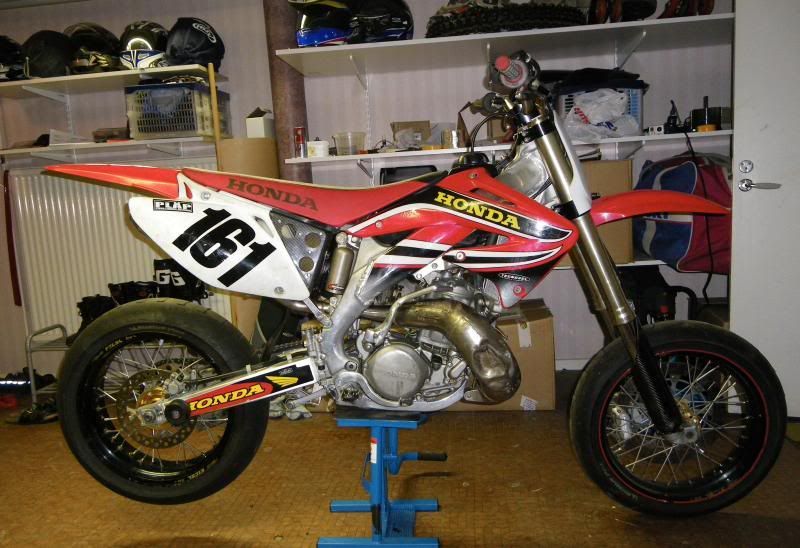
CR500AFc converted with CRF450 2002 frame
It all started when I had a GSXR750 '98 I didn't use much and wanted something fun I could ride all year. Inspired by a pic of a SH supermoto I started the following build.
I sold the Suzuki and found a CRF450 '02 Supermoto-roller, complete with 17" Excel rims, Brembo brake, TAG-clamps and more. I got it for about 1300 $, less than what the rims would cost new, in august 2010
Now that I have done my homework a bit better I might have chosen a CR125 but the roller had enough goodies to make up for the extra work
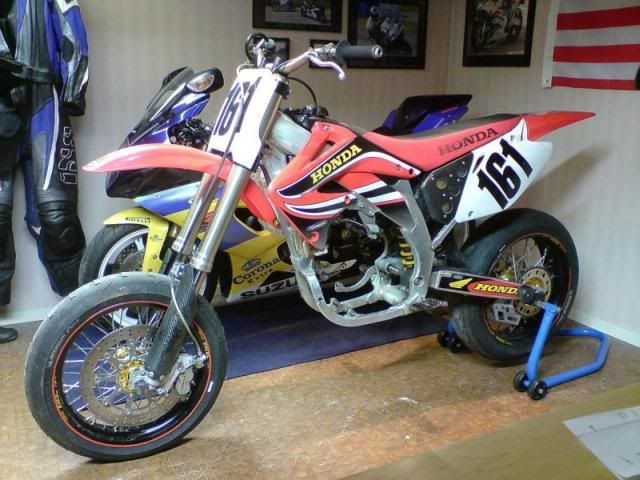
In november I found a suitable donor-bike. A relatively unmolested CR500 '99. I think it set me back about two grand
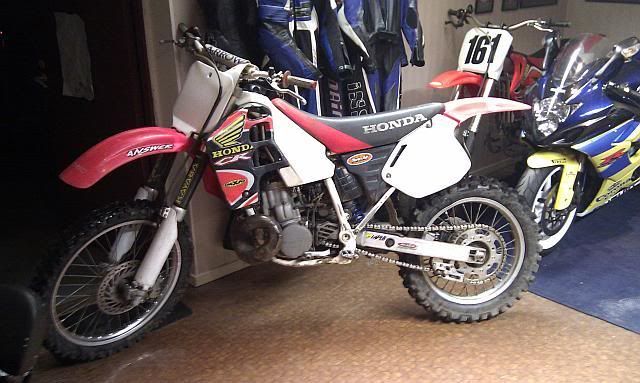
It got ridden as it was during the following winter
In october 2011 I had a look down the intake and found an inch long crack in the piston and the project begun.
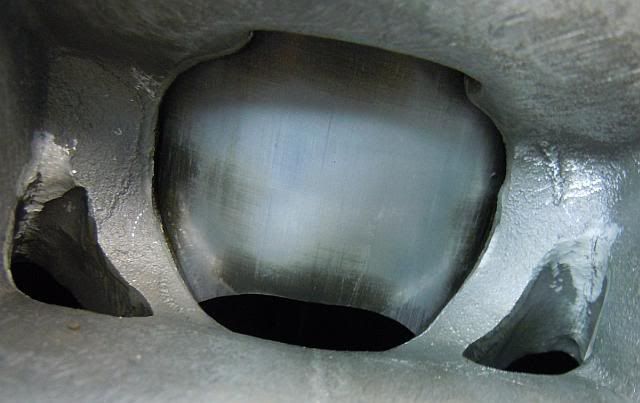
Part 1 - Engine rebuild:
I ported the cylinder and raised the ports
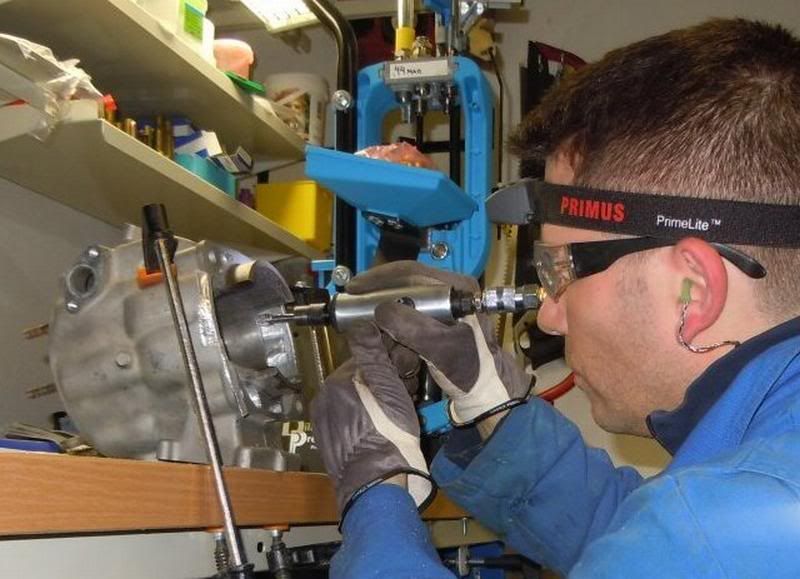
Matching the exhaust
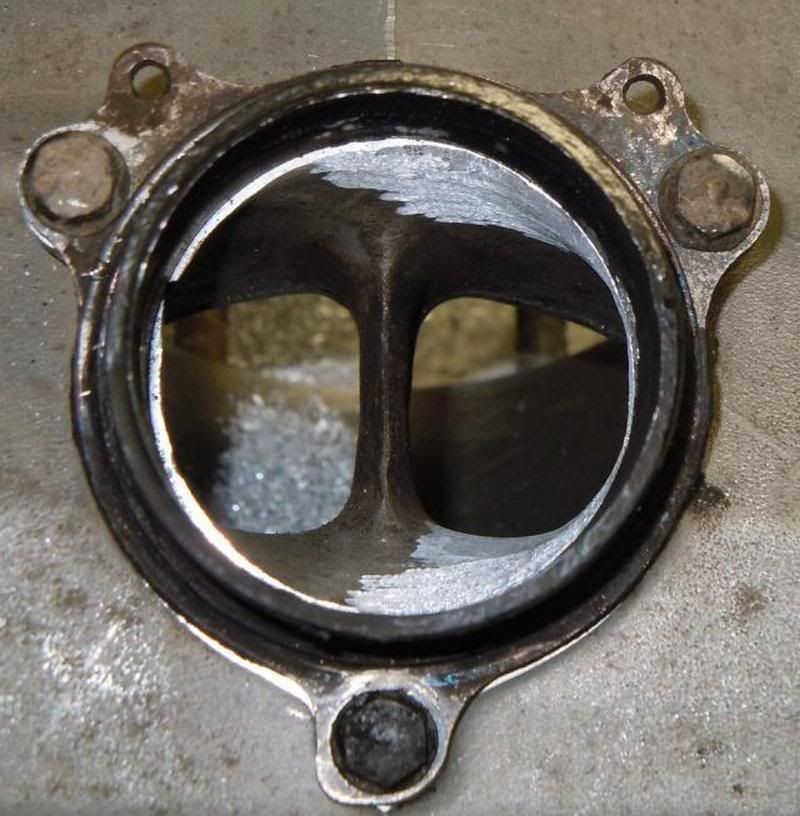
A lot of material to remove. Timeconsuming, even with the rotary file. I should have gotten one made for aluminium that wouldn't have gotten clogged up so bad. Couldn't find one
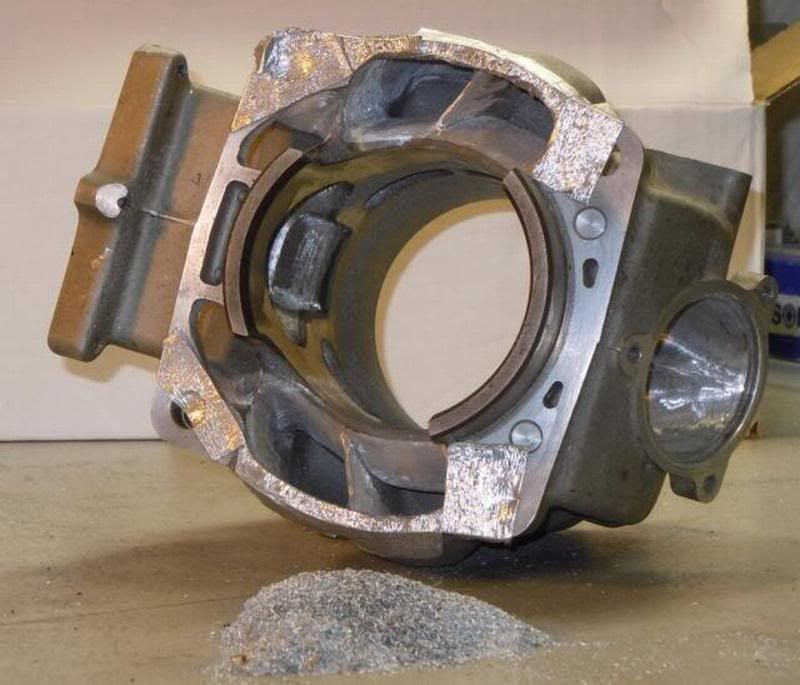
The exhaust port was raised 3 mm or 1/8", wichever you prefer. I used a magic marker above the port, then set my calipers to the desired width and drew a line parallel to the edge so I would know how much to take. I also widened the port 1-2 mm up top.
You have to be careful around the exhaust bridge. Do not file it down, it's a bit of a weak spot.
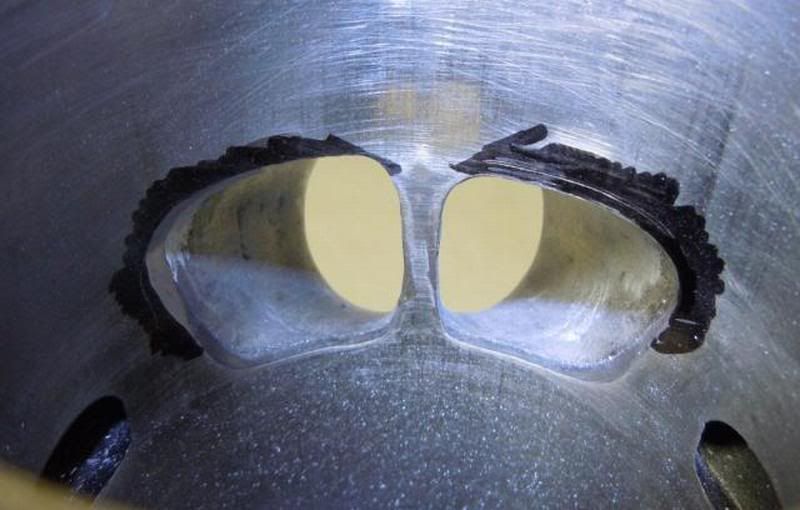
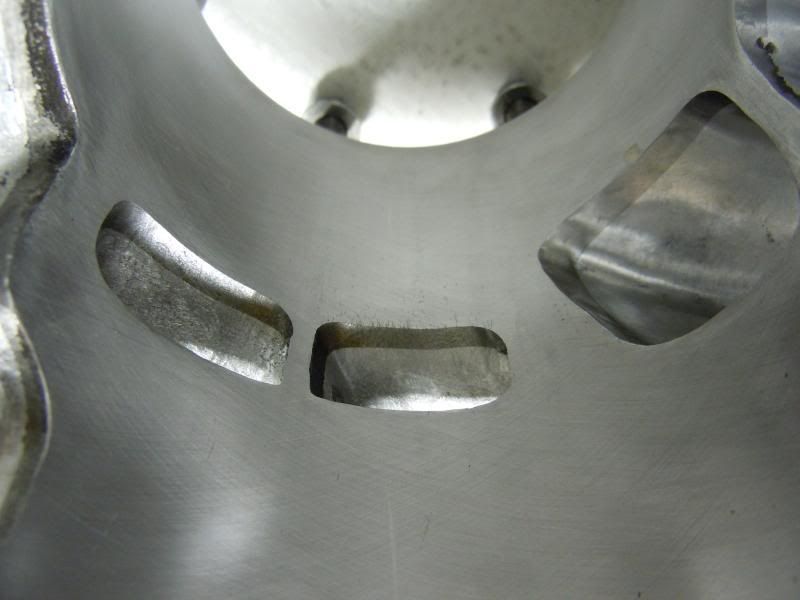
The intake got opened up considerably and the surface left a bit coarse to prevent drops forming
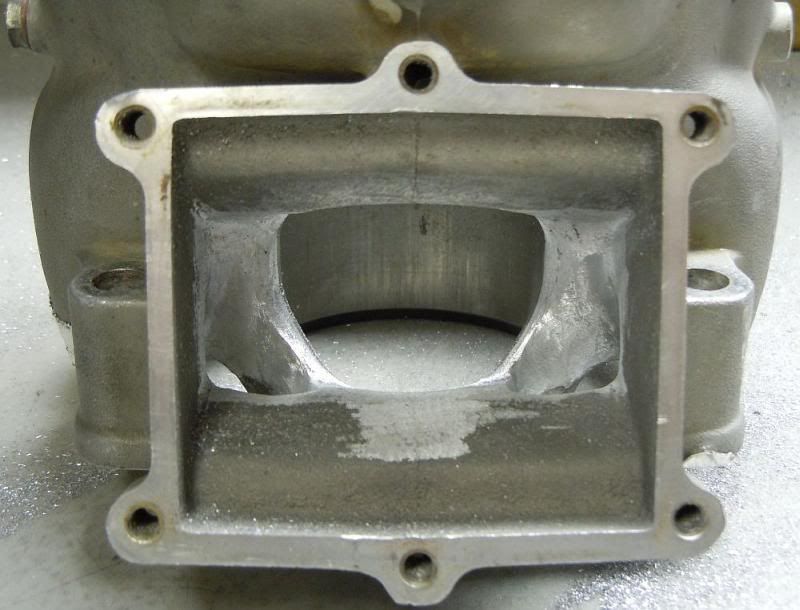
JohnnyTheSwede helped me to raise the transfer ports 1,5 mm with his angled rotary tool
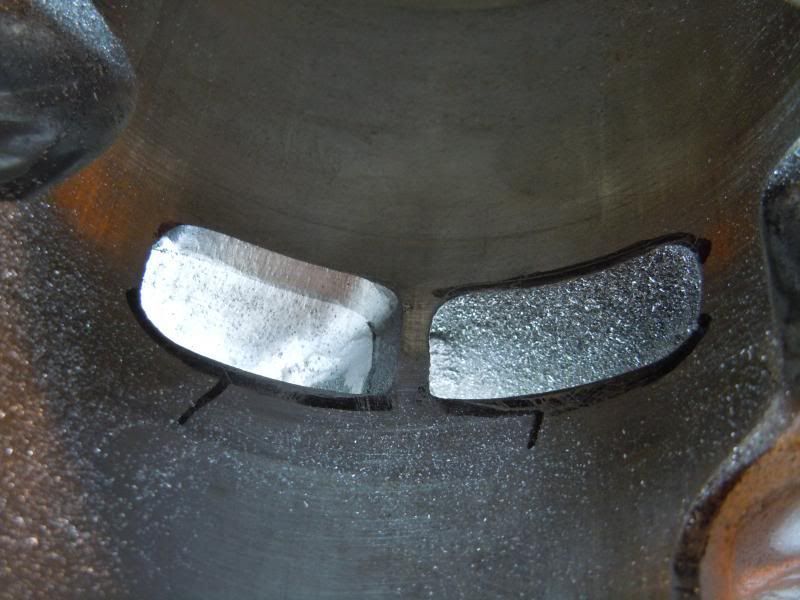
Then I had the cylinder bored to 89,50 mm. Cost about 100$
The exhaust is made smooth for maximum flow. Didn't make new decomp ports. The porting job makes kickstarting easier anyway and this is what's left of the old ones.
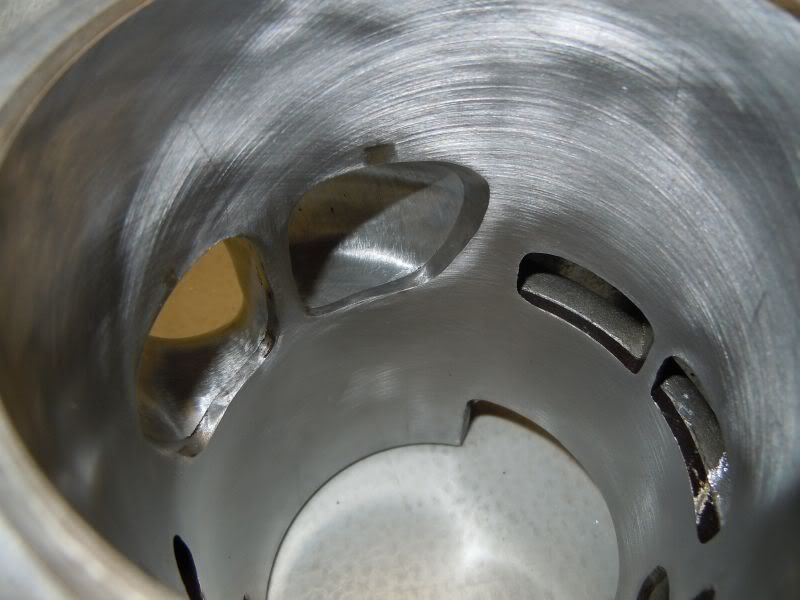
Close-up. De-burr/smooth out the port edges after boring the cylinder!
Wisecos forged and molycoated 871-piston was ordered but didn't include the pin. Top end done:
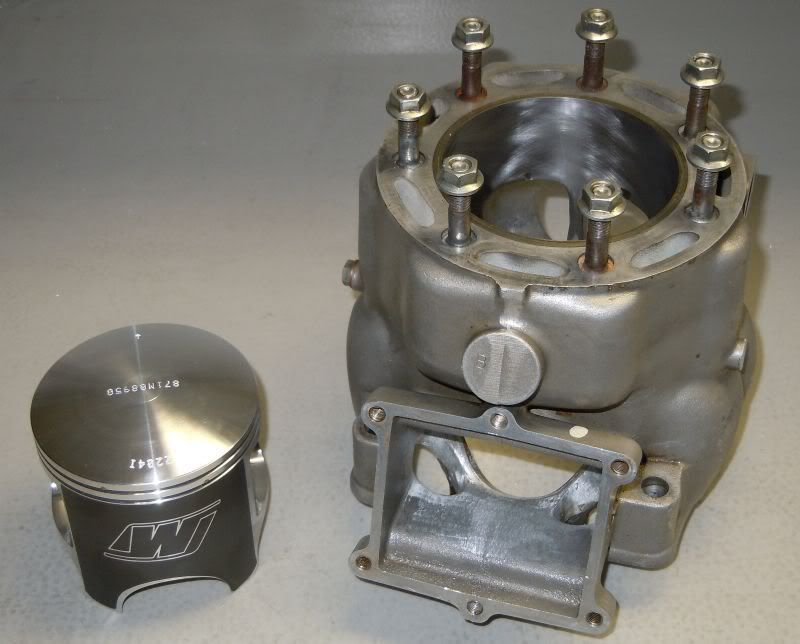
Make sure to drill the holes in the piston for the exhaust bridge. Instructions are included with the piston
Last edited by K-Man on June 7th, 2013, 5:08 am, edited 4 times in total.
There's pain in this game. If you're gonna be stupid, you better be tough!
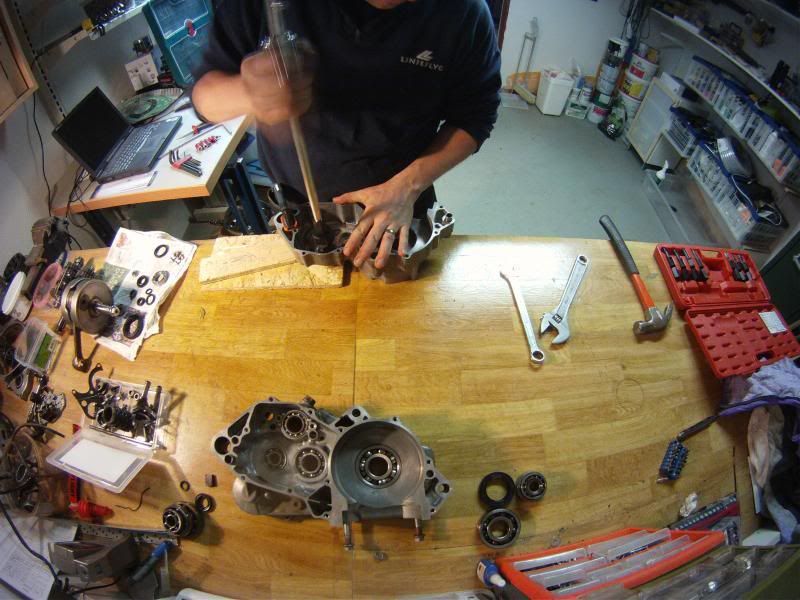
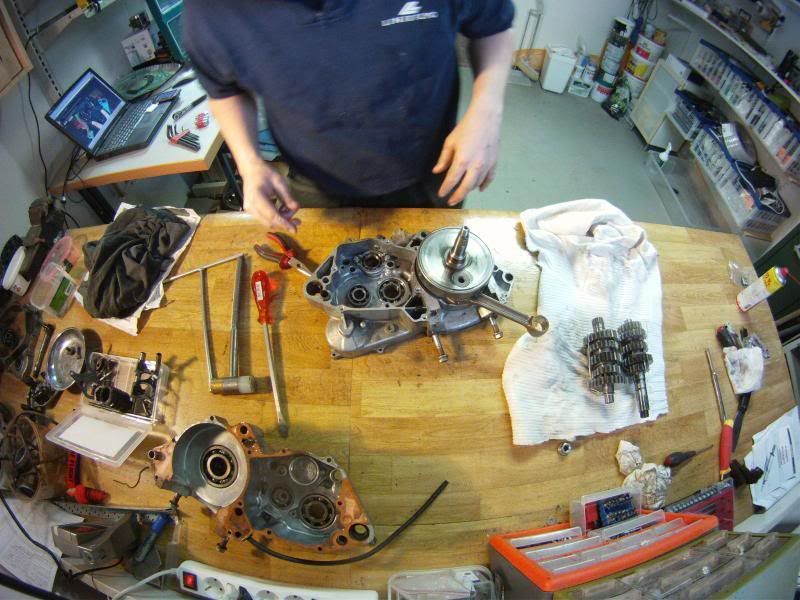
I wanted a healthy bottom-end as well before putting the engine in the new frame.
A big thanks to Roscoe-Peeko for the excellent engine overhaul-thread running on the laptop
A bearing-puller tool was needed to extract several of the bearings. Expensive stuff but thankfully I have a well equipped friend
A complete bottom end bearing kit was bought from BossBearings and seals and gaskets
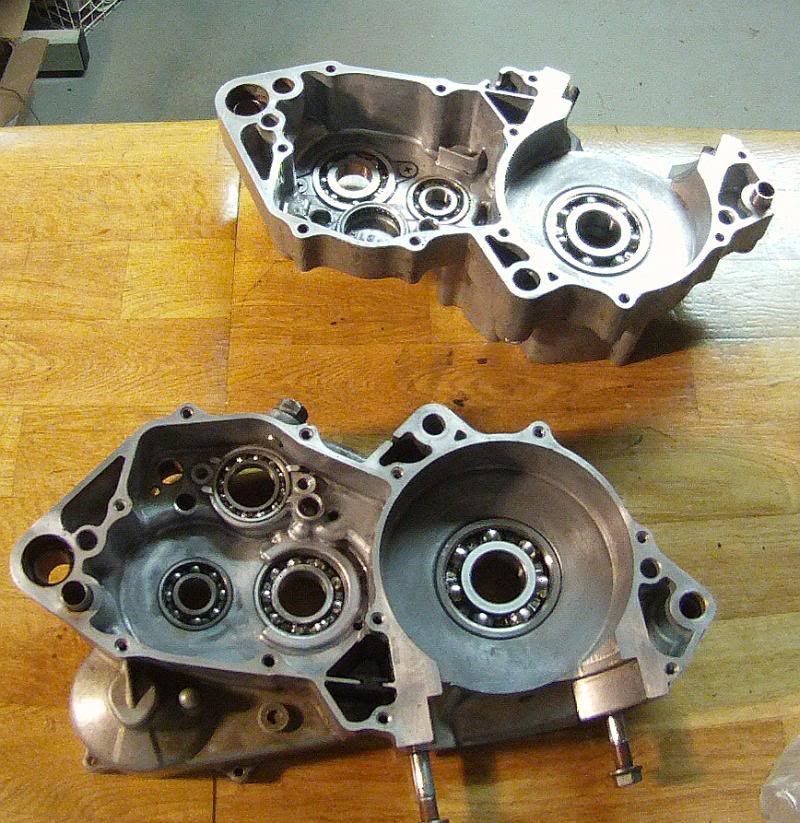
Baking the enginehalves stunk up the house wtih the burnt oil smell. Fortunately the missus wasn't home. Bearings in the freezer in ziploc bags made them slot into place with ease
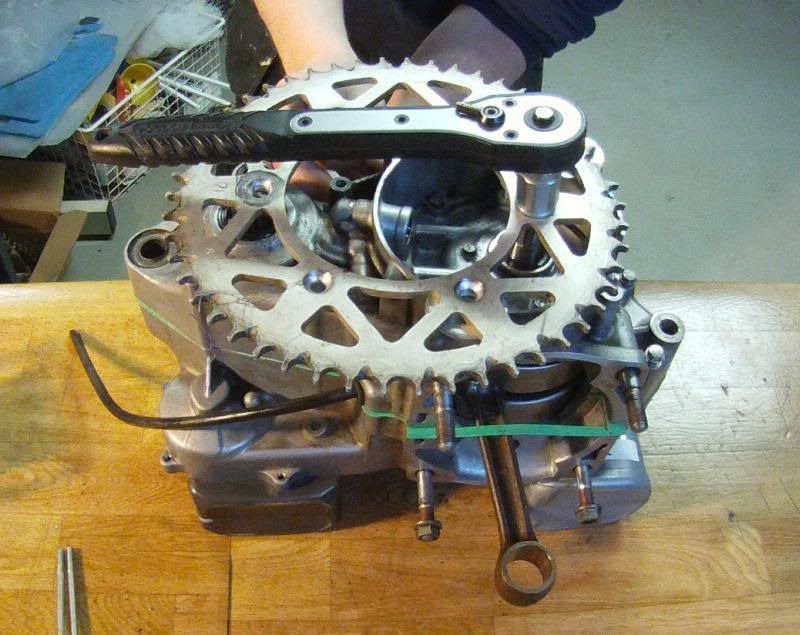
Here is my homemade crank-puller. Worked like a charm
Timelapse-clip from assembly
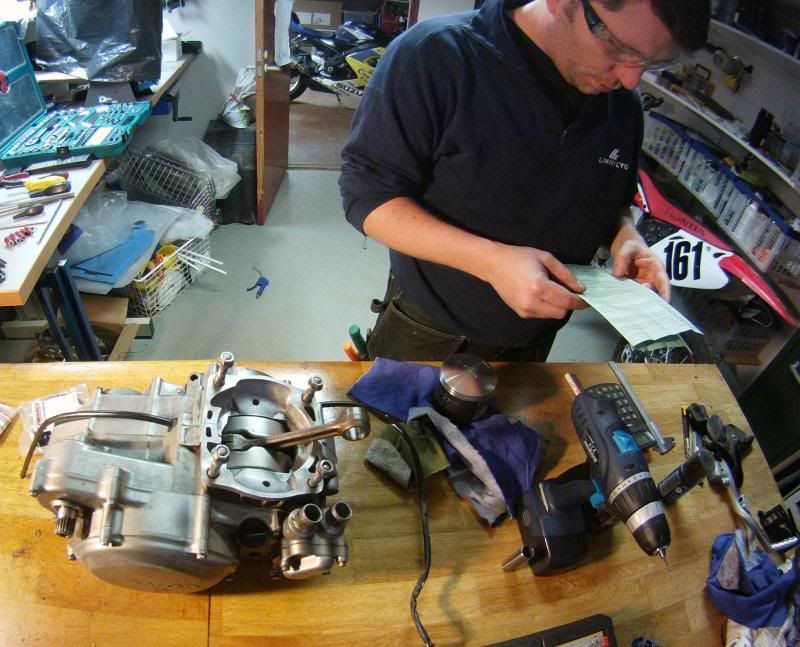
Weighing the piston - a few grams lighter than the previous Prox. Drilling the holes and de-burring. Checking the piston ring end-gap
Timelapse-clip top-end re-assembly:
Behold - the healthy, more powerful engine! A noticable increase in torque after the rebuild.
A big thanks to Roscoe-Peeko for the excellent engine overhaul-thread running on the laptop
A bearing-puller tool was needed to extract several of the bearings. Expensive stuff but thankfully I have a well equipped friend
A complete bottom end bearing kit was bought from BossBearings and seals and gaskets
Baking the enginehalves stunk up the house wtih the burnt oil smell. Fortunately the missus wasn't home. Bearings in the freezer in ziploc bags made them slot into place with ease
Here is my homemade crank-puller. Worked like a charm
Timelapse-clip from assembly
Weighing the piston - a few grams lighter than the previous Prox. Drilling the holes and de-burring. Checking the piston ring end-gap
Timelapse-clip top-end re-assembly:
Behold - the healthy, more powerful engine! A noticable increase in torque after the rebuild.
Last edited by K-Man on April 8th, 2012, 10:38 am, edited 2 times in total.
There's pain in this game. If you're gonna be stupid, you better be tough!
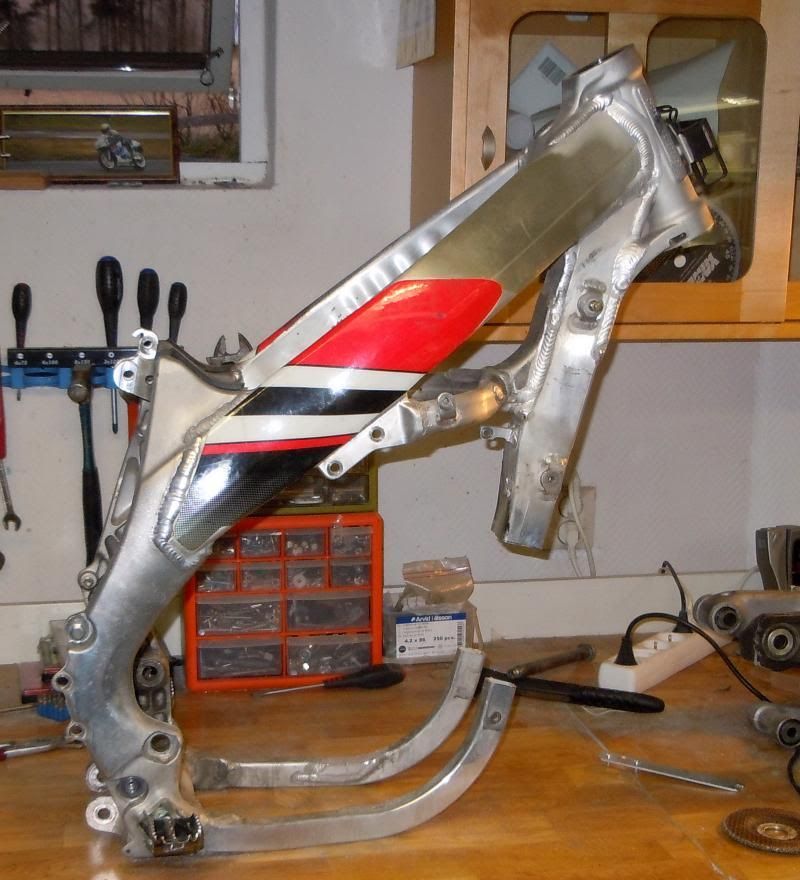
Welding the frame was planned for the end of march 2012 and before that I had to strip the roller and cut the Y and mounts
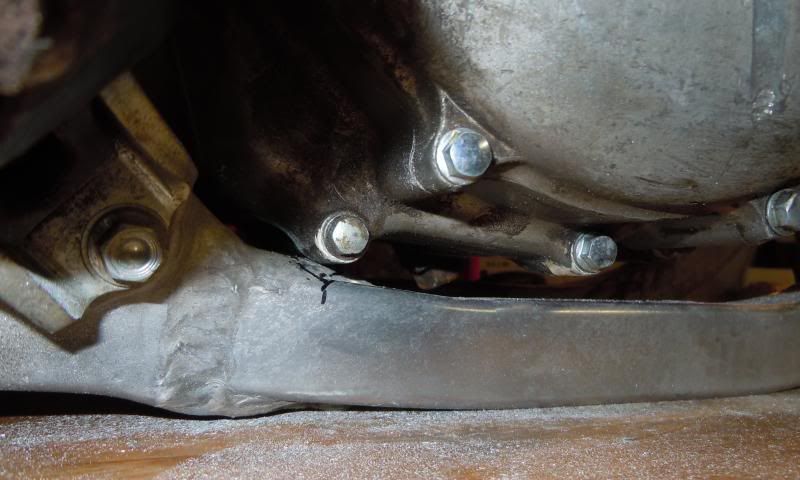
Fitting of the engine began. The weld at the rear of the lower frame-spar has to be grinded down to be able to angle the engine down as far as possible.
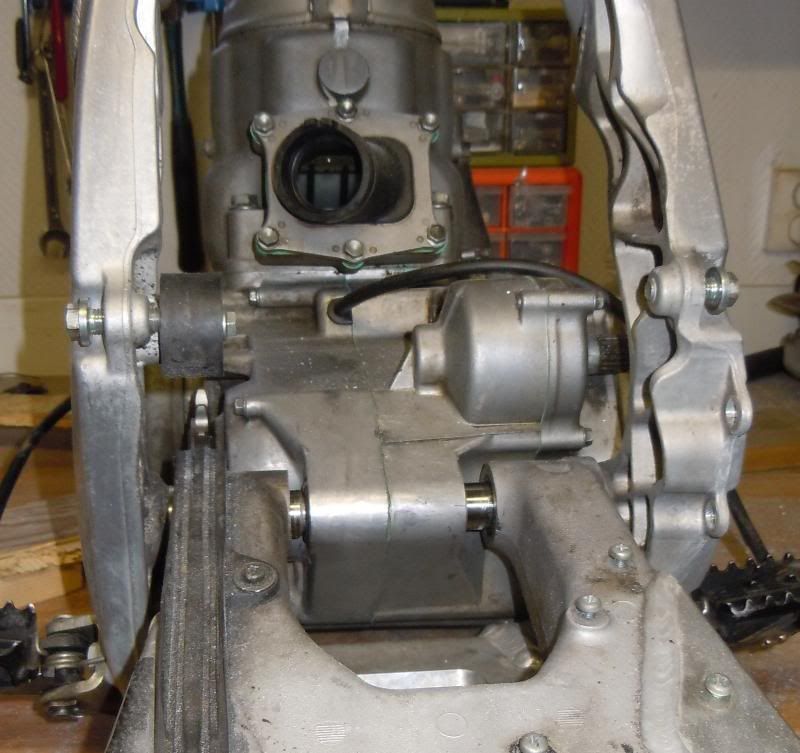
Correct lateral fitment is accomplished by moving the right side 54 mm swing axle bushing to the left side, then buying a Honda 59 mm bushing (partnr: 52141-KZ4-J40) for the right. Perfect chain alignment. Thanks Alisobob for this tip!!!
Fitting the Y and tacking it. Lower radiator mount untouched
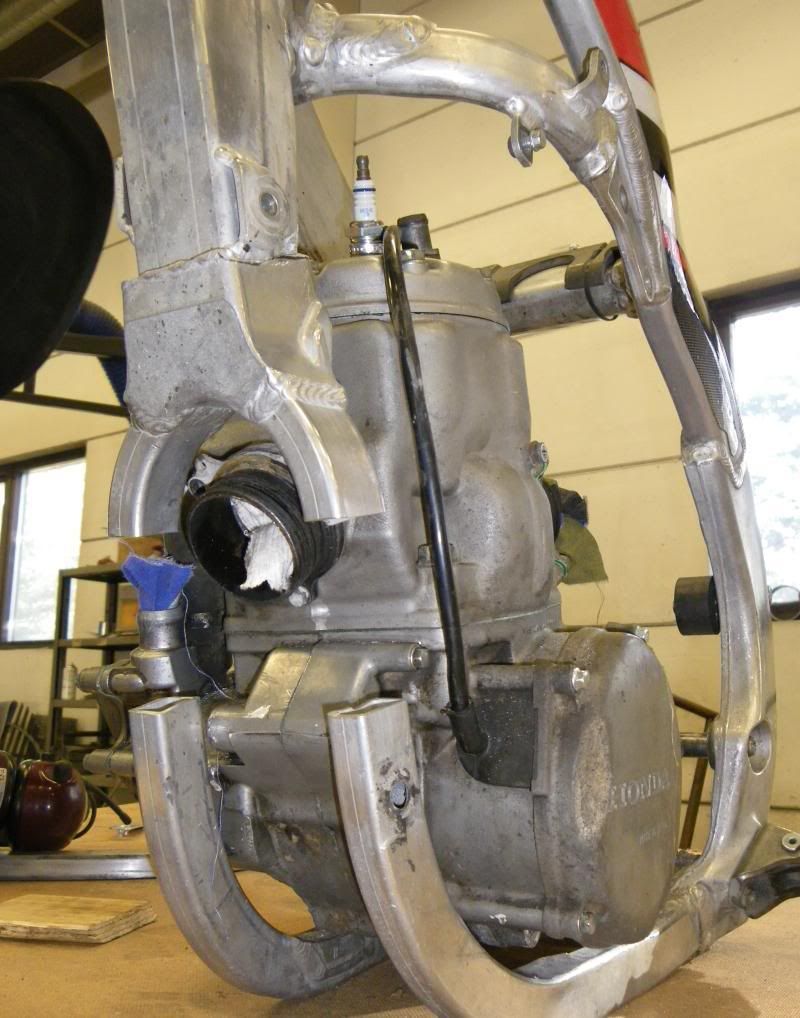
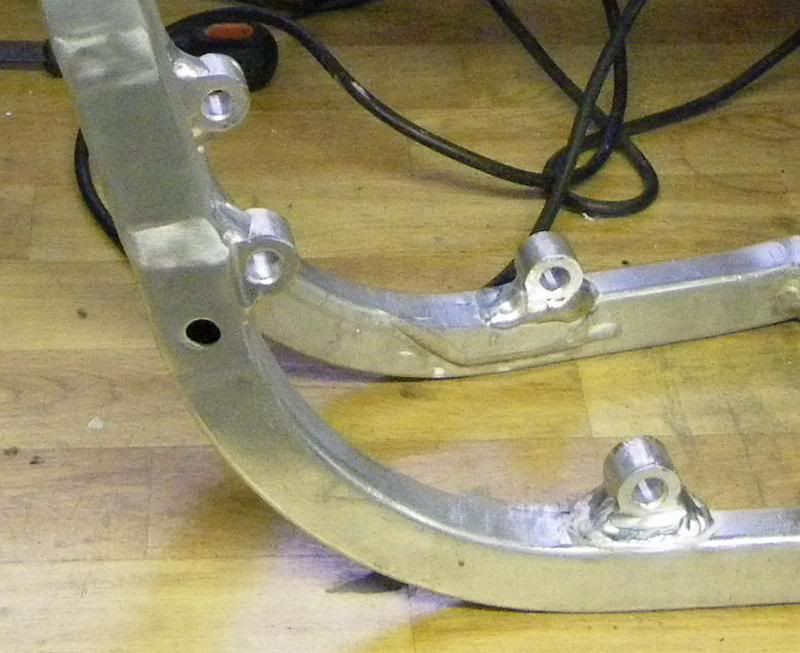
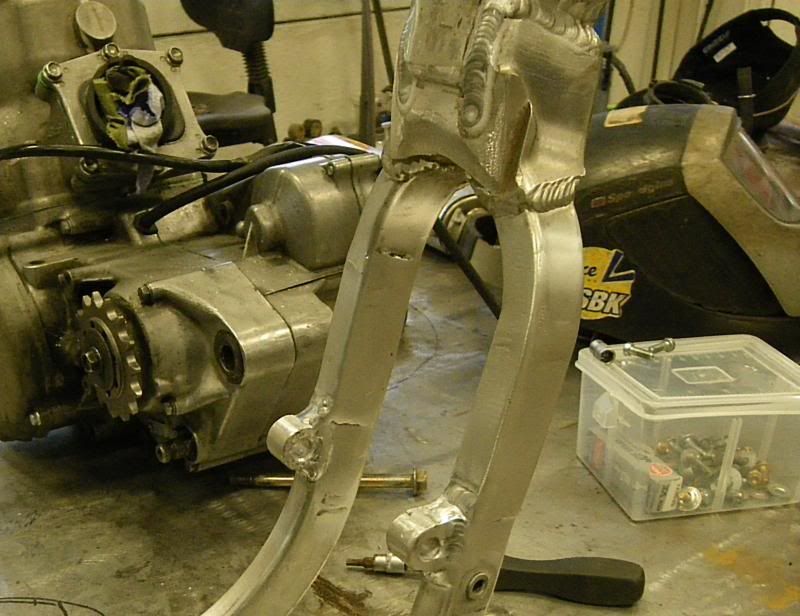
After correct fitment the lower engine mounts were made
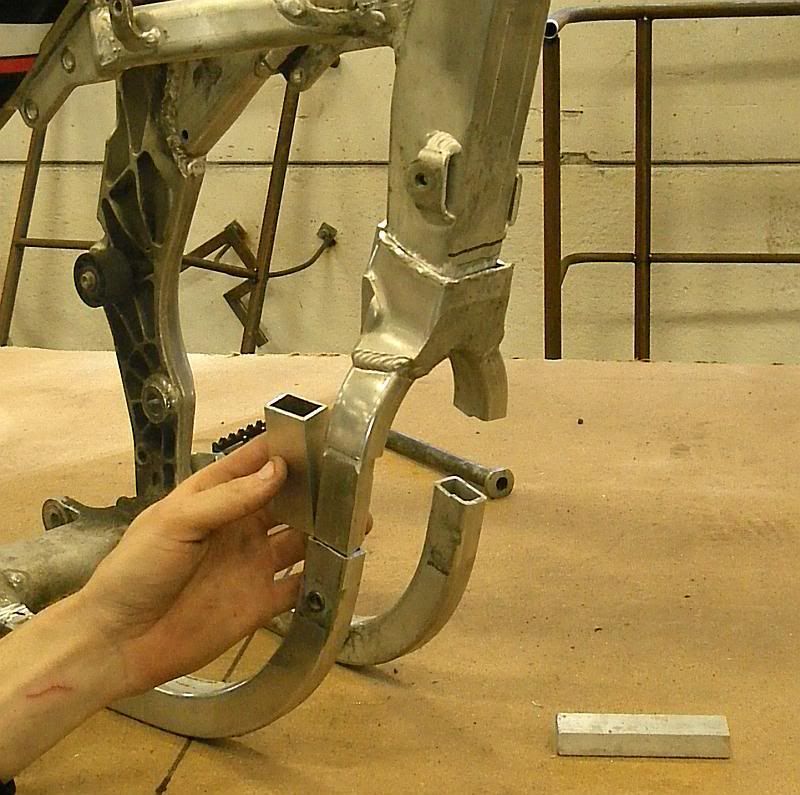
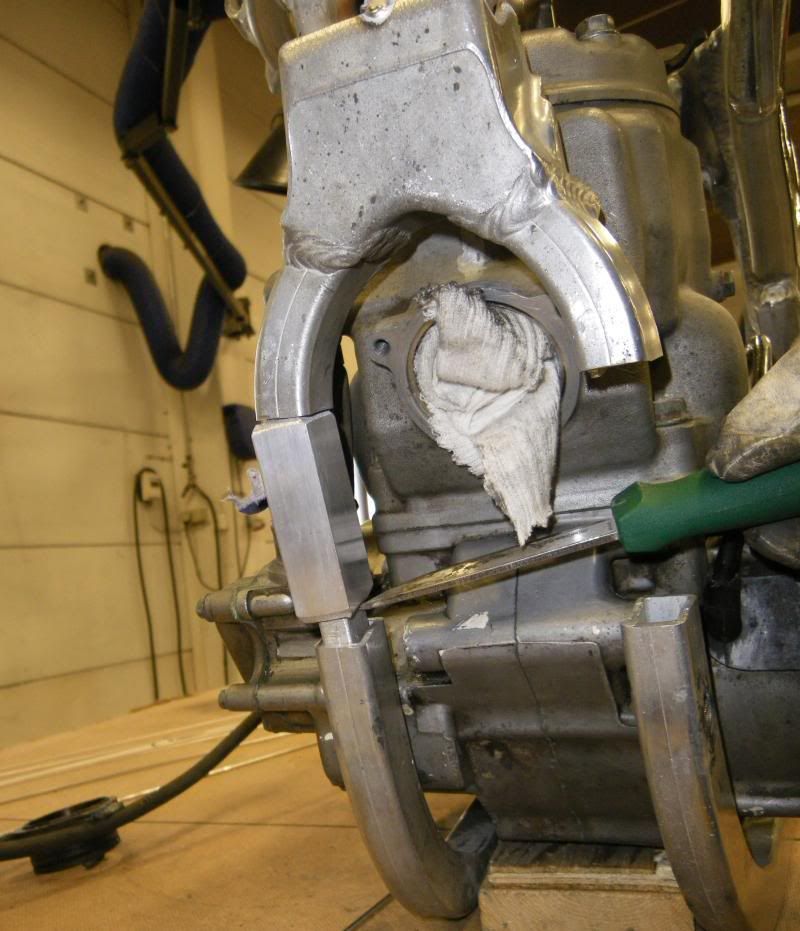
Solid inserts reinforcing the 6061-T6 aluminium frame
Tacking the pieces with a gap for deep welding them all
The reinforcement allowed for the welds to be ground down and polished
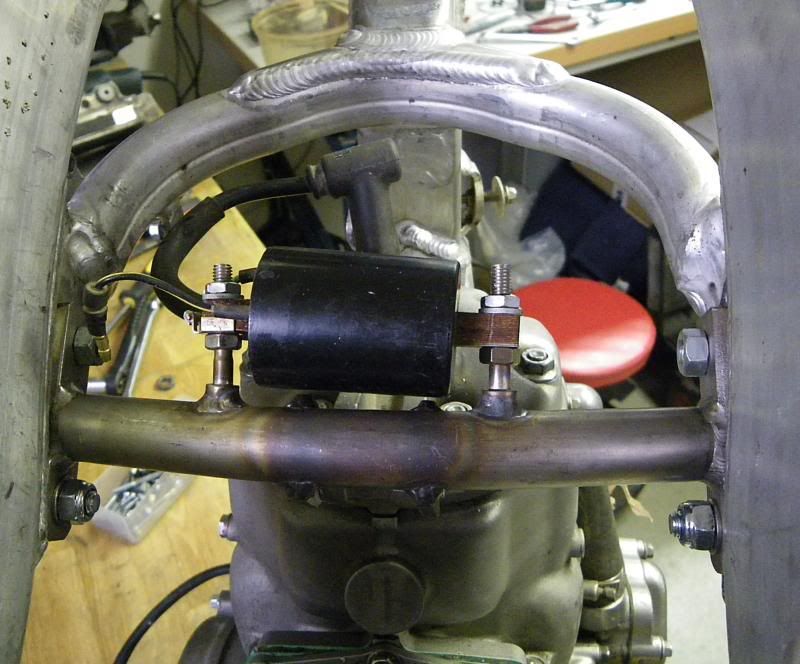
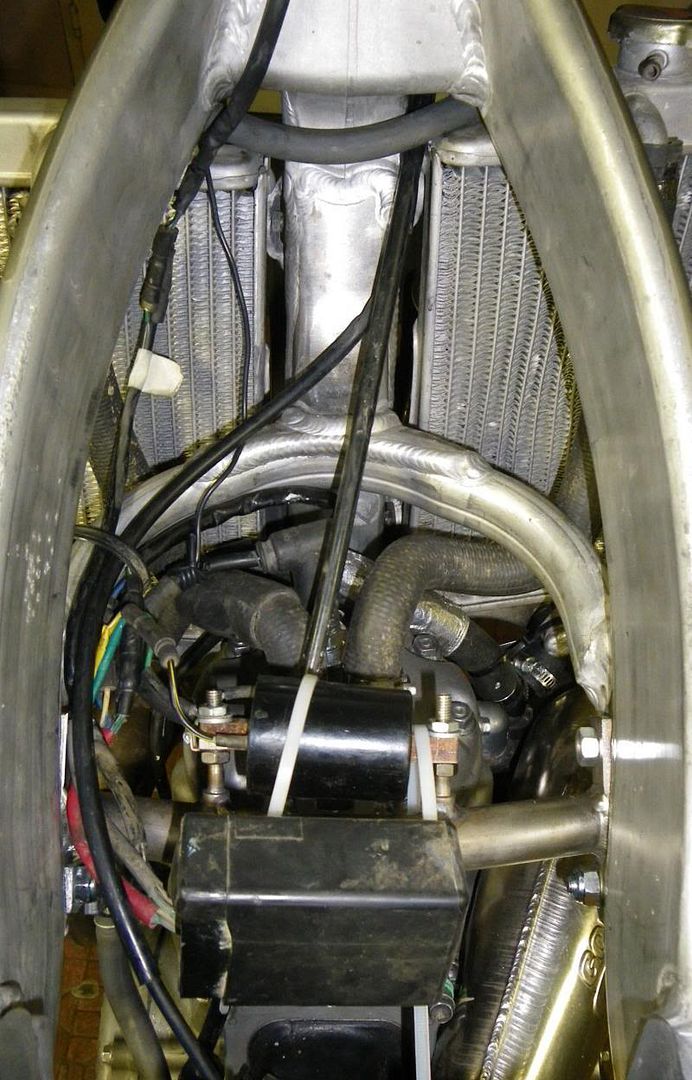
Upper engine mount made from stainless steel with coil mounts. I wanted coil and CDI-box close to the head to avoid having to cut and lengthen the wires.
It's a tight fit but there is room for everything under the tank without modifications. I only rotated the fuel spout and hung the shut-off valve a bit further back
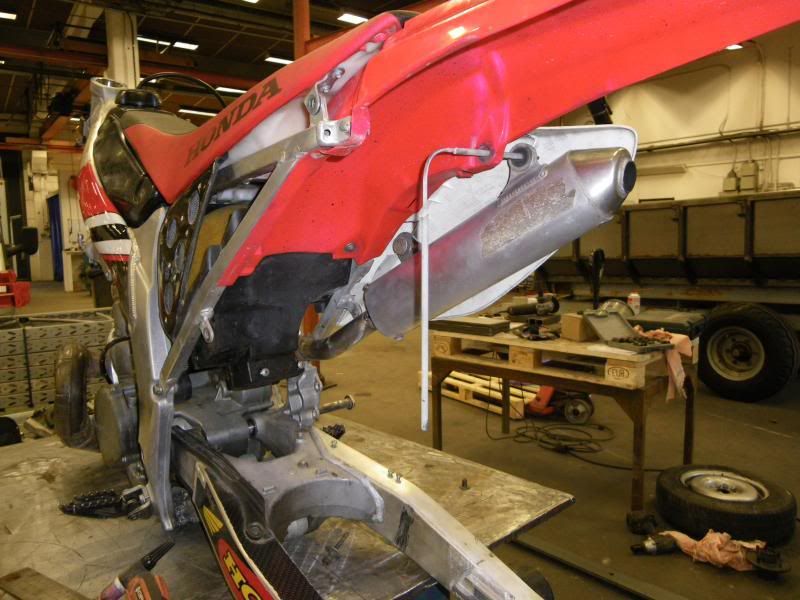
Exhaust hangers were made and the silencer was angled out to avoid the rear tire.
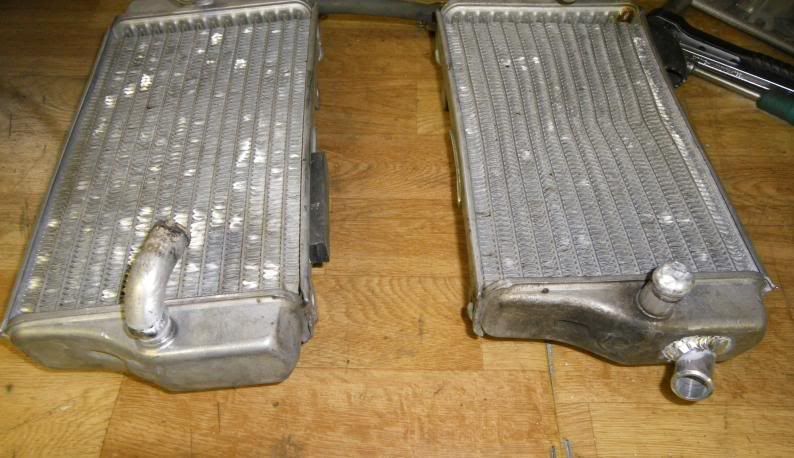
The 450 radiators were modified to fit.
Hours of tinkering and grinding followed to make everything fit just right. It's easy to think an AF conversion is quickly done from these threads but it surely isn't!
A big thanks to CSS AB - Cert. Svets i Bankeryd for all the TIG-welding
Last edited by K-Man on April 8th, 2012, 11:47 am, edited 2 times in total.
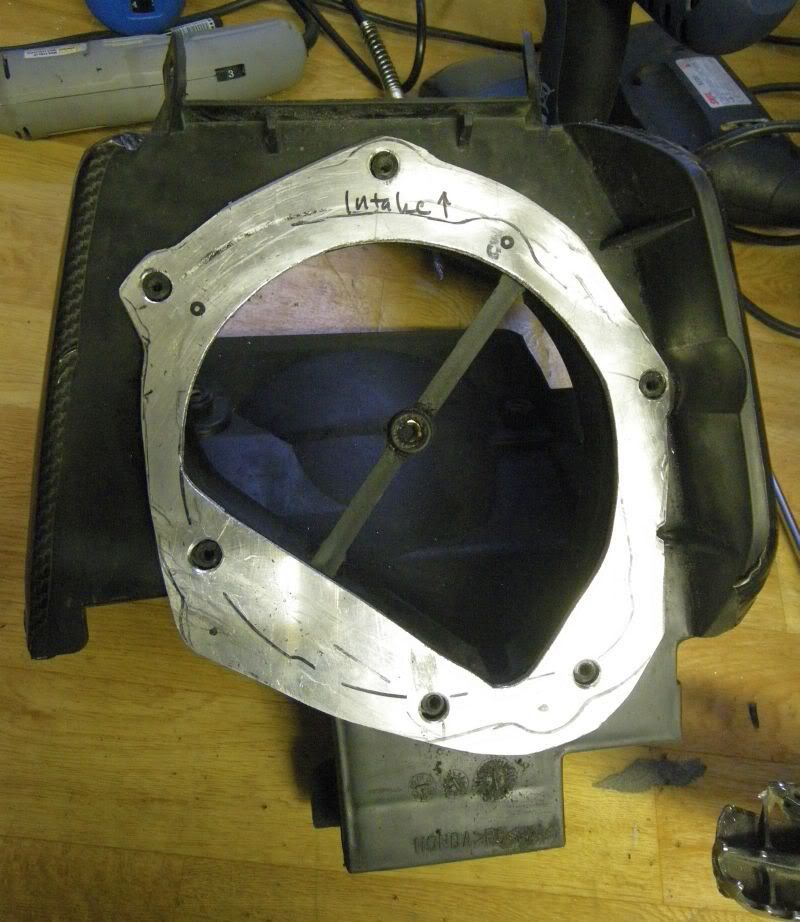
Time to put it all together. The airbox and boot doesn't fit the PJ carb so a CR250 '99 boot was purchased and fitted to the 450 airbox with an aluminium adapter plate. The boot has a tight squeeze between the frame and shock but not so bad that it needed modifying
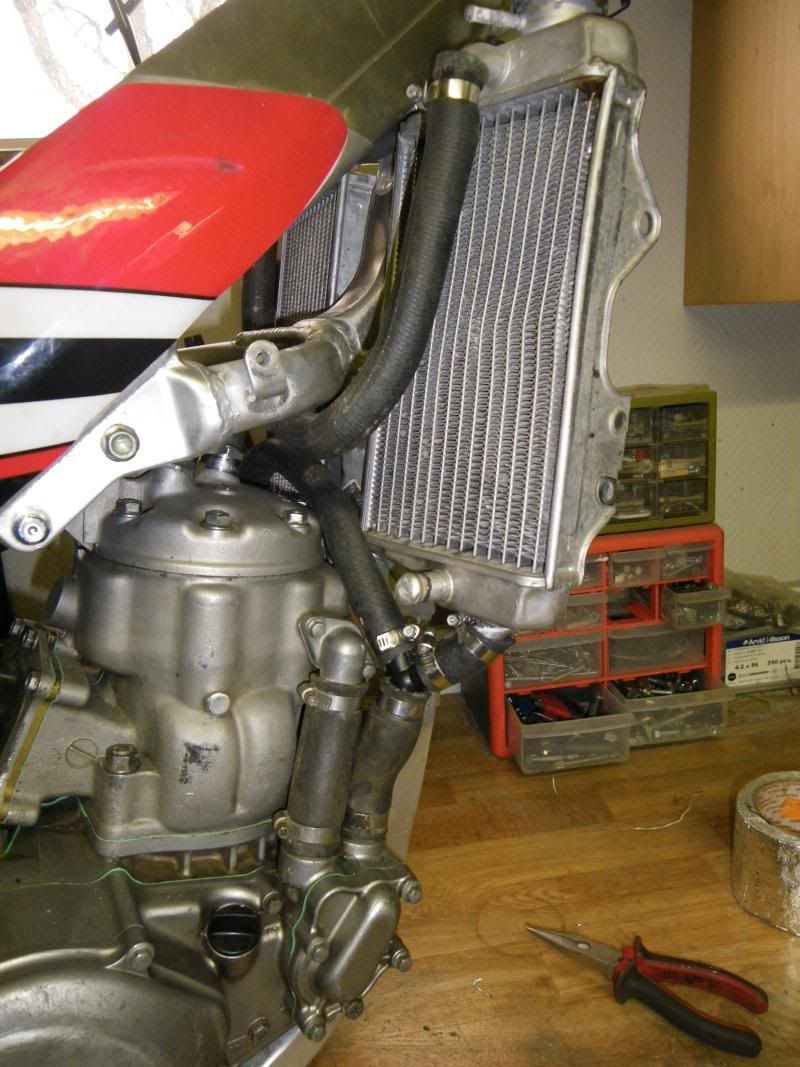
Time to route the cooling system. It came together using only parts from the 450 and 500.
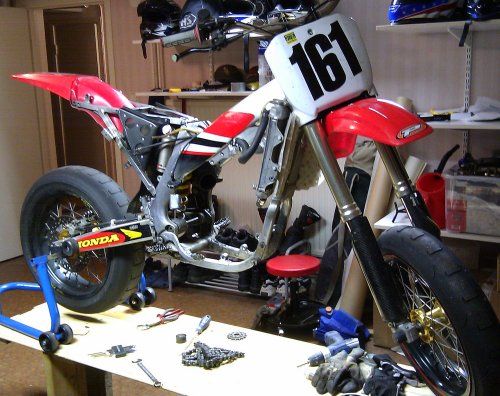
Result! The dented FMF-pipe will be replaced soon
First start and test ride completely without problems. It's geared quite high (15-41) but it's a lot faster than the video can convey. It has to be ridden! The Brembo brake has awesome bite and the stiff SuperMoto chassi works well on tarmac. Job done! Time for some fun!!
Last edited by K-Man on April 8th, 2012, 12:01 pm, edited 1 time in total.
There's pain in this game. If you're gonna be stupid, you better be tough!
i am just curious how your bike sounds and reacts to the throttle only being opened around 1/4 of a turn, going around 40 mph, but not quite "on the pipe."
my bike has a strange characteristic at under 1/4 throttle, getting up to speed. it hops and jerks, not sure if this is normal, but it doesn't like to go slow.
- freeride588
- Posts: 418
- Joined: November 20th, 2010, 3:51 pm
- Location: San Diego
AlisoBob wrote:The whole thing is excelent, except the coil / CDI mount.
I wouldnt bother translating it, a good build speaks for itself!
Bob your getting soft those motor mounts look like they are just barely on there. The motor work you did looks tidy and i liked your videos K-man but those motor mounts need some love.
Kevin
I trust my welder with those mounts. If they should crack I know who'll have to do them up again but I assure you that they are well welded.
I'm pretty sure they'll hold and that all the super slick machined mounts may have set the bar a bit high
Time will tell
The weather is really crap here right now. I'll see about cruising on my next ride and get back to you. I might have felt what you are talking about on that short test but I'll double check for you.
Bear in mind it's a MX-engine that isn't built for cruising. I won't cruise my new toy, that's for sure! I would have gotten something completely different for that appliction
Like you said; I don't like to go slow either
There's pain in this game. If you're gonna be stupid, you better be tough!
I had an issue with the rear brake mount on my last ride. Waiting for a new one right now, otherwise there would have been more videos and pics here by now.
Josh: I may have felt a little bit of what you're talking about but not so much that it's something that bothers me
There's pain in this game. If you're gonna be stupid, you better be tough!
Thanks for that, but that's not the Swedish eyecandy we want to see! Are you married? There are rules here, you know!K-Man wrote:Rear brake sorted. Here's some Swedish eyecandy for all you Hoons
Yah, I'm from Saskatchetoon!
MRE 02 250/500 conversion, pulse injector, twirp porting, coolhead, MRE ignition, blah blah blah blah... www.millarengines.com
What do you mean? There are tree pussies in there and all! Bikes and a babe. (The beer came later) what else do you want?Nodge wrote:Thanks for that, but that's not the Swedish eyecandy we want to see! Are you married? There are rules here, you know!
And no, I'm not married. The Blonde in the video isn't even my girlfriend
I'm actually engaged to her sister
There's pain in this game. If you're gonna be stupid, you better be tough!
- Roostius_Maximus
- Site Admin
- Posts: 4641
- Joined: November 16th, 2007, 3:24 pm
- Location: Mt Nebo, Manitoba, Canada
- Contact:
no matter how small you type it, we've all read it.
make with the sister if you cant come up with the fiance
http://www.youtube.com/user/500bigbore
My CR500 Tech Reference... http://sdrv.ms/1a0CIiz
MRE Components... http://sdrv.ms/1bs2zhd
My CR500 Tech Reference... http://sdrv.ms/1a0CIiz
MRE Components... http://sdrv.ms/1bs2zhd
-
- Posts: 425
- Joined: July 31st, 2010, 5:22 am
- Location: Tillsonburg On
- asteroid500
- Posts: 1047
- Joined: January 5th, 2009, 1:29 am
- Location: Australia Melbourne
i dig chicks that ride .... and if they look good as well thats a bonus.
nice work mate sounds sweet, nearly died of a heart attack, thought you were gonna have a head on a few times ...... we drive on the other side of the road here in Australia.
"not speeding officer".....qualifying
CR250 97
CR500 AF 99 (in progress)
CR500 AF CR G-4
CR500 1985 true legend
RGV250 96 X2
GSXR600 07 TRACK BIKE
VH Commadore cup car (race)
CR250 97
CR500 AF 99 (in progress)
CR500 AF CR G-4
CR500 1985 true legend
RGV250 96 X2
GSXR600 07 TRACK BIKE
VH Commadore cup car (race)
According to my engine timer I've run the AFc för seven hours this past summer and all motor mounts are still on therefreeride588 wrote:Bob your getting soft those motor mounts look like they are just barely on there. The motor work you did looks tidy and i liked your videos K-man but those motor mounts need some love.
I hope you haven't missed my videos from the past summer. Quite hilarious when my friend tried the CR5
or when I gave the road racers a run for their money
Frame is gutted once more. MX/ice season is here
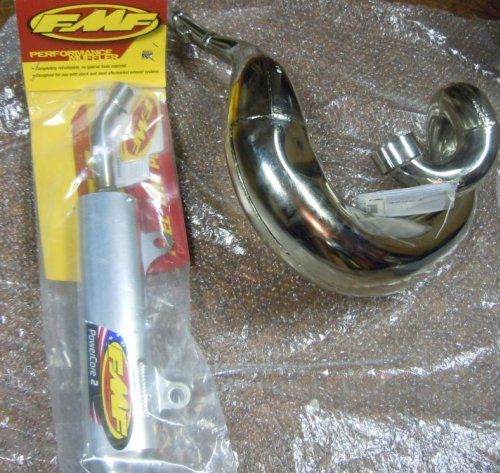
A nice new FMF-system has arrived
There's pain in this game. If you're gonna be stupid, you better be tough!